


You love your Dracaena for its elegant silhouette, graphic leaves and its ability to bring an exotic touch to your interior. Yet your dragon tree, another name for Dracaena, is showing signs of decline: roots are overflowing, it lacks vigour and growth has stalled. Maybe it’s simply time to repot it? Repotting a Dracaena marginata, for example, is important to boost growth and beauty. Discover, step by step, how to repot your Dracaena.
When to repot Dracaena?
To tell whether your dragon tree needs repotting, look for these telltale signs:
- Roots emerging from the drainage hole or circling the root ball.
- Potting mix has compacted because nutrients are exhausted.
- Slowed growth, leaves remaining small or showing less vivid colour.
- Potting mix drying out too quickly, or conversely retaining too much water.
If repotting an indoor Dracaena is necessary, it’s best done in spring. This is the ideal time because the plant is resuming growth after winter dormancy. Avoid winter: during rest period the plant has less energy to recover from trauma such as repotting.
Repotting every 2 to 3 years is usually sufficient.
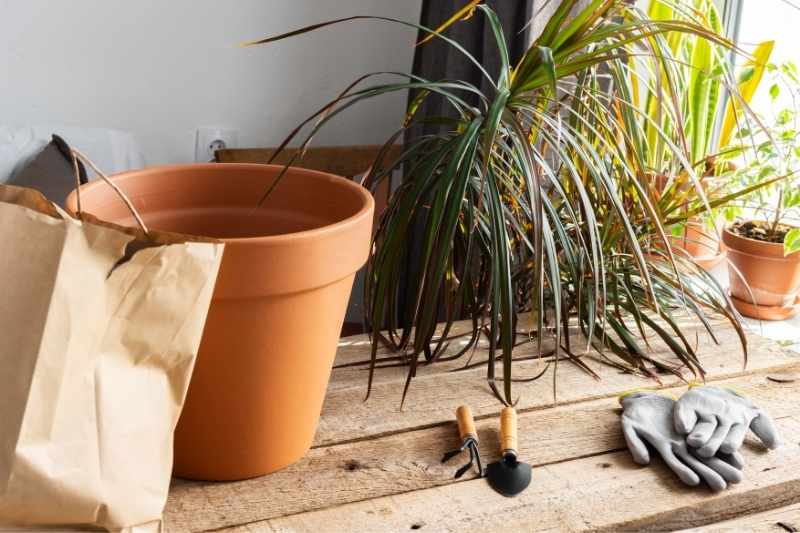
Which pot and potting mix to choose for a Dracaena?
Choosing a suitable pot and potting mix is crucial to prevent root rot and waterlogging.
Select a pot with a slightly larger diameter than the previous one. Excess volume slows drying of the potting mix. As for material, that’s your choice. Bear in mind terracotta is more breathable but potting mix will dry out faster in it. Plastic is lighter and makes watering easier to control. Ensure drainage with one or more holes in the pot base.
Potting mix for repotting Dracaena must be well draining because this plant dislikes sitting in water. Mix should consist of a special potting mix for indoor plants combined with coarse sand, perlite or coconut fibre to improve drainage. Use fresh potting mix rich in nutrients that has not dried out.
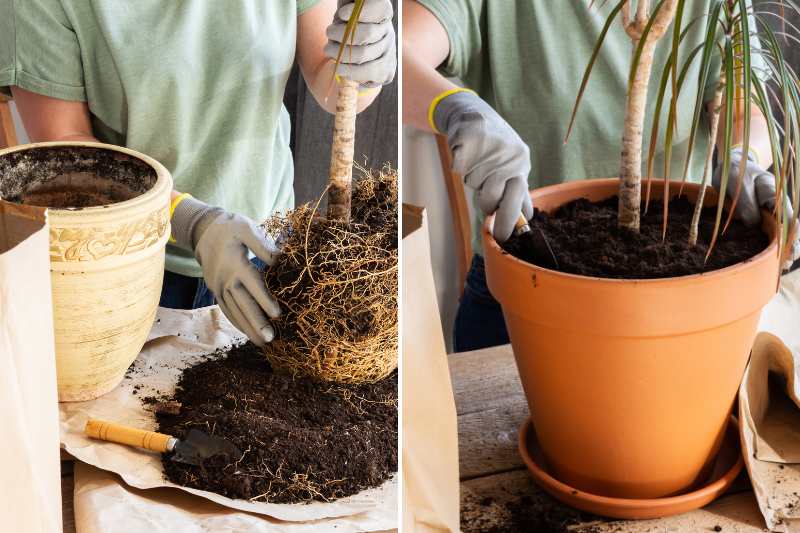
How to repot a Dracaena or dragon tree?
- Water your Dracaena well the day before to make repotting easier. The root ball will come out of the pot more easily without damaging roots.
- Prepare the new pot by adding a drainage layer. Place clay pebbles to prevent water accumulation.
- Remove the Dracaena from its current pot by tapping the sides to loosen the potting mix. Then gently pull the root ball by the collar.
- Inspect the roots: remove dead or damaged roots with a well‑disinfected pruning shear. If roots are too tangled, gently tease them apart.
- Place the root ball in the new pot: add a layer of potting mix to the base then position the root ball so the collar sits level with the pot rim.
- Fill with remaining potting mix: backfill around roots without over‑compacting. A light firming by hand is enough to ensure good air and water circulation.
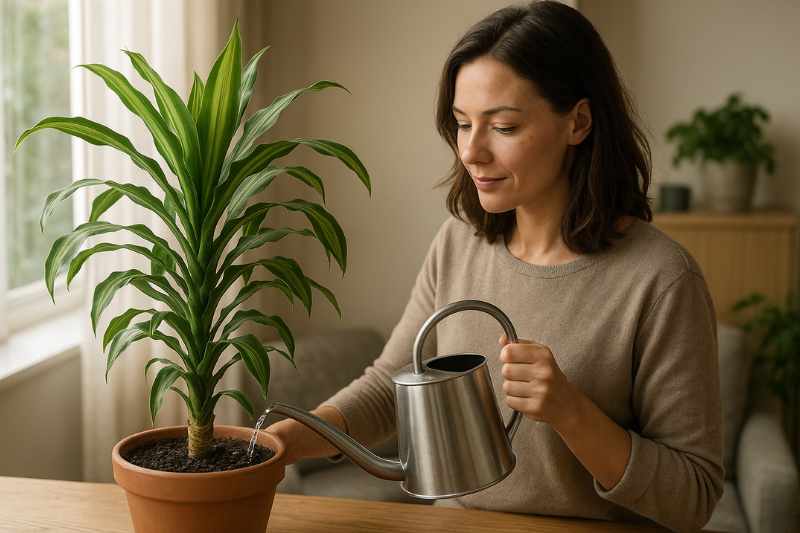
- Water: water gently but thoroughly to moisten all the potting mix. Make sure water drains freely through the pot holes. Do not leave standing water in saucer or cachepot.
What aftercare after repotting?
After repotting, your Dracaena will need a little extra care to settle in:
- Provide bright indirect light, avoiding direct sun rays.
- Keep plant in a room with a steady temperature of 18 to 25 °C, avoiding thermal shock and cold draughts.
- If air is too dry, place your Dracaena on a tray of moistened clay pebbles to maintain humidity. You can also mist the foliage.
- Water moderately for a few weeks, waiting until surface of potting mix is dry between waterings.
- Do not fertilise immediately after repotting, as fresh potting mix already contains nutrient reserves. Wait several weeks before resuming feed. For example, emergence of a new leaf indicates plant has resumed growth.
- Watch foliage closely: any yellowing or wilting can indicate overwatering.
- Act quickly if pests or fungi appear.
To learn all about Dracaena, feel free to read our article: Dracaena: care through the seasons.

![[plant_guide title="Grapevine" subtitle="Conservation Methods"]
[bullet_list]
[item]Prunez les grappes de raisin en laissant une petite tige pour prolonger leur durée de conservation.[/item]
[item]Placez les grappes dans un endroit frais et sombre, comme une cave ou un réfrigérateur, pour les conserver plus longtemps.[/item]
[item]Évitez de laver les raisins avant de les stocker, car l'humidité peut favoriser la moisissure.[/item]
[item]Vérifiez régulièrement les grappes et retirez celles qui commencent à se rider pour éviter la propagation de la pourriture.[/item]
[/bullet_list]
[/plant_guide]](https://www.promessedefleurs.ie/blogwp/wp-content/uploads/2022/11/Comment-conserver-son-raisin-.jpg "[plant_care id=\"123\" title=\"How to Care for Grapes\" subtitle=\"Tips for Growing Healthy Grapes\"]
To keep your {glossary} grapes healthy and thriving, follow these simple guidelines:
- **Watering**: Grapes need regular watering, especially during dry spells. Make sure the soil is moist but not waterlogged.
- **Pruning**: Prune your grapevines in late winter to promote new growth and fruit production.
- **Fertilizing**: Feed your grapes with a balanced fertiliser in early spring to support their growth.
- **Sunlight**: Grapes require plenty of sunlight to ripen properly, so plant them in a sunny spot.
- **Support**: Provide a sturdy trellis or support system for your grapevines to grow on.
- **Pest Control**: Keep an eye out for pests and diseases, and treat them promptly to protect your grape crop.
By following these tips, you can enjoy a bountiful harvest of delicious grapes from your own garden.")
Comments