


Light yet generous, indoor ferns create an exotic atmosphere, far from the old-fashioned image they had a few decades ago. Nephrolepis, Asplenium and other capillary ferns elegantly decorate a flat, from living room to bathroom. Growing in size over the years, these ferns deserve regular repotting to keep them in good health.
Discover the steps needed to repot your indoor ferns with our example using a Nephrolepis.
When to repot an indoor fern and how often?
Carry out repotting in spring, between March and May, to accompany ferns through their annual growth cycle.
Several signs indicate that a plant — in this case a fern — needs a new pot: growth has stalled for some time, leaves look less vibrant, watering no longer soaks the compost which stays dry, roots emerge from the drainage hole showing the plant is pot-bound.
As for frequency, expect on average a period of 1 to 2 years between repottings, depending on fern type and condition of the compost. If the foliage continues to develop well and the plant keeps growing, there is no need to intervene yet.
N.B.: yellow or brown fronds are often simply the symptom of overwatering and/or air that is too dry. Check and adjust watering and misting frequency accordingly.
Where to repot an indoor fern?
For compact, still-young ferns, work on the kitchen worktop where handling is easy. If you have a terrace or balcony, repot larger ferns there, or a fern with very trailing fronds, easier to handle on a high table.
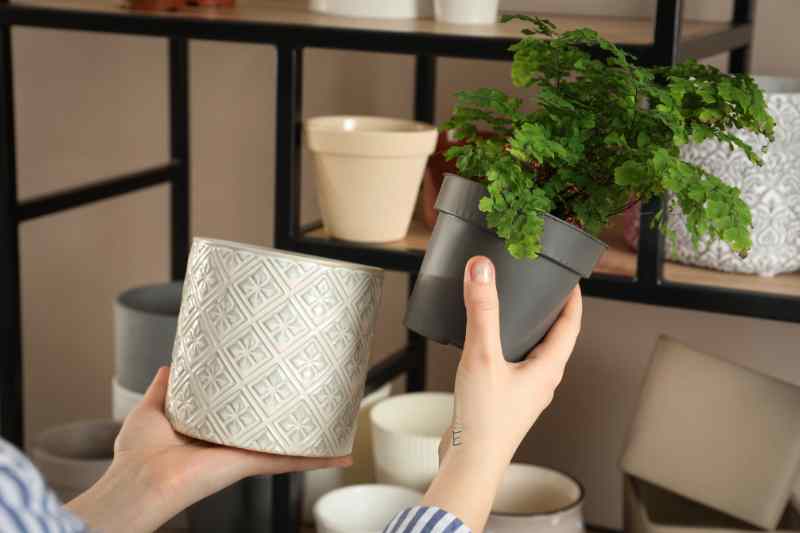
The new pot should be slightly larger, but not too much (see equipment below).
How to repot an indoor fern
Ferns have varied substrate and nutrient needs depending on species (some prefer a more acidic compost, so will need a little heather soil or leaf mould, others require a more free-draining mix or one richer in organic matter: refer to each fern’s description to make the correct soil mix, in the right proportions).
Equipment
- Substrate made from a mix of garden soil or potting compost for houseplants + sphagnum or turf to retain moisture, perlite or vermiculite for drainage;
- Clay pebbles (or gravel) for drainage;
- A new pot slightly larger (2 to 5 cm extra diameter) with drainage holes. Ferns like humidity but not stagnant water; see note on material choice at end of tutorial;
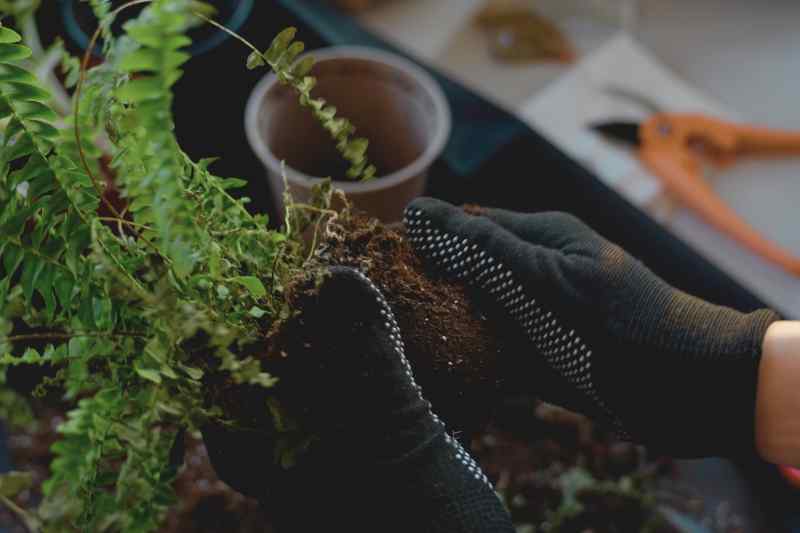
- A blunt knife and a clean, disinfected pruning shear, gloves (optional).
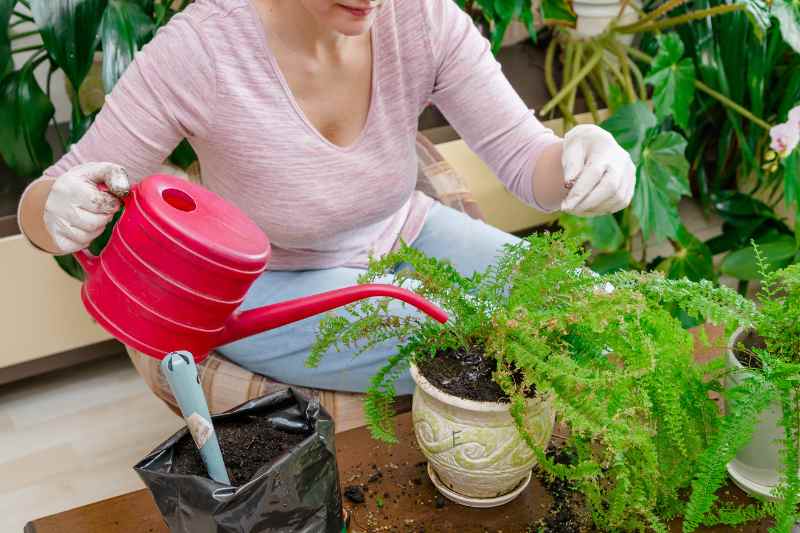
The repotting
- Water the fern 1 to 2 hours before repotting to ease root removal; this also reduces stress for the plant;
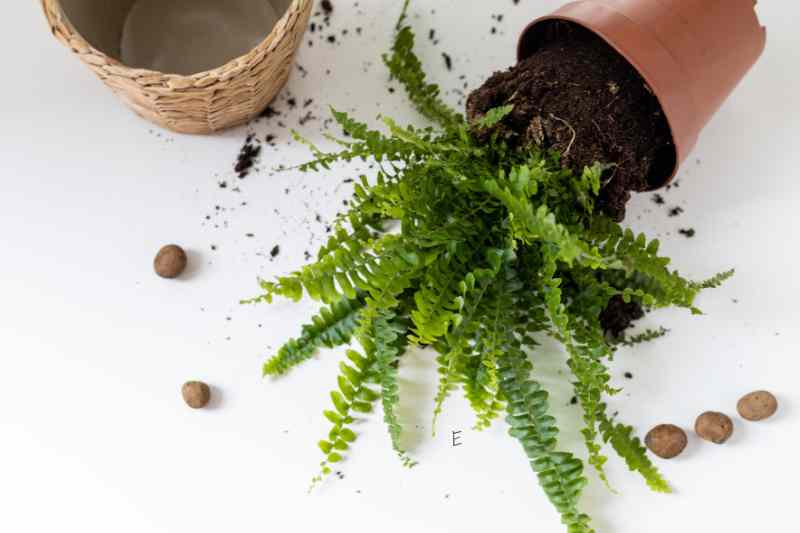
- Remove the fern from its pot: turn the pot over gently and tap the sides to free the rootball. If the plant resists, run a knife around the pot walls;

- Remove spent compost if it is dry and/or dusty by gently scraping the rootball. Inspect roots and cut back only desiccated portions with pruning shear, avoiding excessive disturbance as roots are quite fine;
- Clean the foliage by cutting off dry brown fronds;
- Drain: place a layer of clay pebbles or gravel in the base for drainage;
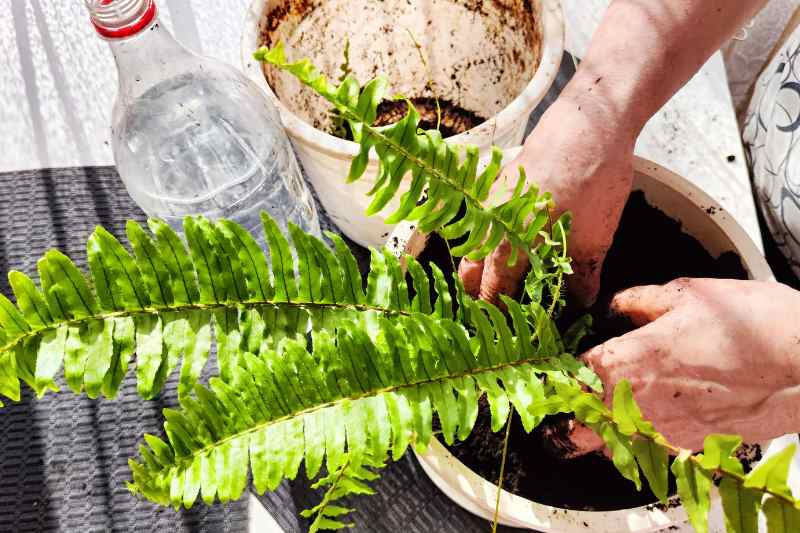
- Add a layer of potting compost or the prepared substrate mix;
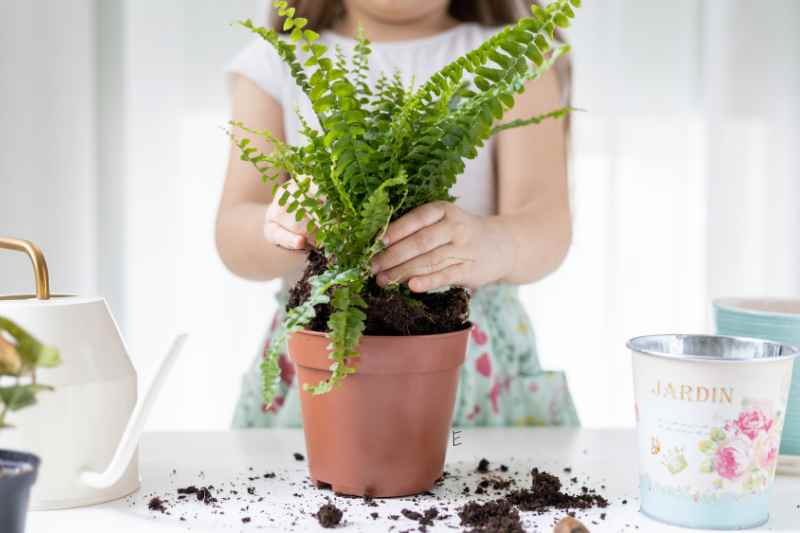
- Position the fern in the centre of the new pot, ensuring the collar (base of the stem) sits at the same level as before;
- Fill around the rootball with the prepared substrate, firming lightly. Leave 1 to 2 cm between the compost surface and pot rim for watering;
- Water thoroughly with rainwater at room temperature;
- Place the fern on a saucer filled with a bed of damp clay pebbles. For most species this gives a little boost to increase ambient humidity;
- Resume usual feeding (a fertiliser for foliage plants diluted to half strength) for the fern only after three to four weeks.
* Advice on choosing a pot
While you’re at it, choose a pot that suits your indoor fern’s needs! Most indoor ferns — those that like humidity — will prefer a plastic pot with good drainage (holes + a layer of clay pebbles at the bottom) because this material retains moisture better.
If you tend to overwater, opt for a terracotta pot: compost dries faster there, and by placing a saucer and damp clay pebbles you’ll better manage humidity needs.
Olivier looks back at the various advantages and disadvantages of pot types in Plastic pot, biodegradable or terracotta…: advantages and disadvantages.


Comments