


How to successfully transplant your trees and shrubs?
complete guide to successfully transplanting your trees and shrubs
Contents
The Peperomia in a nutshell
In the garden, moving a tree or shrub is a common operation. Whether due to excessive growth, moving house or simply a desire to rethink your garden layout, transplanting is often necessary.
Contrary to popular belief, most young trees and shrubs cope very well with being moved. The younger the specimen, the higher the chances of successful re-establishment. However, this procedure requires a certain level of skill to ensure success.
Optimise your chances of success and discover our methods and our practical tips to transplant your trees and shrubs under the best conditions. Ready to give a new lease of life to your plants?

When to transplant a shrub or young tree?
Ideally, transplanting of trees and shrubs is carried out between October and March, during dormancy but not during periods of frost.
Required equipment
- spade: to dig up and cut through roots
- disinfected pruning shear: to prune branches and small roots
- watering can or garden hose
- good-quality potting compost
- horn meal (or other root amendment)
- mulch (dry grass clippings, RCW, buckwheat hulls…)
How to transplant a young tree or shrub?
Younger trees are easier and quicker to transplant. Older trees require more planning.
Transplanting a young tree or shrub: “express” method
For young or small specimens, a professional technique is not always necessary. However, follow these steps to give the plant the best chance of success:
First step: preparation
- Water thoroughly the day before transplanting all around the specimen to hydrate the roots and loosen the soil.
- Prepare the new planting hole, sized to suit the specimen being moved — at least as deep and 1.5 times as wide as the rootball — and pour the equivalent of a watering can into the bottom.
- Reduce the plant’s foliage by pruning moderately with a disinfected pruning shear. Remove dead wood, crossing branches or those growing inward. If you must cut branches 5 cm diameter or larger, disinfect the wound with a suitable product.
Second step: transplanting
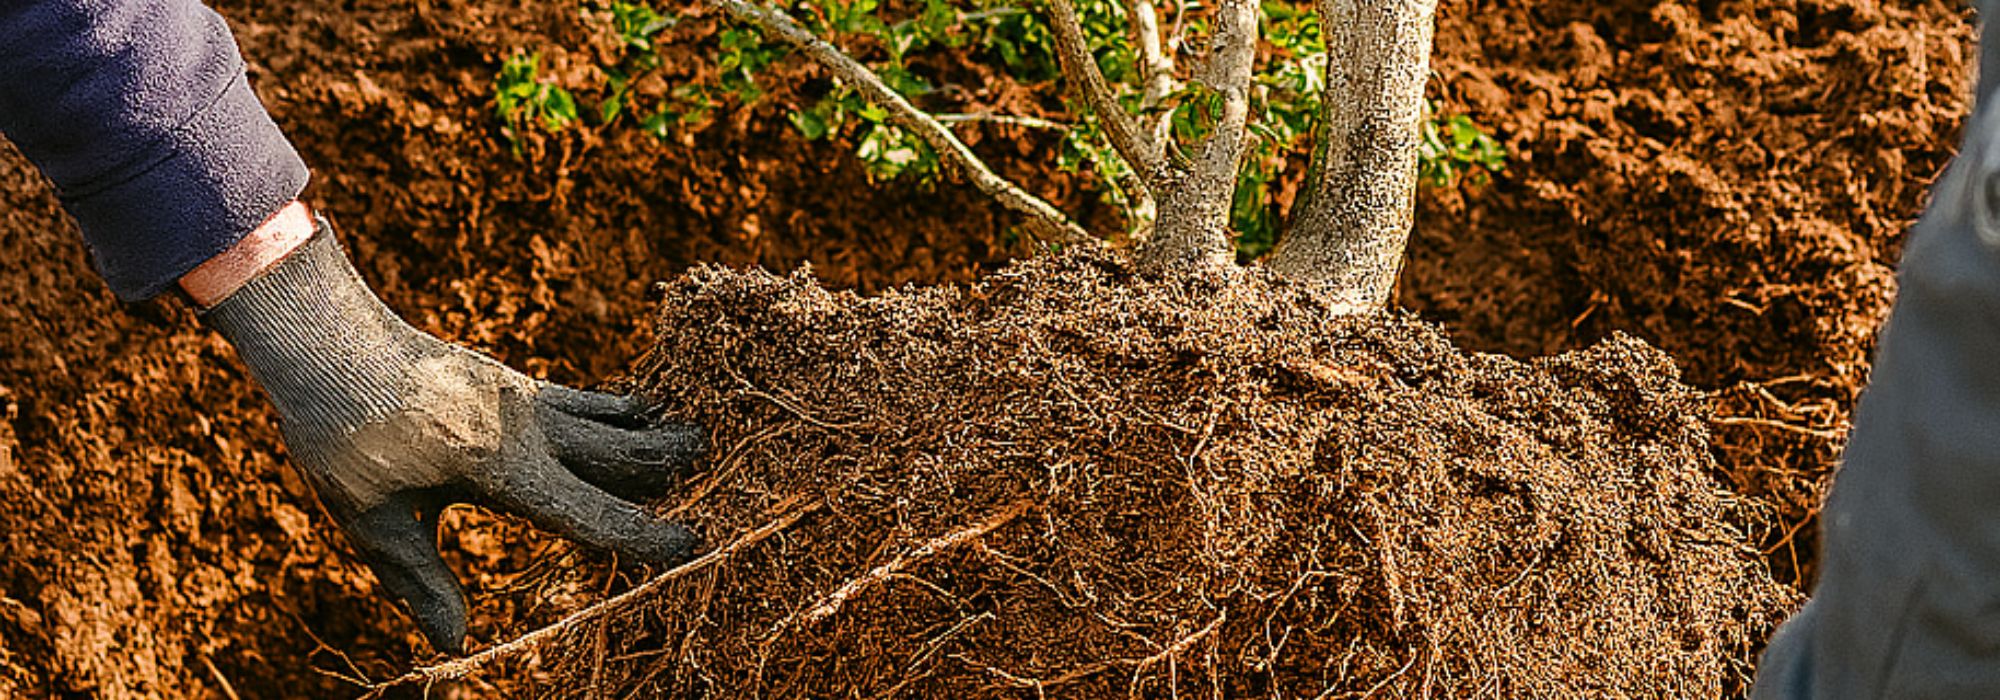
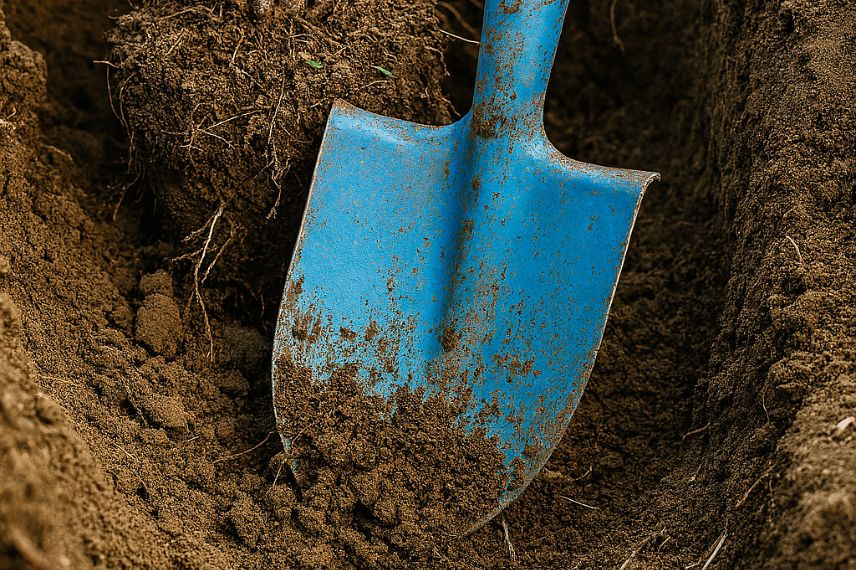
- Cut all around the tree or shrub with a spade or trenching spade (narrower and longer) very sharp, to at least 50 cm depth. The aim is to sever peripheral roots. Work about 50 cm from the trunk to form a circle 1 metre in diameter.
- If large roots resist, cut them cleanly with a pruning shear or lopper.
- Leverage with your spade or trenching spade, gradually working around the plant. The aim is to recover as much root and soil as possible.
- Once lifted, replant immediately at the new location after adding horn meal to the bottom of the hole. Ensure the collar (junction between roots and trunk) is level with the soil.
- Backfill with good-quality compost mixed with your soil and form a watering basin at the outer edge of the rootball.
- Firm down and water thoroughly to remove air pockets.
- Mulch (dry grass clippings, RCW, buckwheat hulls…).
After transplanting:
- Monitor soil moisture: it must not dry out in the weeks following transplanting,
- If a stake is needed, place it on the side of prevailing winds, before or at the same time as the plant.
Transplanting a Cestrum
Note:
- For large specimens, it is best to call a professional who masters the technique and has appropriate equipment.
- Trees and shrubs that prefer heather soil (camellias, rhododendrons…) develop a shallower root system and tolerate transplanting better, even when they are more mature and larger.
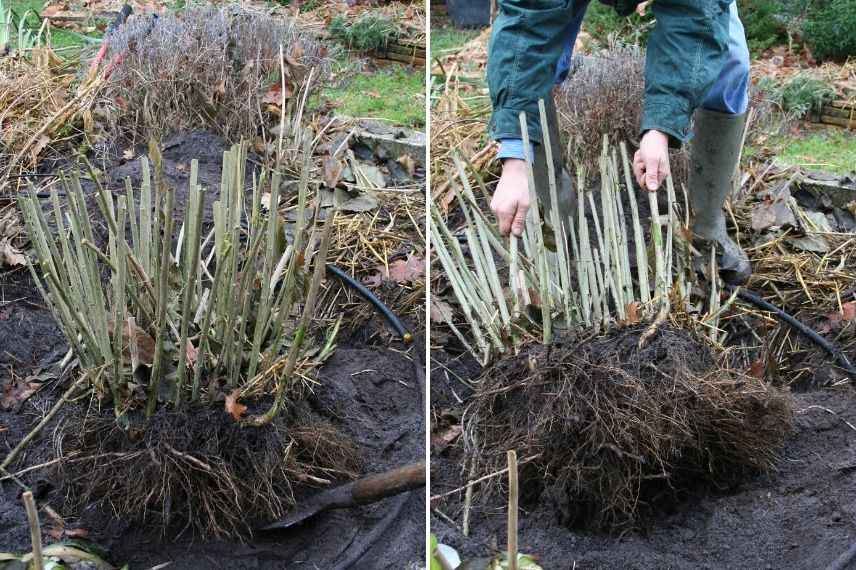
Transplanting an older tree or shrub: root-pruning, the professional method
To better prepare a large specimen for relocation, nurserymen use the “cernage” technique. This operation is carried out about one year before transplanting.
- As with the ‘express’ method, water the day before the operation and cut cleanly all around the tree or shrub.
- Make a second circle outside the first, about one spade-width wider.
- Then cut down into this ring perpendicular to the surface, and remove soil to a depth of 50 cm.
- In the trench thus created, mix the excavated soil with rich compost and sand to obtain a light substrate in which new roots can develop.
- Water thoroughly, and do not let the soil dry out in the following weeks.
- One year later, transplant the specimen.
Read also
Planting trees and shrubs in bare rootsSome special cases
Moving a large tree or shrub is a risky operation often requiring a professional and techniques such as root pruning carried out a year in advance. This frequently concerns magnolias, Japanese maples that are mature, or other high-value landscape specimens such as conifers.
In contrast, ericaceous plants (such as rhododendrons, azaleas and camellias) are easier to transplant, even when fairly large, thanks to their shallow, compact root system. The essential point is to reproduce their acidic soil conditions in the new location to ensure success.
Hydrangeas also have a relatively shallow root system which makes them much more tolerant of this operation than other shrubs. To maximise chances of recovery, move them ideally between October and March, outside periods of frost.
Good to know: generally, trees and shrubs that develop a deep taproot are very difficult, if not impossible, to transplant once established, because this main root is too sensitive to cutting. This is the case for many oaks, beeches, walnut trees and some conifers at maturity.
Young shrubs are much easier to move than older specimens.
Post-transplant care tips for successful establishment
After moving your tree or shrub, regular deep watering is crucial to help its roots recover, taking care never to let the soil dry out completely.
If necessary, install a sturdy stake on the windward side to stabilise the plant and protect young roots from movement.
A thick layer of mulch at the base of the plant will retain moisture, regulate soil temperature and reduce competition from weeds.
Finally, monitor closely for any signs of stress and avoid over-fertilising during the first year to prevent burning roots.
Useful resources
→ Discover our wide range of houseplants. → Many books on houseplants exist, but we recommend: The Encyclopaedia of Houseplants by Solène Moutardier, published by Ulmer.The word from our expert
The Peperomia is a beloved houseplant prized for the exceptional diversity of its foliage. Native to the tropical regions of South America, this plant adapts easily to our homes and charms with its compact and decorative appearance. It is adored for its varied foliage, ranging from smooth, rounded leaves to crinkled and veined textures. It comes in a multitude of shapes, textures, and colours, from deep green to purple, including silvery or variegated hues. Among the most popular species are Peperomia obtusifolia, Peperomia caperata, and Peperomia rotundifolia, the round-leaf peperomia, each bringing its unique botanical personality. Easy to grow and low-maintenance, the indoor Peperomia thrives in bright light without direct sunlight and well-draining soil. It requires a slightly humid atmosphere, making it a perfect plant for a bright bathroom. Whether potted on a shelf, hung for trailing varieties, or incorporated into a terrarium, it adapts to all decorative desires. Let yourself be charmed by its varied forms and unique colours, and give it a place in your home for a natural and elegant ambiance! [caption id="attachment_298535" align="aligncenter" width="1172"] Peperomia obtusifolia[/caption]
- Subscribe!
- Contents
This form is protected by reCAPTCHA - the Google Privacy Policy and Terms of Service apply.

Comments