


Bay laurel and health: grow it to enjoy its benefits
An essential Mediterranean plant for cooking that also has medicinal properties.
Contents
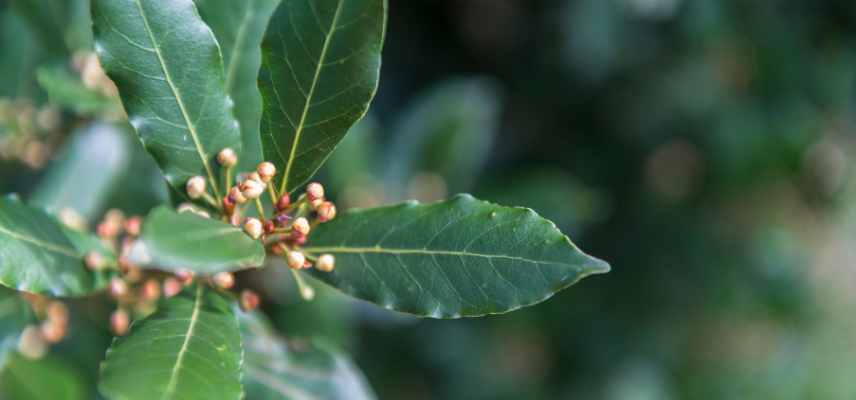
Bay laurel or noble laurel (Laurus nobilis) is an essential plant for making bouquet garni in cooking. It produces creamy-white to creamy-yellow flowers in spring, which are followed by glossy black berries that delight garden birds. Naturalised for millennia in the Mediterranean basin, this aromatic-foliaged shrub is also prized for its various medicinal properties.
In the garden, it is therefore a multifunctional plant that combines the useful with the pleasant. Good news? You don’t necessarily need a large garden or to live in mild regions to grow it, since it can easily be grown in a pot.
Let’s look at how to care for a bay laurel and use it for its many health benefits.

The many virtues of bay laurel
Of course, on hearing the name bay laurel, you probably first think of its tough, fragrant leaves, used in making bouquet garni to enhance sauces and stews.
But if bay laurel is also prized in phytotherapy, it is for its active compounds used to relieve certain ailments. This complementary therapy is often used alongside conventional allopathic medicine.
Bay laurel is considered:
- antiseptic (antibacterial and antiviral);
- anti-inflammatory;
- digestive aid;
- analgesic;
- expectorant;
- antispasmodic;
- calming, soothing and relaxing.
It is particularly valued for easing certain digestive problems: supports intestinal transit, reduces sensation of bloating, reduces aerophagia. It is also of interest for its calcium, iron, magnesium and manganese content.
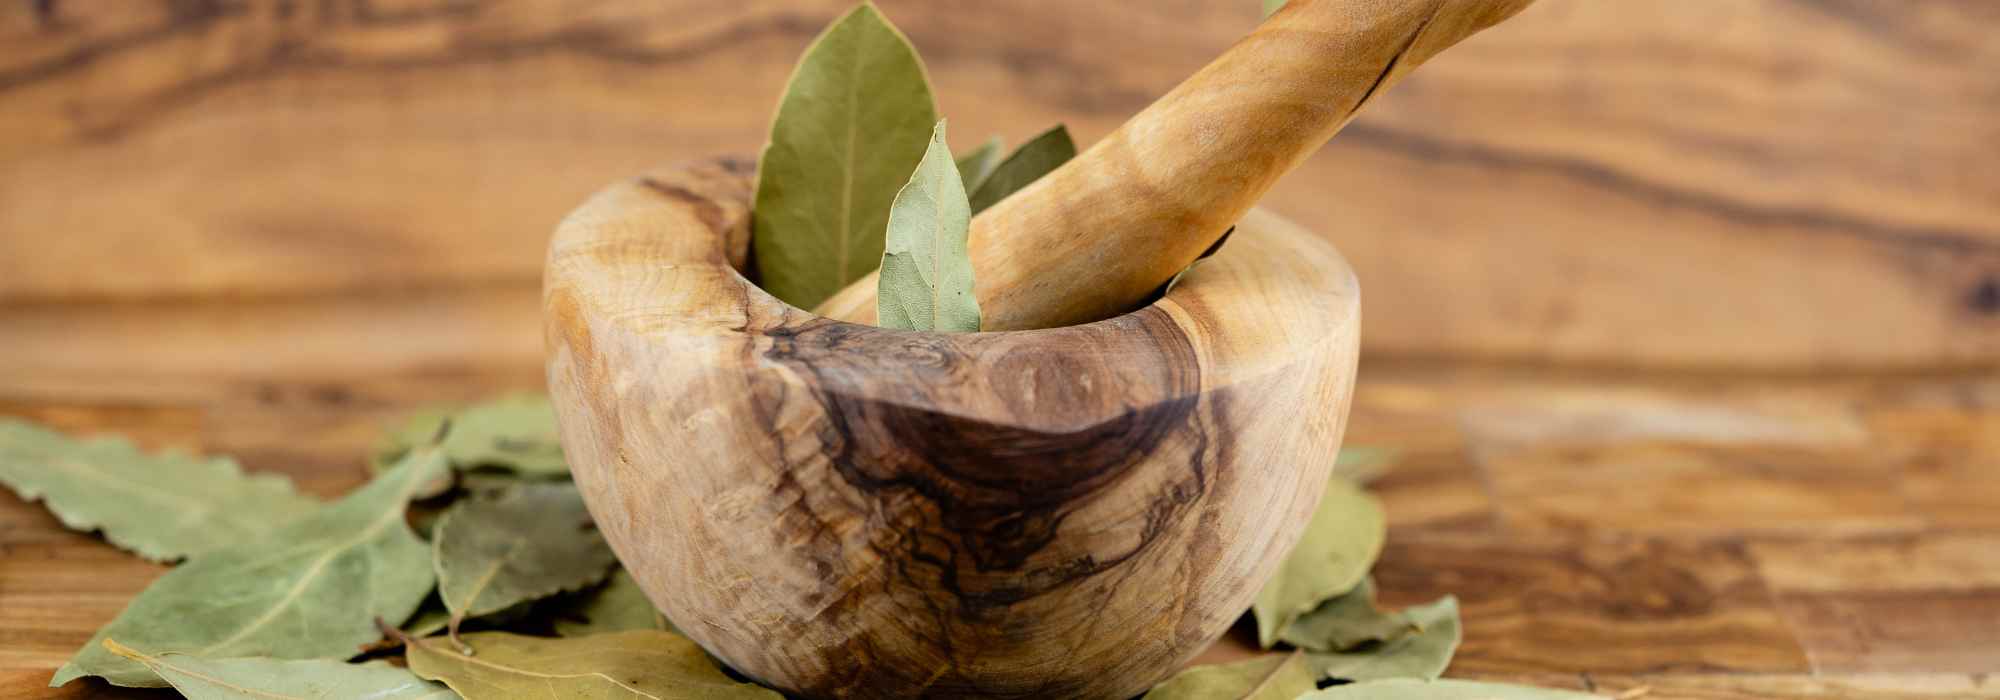
Bay laurel leaves have long been used in phytotherapy
Read also
Bay Laurel: planting, pruning and careHow to grow bay laurel successfully in open ground or in a pot
Different varieties
Let’s begin by recalling that bay laurel must not be confused with other plants also called “laurel”, such as oleander (Nerium oleander), laurustinus (Viburnum tinus), Portuguese laurel (Prunus lusitanica) or cherry laurel (Prunus laureacerasus). Despite their names, they do not belong to the same genus and some species are highly toxic.
In the garden, you can plant the species, which nevertheless needs some space as it reaches about 6 metres at maturity. But there are also somewhat smaller varieties, such as bay laurel ‘De Jerusalem’. It grows quickly and reaches only 3 metres tall with a 2-metre spread. Also worth mentioning is ‘Little Laura’, which reaches about 4 metres tall with a 2-metre spread.
For containers, we recommend choosing the smaller varieties, such as ‘Little Ragu’. This dwarf bay laurel measures only 2 metres in height with a 1.5-metre spread.
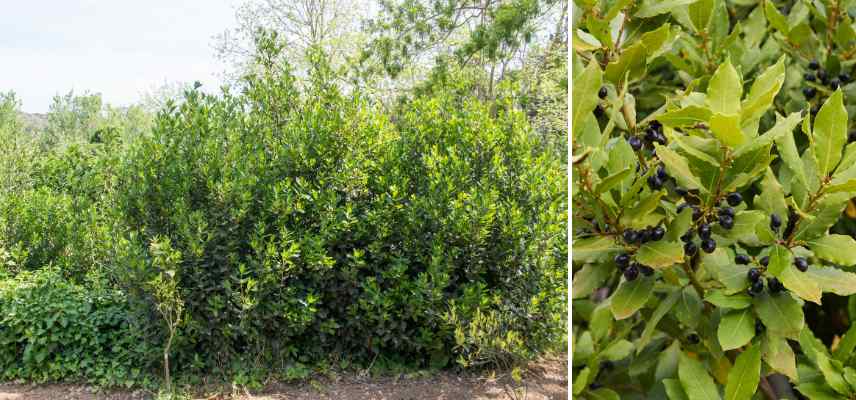
A shrub often used in informal hedging in rural areas
Planting
Planting is best done in spring or autumn (especially in regions with very hot summers). In theory, however, a potted bay laurel can be planted almost any time of year, except during frost or heatwave periods.
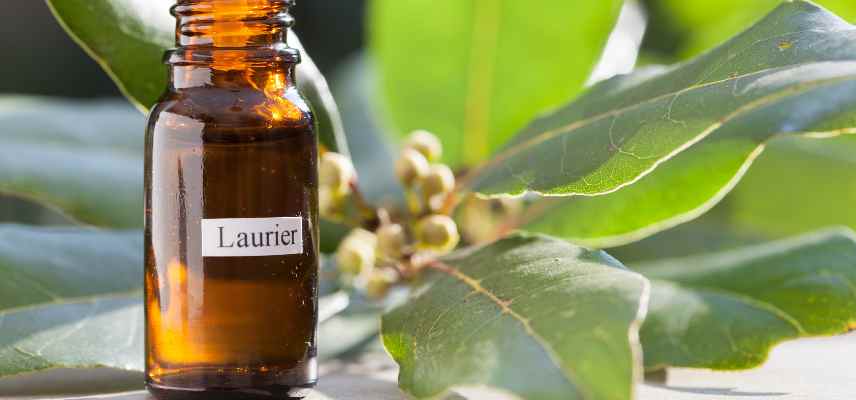
Bay laurel is fairly easy to grow, but needs sun and warmth. This also helps concentrate the active compounds in its essential oil, making it even more aromatic. In the warmest southern regions it will tolerate partial shade.
Regarding soil, it prefers a substrate rich in organic matter (humus), yet light and well-drained, where water does not stagnate. Bay laurel does not tolerate heavy clay soils. If that is the case, either plant it on a mound or improve drainage by adding sand, gravel or other draining materials. It can be planted as a specimen, in a hedge or at the back of a border. Bay laurel tolerates sea spray, but prefers a position sheltered from cold northerly winds.
- Soak the rootball in a bucket of water for about 20 minutes before planting so it is well rehydrated.
- Dig a planting hole two to three times the volume of the rootball.
- Add some household compost or well-rotted manure mixed with garden soil or potting compost.
- Remove the rootball to let it drain, then place it in the centre of the hole.
- Backfill with substrate and firm down with your fingers.
- Install a stake to help the plant grow upright for one to two years. Position it about 30 cm away and at an angle to avoid damaging roots. Do not tighten ties too much.
- Water thoroughly.
- Apply an organic mulch at the base of the bay laurel to help retain moisture.
For pot planting, choose a container 50 cm in diameter, with drainage holes in the base. Terracotta pots are generally preferred for plants that dislike waterlogging, as they allow the substrate to breathe better. Use light garden soil or opt for a potting compost for Mediterranean plants, which drains well. Remember to add a drainage layer of about 3 to 5 cm at the bottom of the pot.
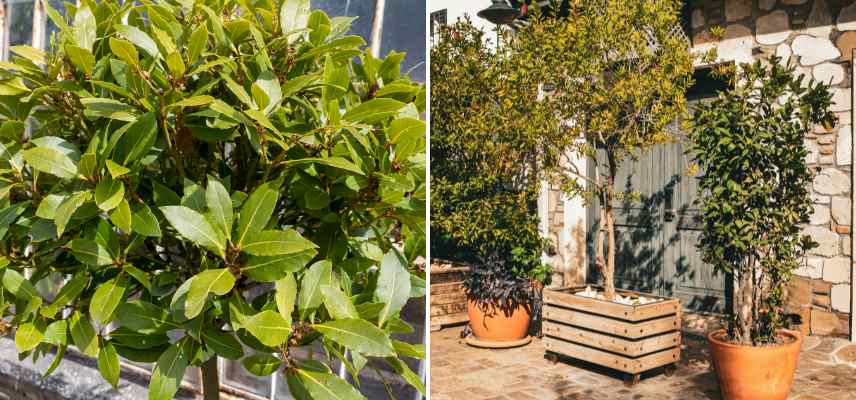
Grown as a standard and pruned into a ball, bay laurel can also be left as a small shrub in a large pot
Care
For the first two years, water your bay laurel during prolonged dry periods to help it establish properly. Afterwards, it should no longer need watering. In a pot, however, water regularly as soon as the top few centimetres of soil are dry. Empty any saucer or cache-pot after about 20 minutes to avoid leaving standing water.
Bay laurel then requires little care apart from pruning to maintain a neat silhouette and encourage new leaf growth.
Its aromatic foliage makes it naturally less attractive to pests. However, it can still be attacked by scale insects and psyllids, small sap-sucking insects. If necessary, use an insecticidal treatment based on pure black soap.
Bay laurel is not resistant to severe frosts. Although hardy down to around -10°C to -12°C, excess moisture or exposure to strong winds can weaken it or even cause it to perish. If grown in a pot in cooler regions, remember to bring it indoors before the first frosts. You can also protect it occasionally with a fleece, taking care to ventilate during the day as soon as temperatures rise.
For container-grown plants, repot every 2 to 3 years.
Using garden bay laurel for health benefits
Bay leaves can be used in different ways for their benefits. Remember that while bay laurel is not poisonous, consuming the leaves is not recommended. They are mainly used for infusions and flavouring, as they are tough and have a bitter taste.
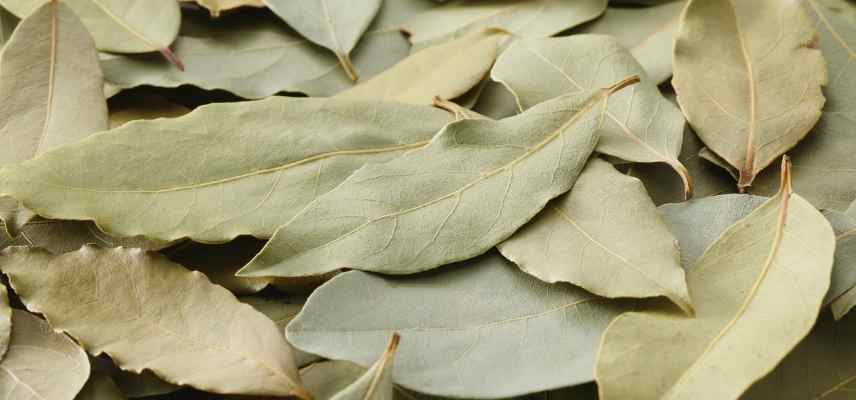
Drying bay leaves
Harvest bay leaves as needed, avoiding flowering periods and frost. Pruning time is a good opportunity to dry them.
Choose a dry day, ideally before midday, to preserve the plant’s active compounds. Gather a few stems into small bunches and hang them upside down to dry in a warm, ventilated place, out of direct sunlight. They will be brittle between the fingers once sufficiently dry.
To learn more, discover our article How to dry bay leaves?
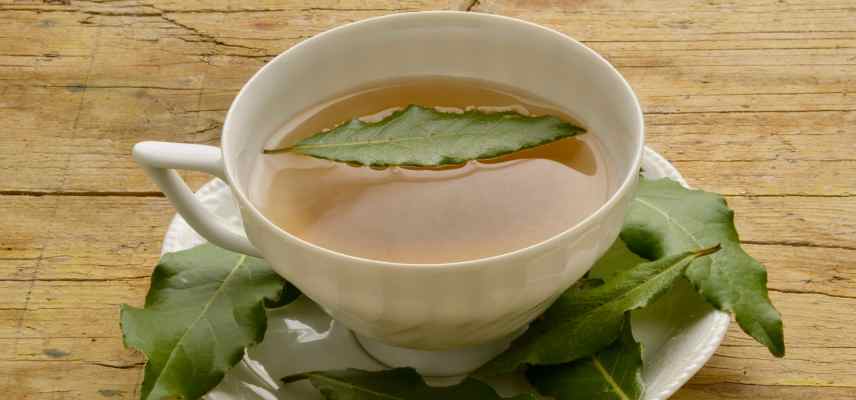
Bay leaf infusion
This is one of the simplest uses. Place the equivalent of three dried bay leaves in simmering water for about ten minutes. You can add other herbs (lavender, chamomile…) or honey for flavour. This herbal tea, ideal after a heavy or rich meal, aids digestion. At the onset of a mild respiratory ailment, it also supports the immune system and soothes coughs.
Bay leaf decoction
In 1 litre of boiling water, steep about 50 grams of bay leaves. Keep at a boil for 2–3 minutes, then let macerate for about ten more minutes. Allow to cool, then strain. Used in massage with a vegetable oil, this decoction soothes joint and muscular pain.
Numerous recipes using bay leaves
And of course, bay leaves are used in many recipes, imparting their strong flavour: court-bouillons, marinades, sauces, stews, potato dishes, terrines, etc. Generally, two to three leaves are enough. Remember to remove them before serving.
Dried bunches
A few dried bay leaves placed under the pillow are said to aid sleep. They are also thought to have an insecticidal effect against moths and flies.
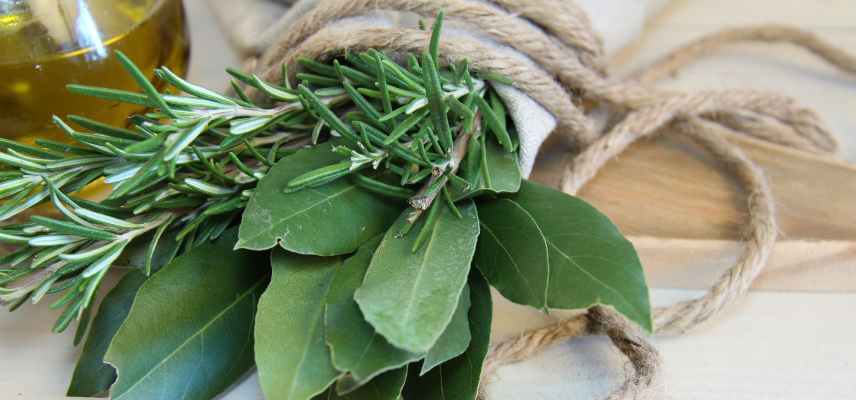
Add a few bay branches to other anti-moth plants such as rosemary!
Precautions for use
Excessive use of bay laurel can cause vomiting. Use is completely discouraged without medical advice for pregnant or breastfeeding women, young children, and people on medication.
- Subscribe!
- Contents
This form is protected by reCAPTCHA - the Google Privacy Policy and Terms of Service apply.

Comments