


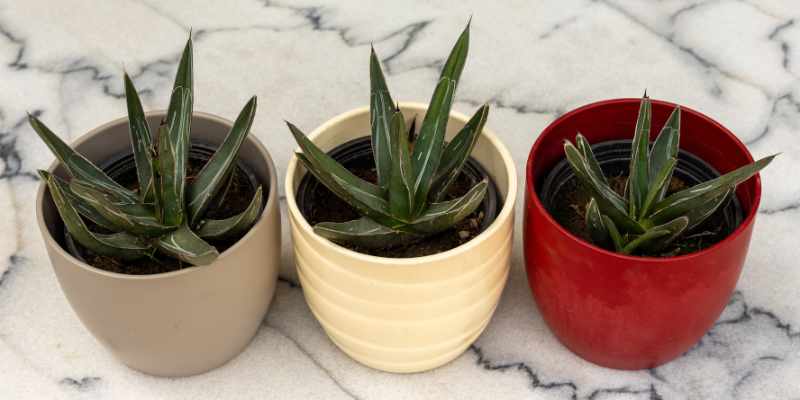
Fans of dry, Mediterranean gardens love to see agaves thriving in large numbers. To obtain new plants from these beautiful succulents with their characteristic spiky rosette appearance, simply propagate them by propagation by cuttings of their offshoots.
We explain how in this tutorial.
Why propagate agaves?
As with any plant, and especially those, like agaves, that are costly to buy, you can:
- Save money by reproducing several identical plants.
- Clear space in the garden around mature specimens because offshoots can sometimes be invasive.
- Give new plants to friends and family as much-appreciated gifts, agave being a trendy plant for its undemanding nature and its graphic presence in the garden!
- Preserve the variety: offshoots ensure faithful reproduction of the parent plant.
- Acclimatise new plants well to their environment: as your own plants are already growing in suitable conditions, you obtain new plants acclimatised to your growing conditions.
When to propagate an agave?
Carry out in spring, ideal period as plant will usually already have produced visible offshoots around parent plant. March is a suitable month, knowing you can start in February in most regions, since establishment is carried out under cover.
Which agave species are easy to propagate?
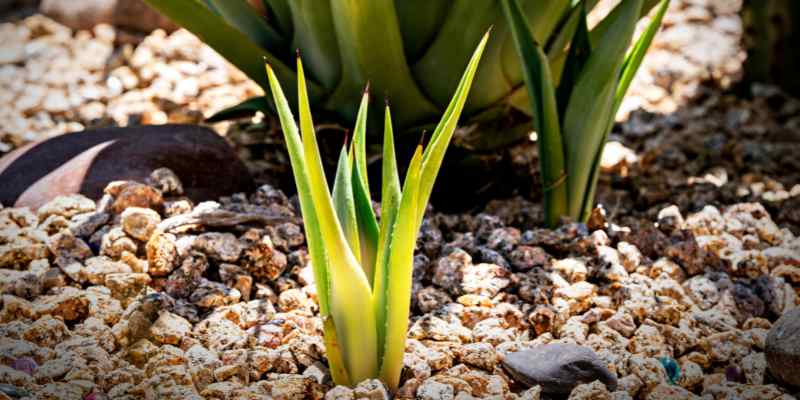
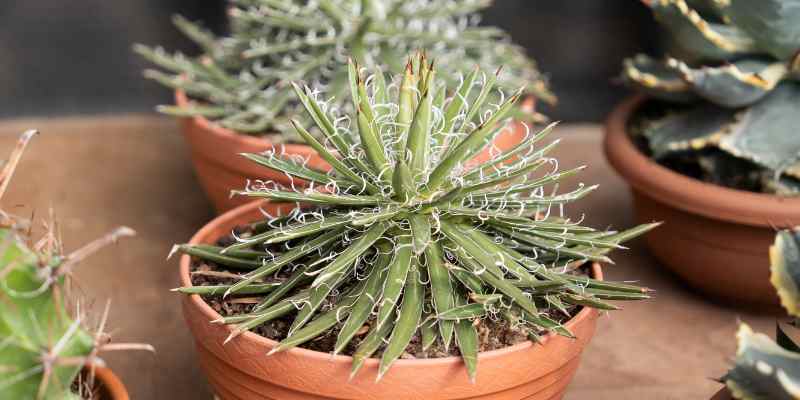
Under optimal growing conditions (sunlight, well-draining soil, warm climate), most species produce numerous offshoots at their base. It's their way of ensuring descendants because they are monocarpic plants, which die once they have flowered. This is the case for much-loved species such as Agave americana, and for the swan-neck agave, which, although polycarpous, also produces some offshoots.
You will not be able to do this with some horticultural agaves whose genes have been altered to remove the offshoot-producing habit. Finally, a few (Agave victoriae-reginae, Agave ferox, Agave parryi) develop few or no offshoots and must then be propagated by seed sown in April, which is much more complex and often leads to failure.
How to propagate an agave?
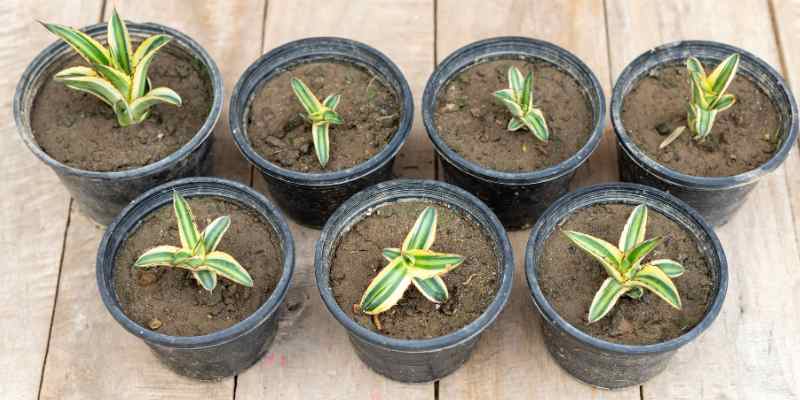
Separating offshoots is the simplest way to obtain new plants.
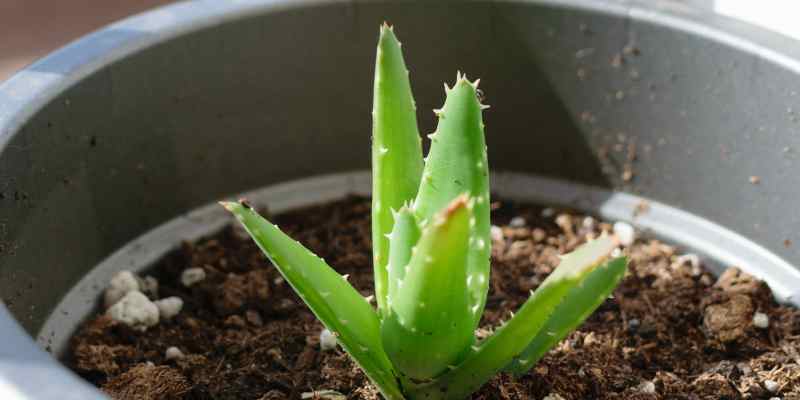
Most agave species spontaneously produce offshoots, baby plants born around the rosette. It is very easy to detach them to propagate from well-developed offshoots.
Equipment
- A disinfected garden knife or a pruning shear;
- Pots with drainage holes to prevent excess moisture;
- A well-draining substrate: 1/2 orchid compost, 1/4 coco fibre and 1/4 perlite or river sand (or 2/3 cactus compost + 1/3 coarse sand or pumice);
- A spray bottle to lightly moisten substrate after repotting;
Steps
- Locate and detach offshoots around parent plant: use a digging fork if necessary, or if still small, a clean sharp knife, pulling gently. Each offshoot should have some roots and measure about 10–15 cm high;
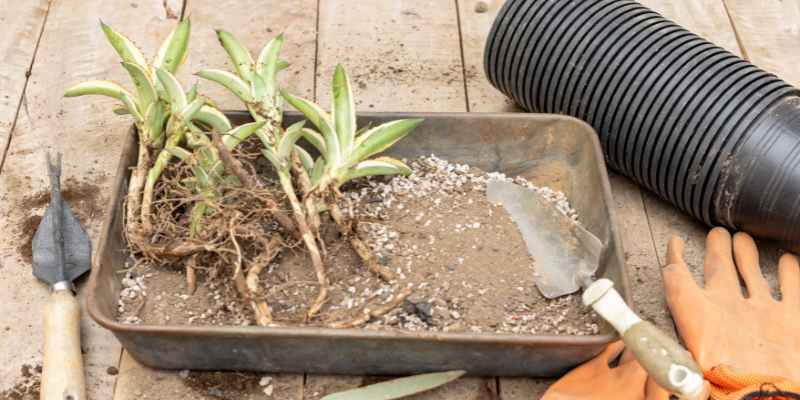
- Let them dry for 2–3 days in open air;
- Prepare very well-draining potting mix (see above);
- Fill terracotta pots with this mix;
- Plant each offshoot in its pot, without burying the collar (junction between roots and leaves);
- Firm the mix lightly around the roots to stabilise;
- Place pot in a sheltered, warm, bright spot protected from draughts, and not in direct sun;
- Do not water for 10 days so small roots can form quickly;
- Repot into a larger pot and plant out in ground the following spring;
- Water moderately using a spray bottle after the 10 days.
Care for agaves after propagation
Some tips to help young agaves develop properly in coming weeks:
- Place young plants in partial shade, avoiding direct sun. Increase exposure gradually after one month. Maintain temperature between 18°C and 25°C to encourage rooting. Avoid cold draughts;
- If roots emerge from pot after six months, repot agave into a slightly larger container (2–3 cm wider in diameter) using same well-draining mix.
- Bring agaves indoors for first winter, keeping them out of outdoor damp, in a frost-free place between 5°C and 12°C.

")
Comments