Cookies help us to offer you a personalised browsing experience and to measure our audience. You can configure them at any time and consult our privacy policy.
This website uses cookies to improve your experience when browsing the website. Of these, cookies classified as necessary are stored on your browser because they are essential for the basic functionality of the website to work. We also use third-party cookies to help us analyse and understand how you use this website. These cookies will only be stored on your browser with your consent. You also have the option of refusing these cookies. However, deactivating some of these cookies may have an effect on your browsing experience.
Created the 30 January 2026 by Olivier
3 min.
Spring, Summer Difficulty: medium
Would you like to propagate rosemary to create an aromatic hedge or to give plants to your neighbours? The good news is that the rosemary is one of the easiest plants to propagate by cuttings. No need to be a botany expert: follow this step-by-step guide to turn a simple branch into a vigorous new bush.
Why propagate rosemary?
Propagation by cuttings is a technique for multiplying your favourite plant. Unlike sowing (seed), the cutting guarantees that the new plant will have exactly the same fragrance and the same resilience as the mother plant. It’s free, eco-friendly and very rewarding!
When to propagate rosemary?
To maximise your chances of success, two periods are ideal:
In spring (May–June): use herbaceous shoots (young and tender). Establishment is very rapid.
At the end of summer (August–September): use late-summer shoots (which are starting to become woody). This method yields the most robust cuttings.
Equipment needed
A well-disinfected pruning shear (with alcohol) to prevent diseases.
Small terracotta or plastic pots.
A mix of potting mix specially for sowing and cuttings, optionally enriched with sand (for drainage) or perlite.
A rooting hormone (optional; rosemary does fine without it).
Good to know: there are excellent books on propagation by cuttings, such as Terre Vivante's Terre Vivante’s Cheat Sheets: Cuttings and Co. from Terre Vivante editions.
Step-by-step guide to propagation by cuttings
Step 1: Choosing the shoot
Select a healthy-looking branch, without flowers. Cut a cutting about 10 to 15 cm long. Opt for the tip of a shoot that is not too soft and not too hard.
Step 2: Preparing the cutting
Remove the leaves from the lower half of the stem. You should leave the bottom of the stem bare.
Trim the top of the stem to stop vertical growth and promote root development.
Step 3: Planting (or in water)
There are two methods:
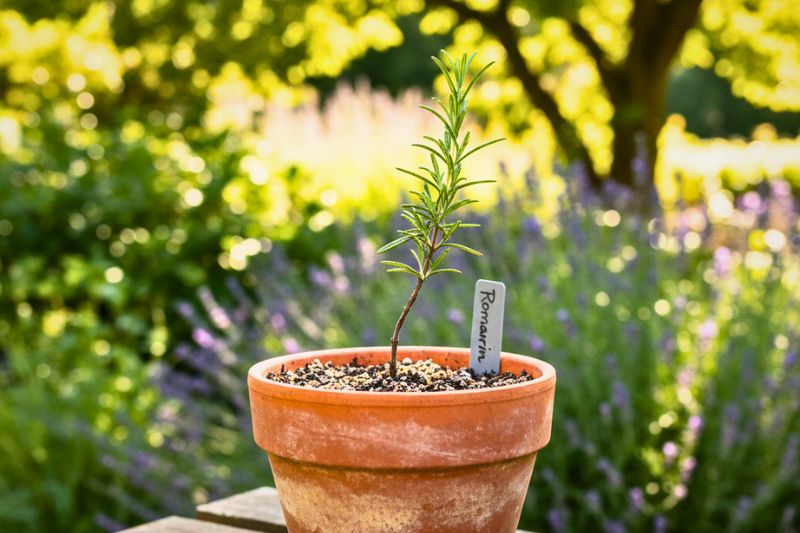
In soil (recommended): push the bare portion of the stem into your pot filled with the soil/sand mix. Lightly firm with your fingers.
In water: place the stem in a glass of water (only the bare portion should be submerged). Change the water every two days. Once the roots reach 2–3 cm, repot.
Terracotta pots are better because they breathe, unlike plastic pots. (AI-generated image)
Step 4: The ideal location
Place your pots in light shade, in a wind-sheltered spot. The soil should stay moist but never waterlogged.
Expert tip: For a greenhouse effect, cover the pot with a cut plastic bottle. This maintains humidity (sealed-propagation).
Care and repotting
After 4 to 6 weeks, new leaves should appear: that’s the sign that roots have formed!
Overwintering: if you propagate in autumn, keep your young plants out of frost (bright conservatory or well-lit garage).
Planting in the open ground: wait until the following spring (April–May) to plant rosemary in the garden, in well-drained soil and in full sun.


Comments