


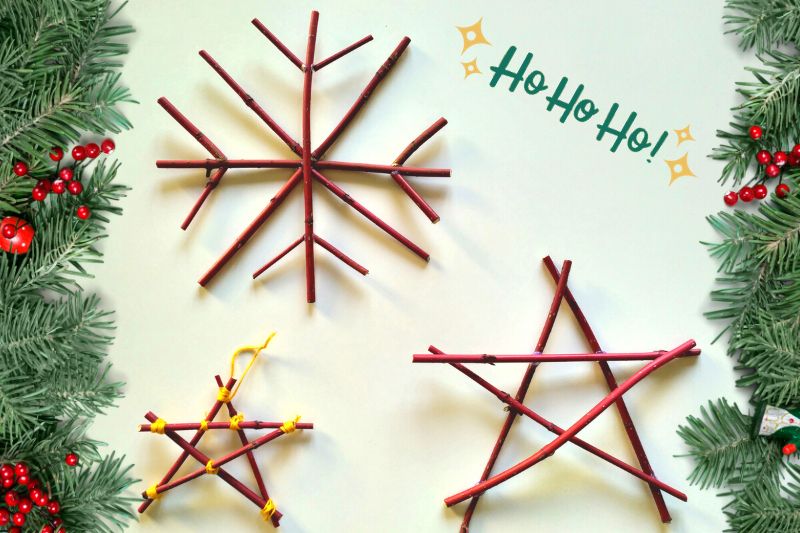
Red, white, sometimes green, lots of lights and a little glitter… Magic of Christmas lies in sparkling decorations and warm traditions, delighting children young and old! This year, why not add a personal, natural touch to your tree with stars made from branches? Simple, eco-friendly and incredibly charming, this DIY project is perfect for bringing family together for a creative activity. A reflection of your creativity, these branch stars, hung on your tree, will create a cosy, festive atmosphere. Follow this step-by-step guide to beautify your home.
Materials needed
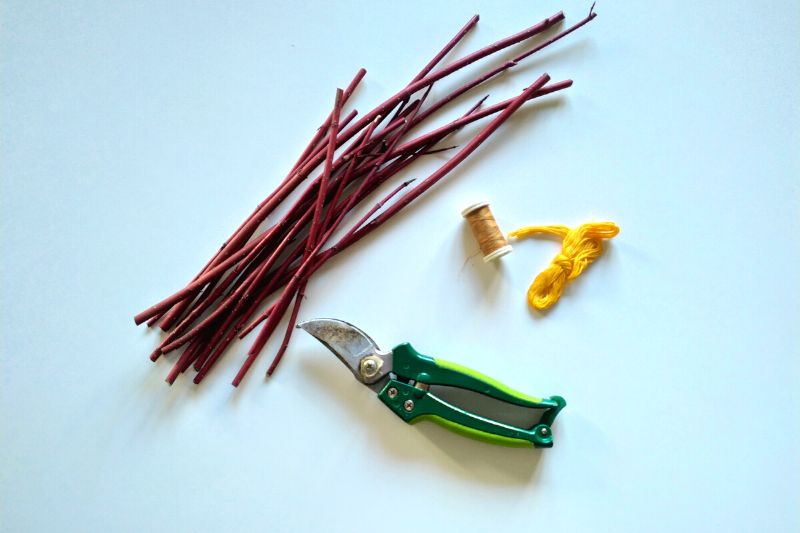
To start this creative, festive venture, here is what you'll need :
- Branches: Choose sturdy but flexible branches. Willow or hazel branches are ideal for their flexibility and strength. And why not red branches from dogwood, like those used in this tutorial?
- Pruning shear: Essential tool to cut branches precisely. Ensure it is sharp for a clean cut, and keep out of reach of children.
- Hot glue gun: It will be your best ally to assemble the stars securely. Be careful with little ones who may burn themselves. Alternative: use natural string or coloured twine.
- Jute twine: To hang your stars, jute twine adds a rustic, natural touch. You can also use ribbons or coloured string.
- Optional accessories: Think paint, glitter or any other decorative element to personalise your stars.
Steps to create your branch star
Step 1: walk and branch preparation
Start with a walk in nature or your garden to select perfect branches for your project. Look for thin branches, ideally with some flexibility to make handling easier. Once you have chosen your branches, use the pruning shear to cut them into pieces about 10 to 20 cm long, depending on the size of stars you want.
Tip: you can even make a large star as a wall decoration, or tiny ones to decorate table centres for the holidays.
Step 2: assembling the star
- Take five branch pieces and arrange them into a star shape.
- For a strong assembly, apply a dab of hot glue at each intersection with the gun. Press branches firmly together until the glue sets.
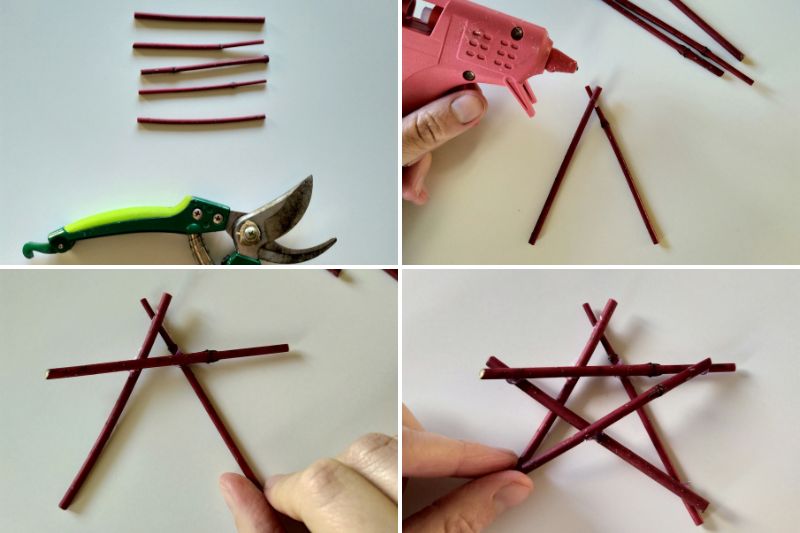
- Facultative: as glue is not foolproof, especially outdoors or with delicate little hands, you can tie each end with a piece of natural string, white or coloured.

Step 3: preparing for display
To hang your star, attach a piece of jute twine or an elegant ribbon to one of the upper branches. Your branch star is now ready to join your tree or home decoration, bringing a touch of nature and magic to your Christmas.
Step 4 (facultative): Personalisation and Decoration
You can also personalise your star further by letting your imagination run free to decorate it. For example, you can wrap it delicately with ribbon or paint the star in festive colours (and a second workshop to keep little elves busy on rainy days!). For a touch of sparkle, glitter is always an excellent option.
Alternative: snowflake
For those who want to explore other seasonal shapes, creating snowflakes from branches is an excellent alternative (perhaps even easier to make!).
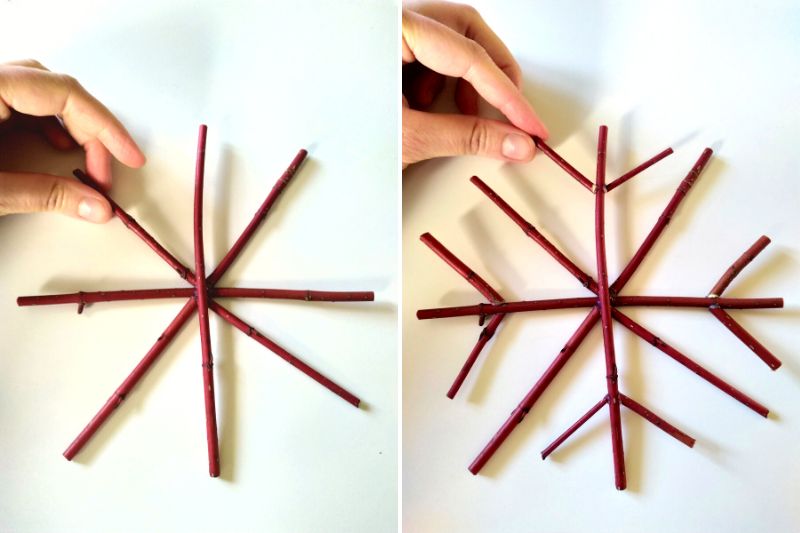
- Use two long branch pieces of equal length to form a cross.
- Fix them with hot glue.
- Then take four branch pieces half as long as the first two, and glue them (photo left below).
- Fix four small branch ends to form the top of the snowflake (photo right below).
- You can leave it natural or decorate it with glitter or white paint to imitate snow.

Comments