


How to grow a Phormium in a pot?
Our tips for successfully planting and maintaining New Zealand flax
Contents
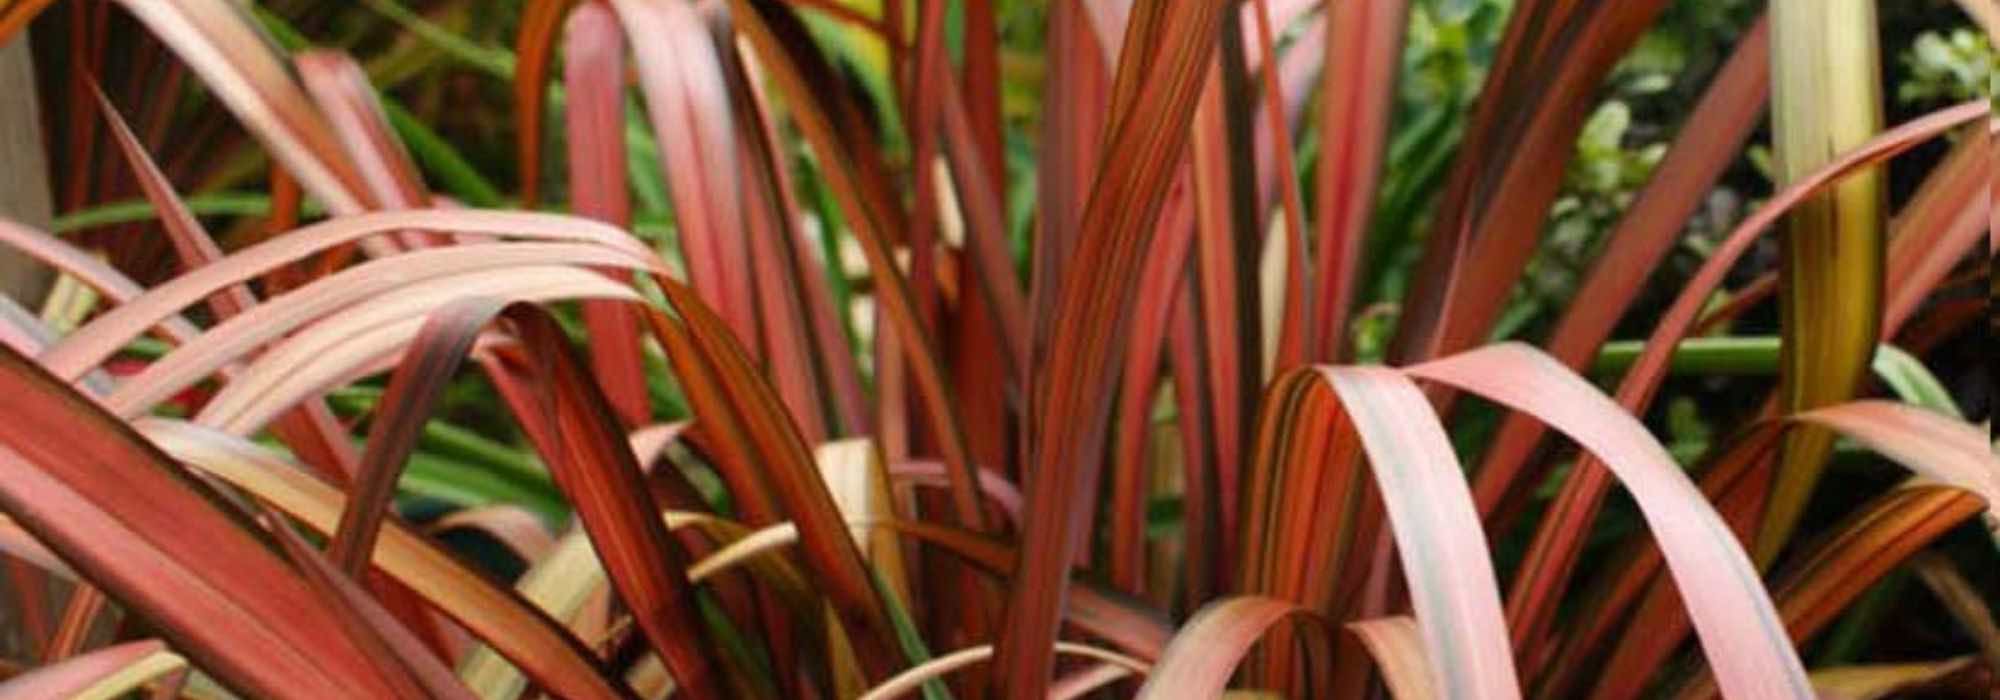
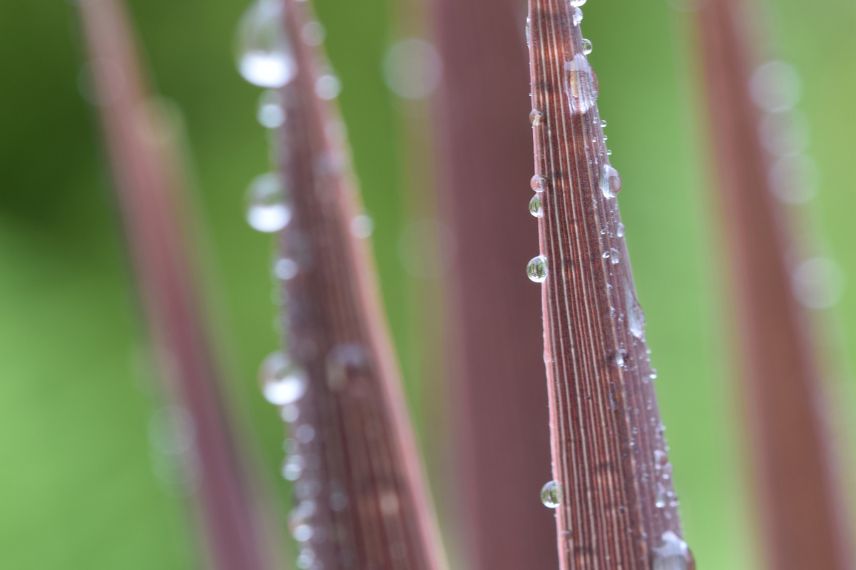
The Phormium or New Zealand flax is a perennial plant valued for its dense, graphic, and colourful foliage, which adds a truly exotic and structural touch to the garden.
Medium hardy, this cousin of the agaves can only withstand moderate frosts, not exceeding around -7°C. It can therefore only be grown in the ground in regions with mild winters, typically located by the sea. However, the good news is that it can easily thrive in a pot, simply stored away for the winter.
Discover our tips for successfully planting and maintaining Phormiums in pots.

Which Phormium varieties to choose?
The height of Phormium varies from about 30 cm to 3 m. For pot cultivation, opt for the smaller varieties, which will not exceed 1.50 to 2 metres at most. You will have a wide choice of foliage colours, either solid or variegated, ranging from bright yellow-green to dark purple, almost black.
The Phormium tenax is better suited to the dry climate of the Mediterranean. For example, consider the following cultivars:
- ‘Yellow Wave’ (1.50 metres tall with a 1 metre spread), featuring variegated leaves combining light yellow and green;
- ‘Flamingo’ (1.20 metres tall with a 1 metre spread), known for its pink foliage edged with green;
- ‘Evening Glow’ (1.30 metres in all directions), with its long pink-purple ribbons;
- ‘Jester’ (1 metre tall with an 80 cm spread), showcasing a stunning pink tinged with bronze and edged with green;
- ‘Apricot Queen’ (1.50 metres tall with a 1 metre spread), featuring multicoloured and evolving leaves, shaded with yellow, green, orange, red, and bronze.
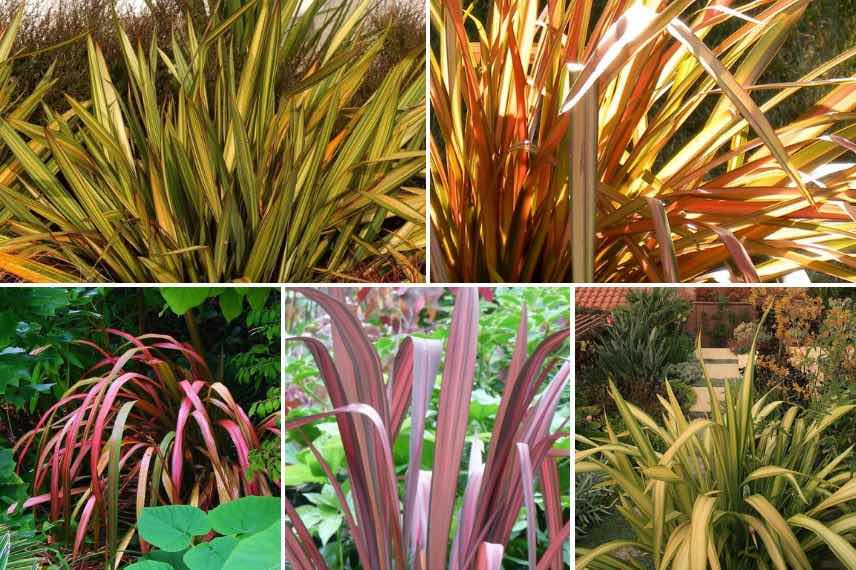
Clockwise: Phormium tenax ‘Apricot Queen’, ‘Flamingo’, ‘Yellow Wave’, ‘Evening Glow’, and ‘Jester’
In the wetter regions of the Atlantic coast, prefer Phormium cookianum. For example, choose from:
- the purple ‘Black Adder’ (1.20 metres in all directions), with foliage so dark it appears almost black;
- the small ‘Blondie’ (60 cm in all directions), very bright with its yellow-cream ribbons edged with green;
- ‘Tricolor’ (1.50 metres in all directions), which mixes, as its name suggests, the three colours green, yellow, and pink.
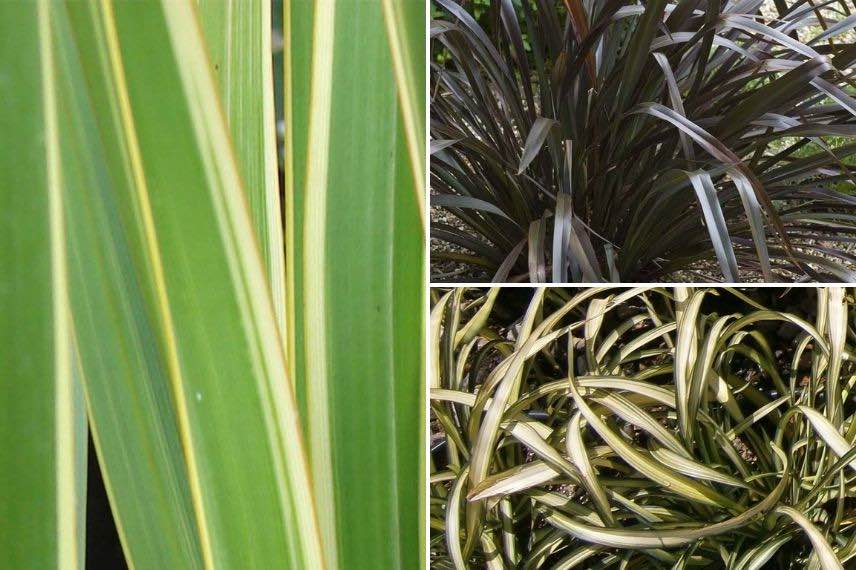
Phormium cookianum ‘Tricolor’, ‘Black Adder’, and ‘Blondie’
When to plant Phormium in pots?
Planting New Zealand flax is ideally done in spring between March and May, depending on the region. It can also take place in late summer, from September to October.
Carry out the planting outside of dry or frost periods if you wish to leave your Phormium in its pot outside immediately after planting.
Planting Phormium in Pots
The Container
Phormium forms bushy clumps with a rather spreading silhouette. Therefore, plan for fairly large containers that match their growth!
Always opt for a pot or trough with a drainage hole to allow rainwater or watering to escape without stagnating.
Choose a container that is at least 50 cm in diameter and depth.
Only dwarf varieties (about 50 cm in all directions) can be grown in window boxes or smaller containers. Allow a minimum of 30 cm in diameter.

Dwarf phormiums make beautiful subjects for wooden window boxes
In terms of material, terracotta containers allow the substrate to breathe better but will require more regular watering (the soil dries out more quickly). You can also grow your Phormium in a wooden trough.
To facilitate the wintering process, feel free to add wheels under the chosen container for easy movement.
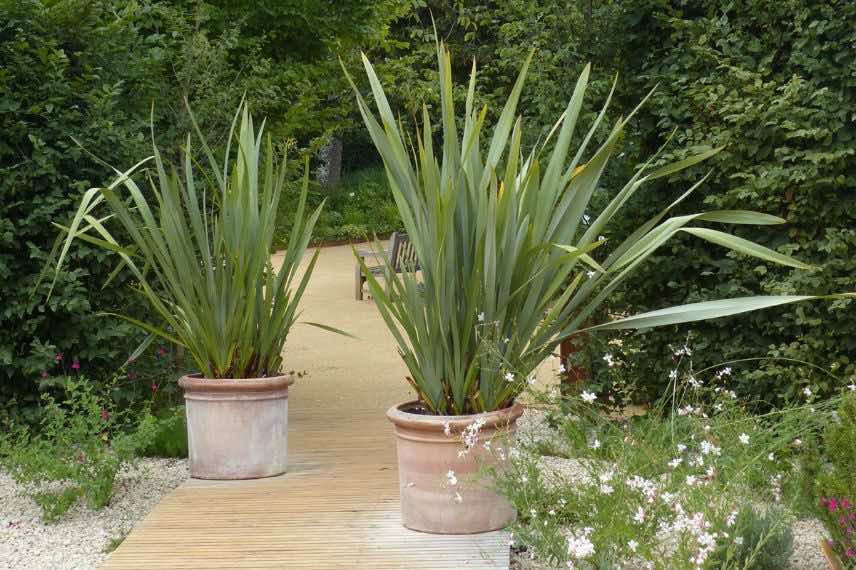
Large phormiums in terracotta pots
The Substrate
New Zealand flax appreciates fertile soils, rich in organic matter, but perfectly drained to avoid any water stagnation in their rootstocks.
For planting, prepare a mixture consisting of:
- 2/3 of good quality horticultural compost;
- 1/3 of coarse sand or gravel to lighten and promote drainage;
- 1 handful of household compost or well-decomposed manure.
The Planting
- Soak the root ball in a bucket or basin of water to rehydrate it and remove it more easily from its original container;
- Install a drainage layer at the bottom of the container, about 3 cm high. Use clay balls, gravel, terracotta shards, or pumice.
- Fill with the substrate mixture up to 2/3 of the container.
- Remove your Phormium from its container and gently untangle the roots with your fingers.
- Place it in the centre of the container and cover with substrate.
- Firm around the root ball with your hand and add more substrate if necessary.
- Water generously.
- Add a mulch made of RCW, dead leaves, or vegetable husks.
The Exposure
Phormium prefers sunny or partially shaded locations. They tolerate windy spots and sea spray, making them excellent outdoor plants for seaside gardens or terraces. They also withstand pollution, making them good candidates for urban gardens.
Caring for Potted Phormium
New Zealand flax is not a particularly difficult plant to grow, but pot cultivation requires special attention to watering and fertilisation. The substrate dries out more quickly and loses its nutrients faster than when grown in open ground.
Watering
Phormium prefer cool soils, meaning they should remain slightly moist. In spring and summer, water as soon as the surface of the substrate is dry, without waiting for the soil to be completely dry. During dry periods, several waterings per week may be necessary. Prefer watering in the evening, out of direct sunlight, to limit evaporation.
Watering can be reduced in autumn. In winter, allow the soil to dry out between waterings (by several centimetres at the surface).
Mulching at the time of planting will help limit natural evaporation and retain moisture around the base of the plant.
Dried leaves may indicate a lack of water. Conversely, yellowing leaves may suggest overwatering or poor drainage.
Although it is a cousin of the Agave, Phormium needs to be watered in pots
Fertilisation
Phormium is quite a hungry plant, especially when grown in pots. Throughout the growth period, from April-May to September, make regular applications of fertilisers, specifically for ornamental foliage plants. Liquid fertilisers diluted in watering will have a quick short-term effect, while solid fertilisers will act slowly over the long term. Be sure to follow the dosages indicated on the packaging.
You can also apply well-decomposed compost to the surface, gently incorporating it into the substrate by scratching.
Pruning
Maintenance pruning simply involves:
- removing dried or damaged leaves in spring,
- cutting off faded flower spikes at the base at the end of summer.
Always use disinfected cutting tools to avoid the risk of transmitting diseases from one plant to another.
Pests and Diseases
Phormium are not particularly susceptible to pests and diseases. In dry conditions, mealybugs may occasionally appear. They are identifiable by the white clusters they leave on the leaves. If you act at the onset of the infestation, you can remove them manually with a cotton bud dipped in alcohol. In case of severe infestation, use a natural insecticide based on vegetable oil and black soap. Find more information in our articles: “Mealybug: identification and treatment” and “Diseases and pests of Phormium.”
Wintering
New Zealand flax is only moderately hardy, down to about -7 °C in well-drained soil. Varieties with coloured foliage are even more sensitive to cold. Note that pot cultivation also makes plants less tolerant to frost, which is why you will need to protect your Phormium for winter.
In regions with short and mild frosts, it is possible to simply use a winter fleece around the foliage, combined with a thick mulch at the base of the plant. Also, consider insulating the pot from the ground by placing it on a stand, on cardboard, or wrapping it in bubble wrap or newspaper. This will help increase cold tolerance. Position your pot in a south-facing location, sheltered from prevailing winds. Remove any saucer underneath.
If the winter conditions in your area are harsher, bring your potted Phormium indoors to a frost-free, unheated but bright location (conservatory, greenhouse, shed, etc.).
Stop fertiliser applications and reduce watering. Wait until the substrate is dry by several centimetres between waterings.
Repotting
Repotting will occur every 2 to 3 years, depending on the root development of your Phormium. If the roots start to come out of the drainage holes, it is a sign that it is time to repot.
In years without repotting, simply perform a top dressing in spring. This involves removing about 3 cm of the surface substrate and replacing it with fresh potting soil. Lightly scratch the surface to help the new layer of substrate penetrate.
- Subscribe!
- Contents

Comments