


Eco-friendly gardening: how to make your own plant labels for the garden and the vegetable garden?
Our ideas for giving your waste a second life.
Contents
Most gardeners know this well: to keep a garden or allotment well organised, it’s essential to correctly identify the plants you’re growing (and it helps prevent accidentally pulling up the wrong plants). But instead of buying ready-made labels from shops, why not opt for upcycled labels? It’s good for your wallet and for the environment too! Discover our ideas for DIY labels made from recycled materials.

Using pieces of wood
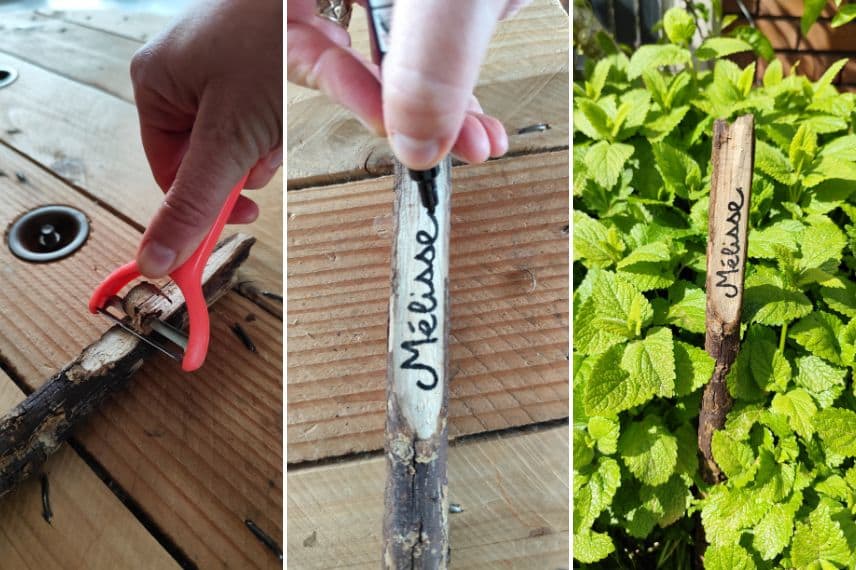
To begin, I’m going to talk to you about the easiest label to make in my view: the label with a single piece of wood. Simply pick a dry branch from the garden, especially during shrub pruning.
Once the branch is chosen, trim it to the right length. Then, using a knife or a vegetable peeler (tested and approved) remove the bark from the top of the stick, then, with a marker or an acrylic pencil, mark the name of the plant. Plant the stick beside the plant in question.
The advantage of this stick is that you can do it at any size, including higher than the plant to allow quick identification at a glance.
Ingrid’s tip: Admittedly, oak or cedar are more durable in the long run, but you can use any type of wood! Personally, I use branches from pruning my pear trees and I renew my wooden labels every two years. You can even use a piece of a broken stake, a scrap of pallet or a batten.
Read also
10 tips for gardening on a budgetCreate pebble labels
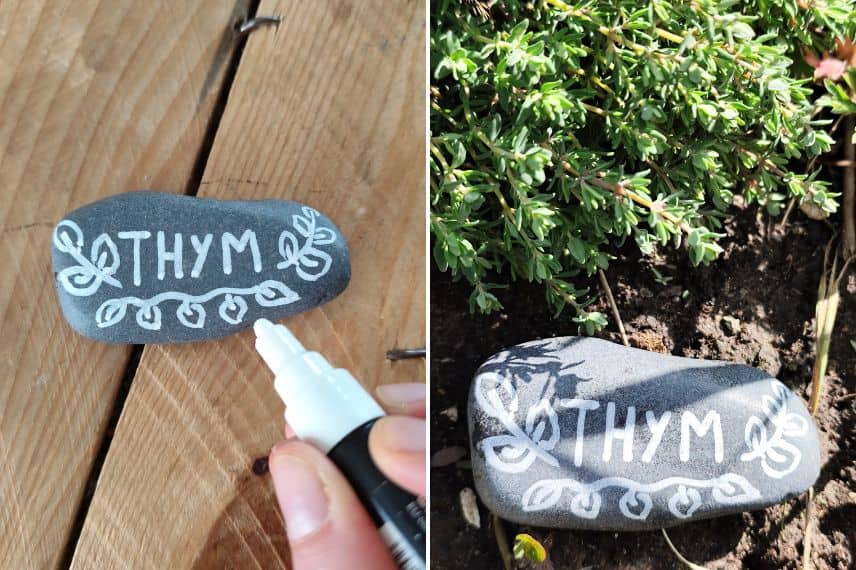
Here again, these are easy-to-make labels that you can also make as a family with the kids! Choose pretty pebbles and use acrylic paints or permanent markers to write on them. Feel free to draw little leaves, mandalas or any other illustrations (ladybirds and the like), letting your imagination run wild. These labels add an aesthetic touch to your garden while being extremely durable. The only drawback is that they sometimes disappear under dense vegetation in summer… but they reappear in autumn.
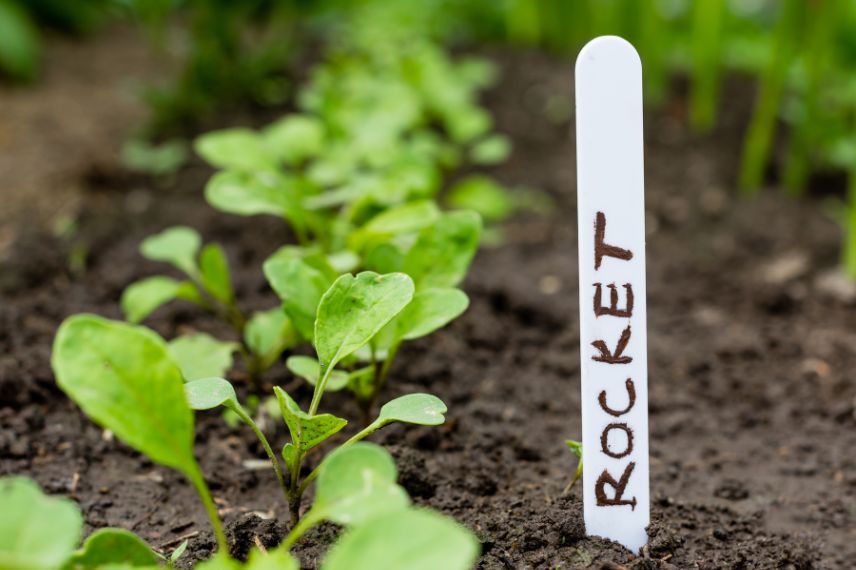
Upcycle ice lolly sticks
After enjoying an ice cream, you often have the ice lolly stick still between your fingers. Instead of throwing them in the bin, keep the sticks to make garden labels. Clean them, let them dry, then write on them with a permanent marker. These sticks are perfect for identifying sowings and young plants in pots. It’s a simple and quick method that you can also do with children who want to take part in gardening activities.
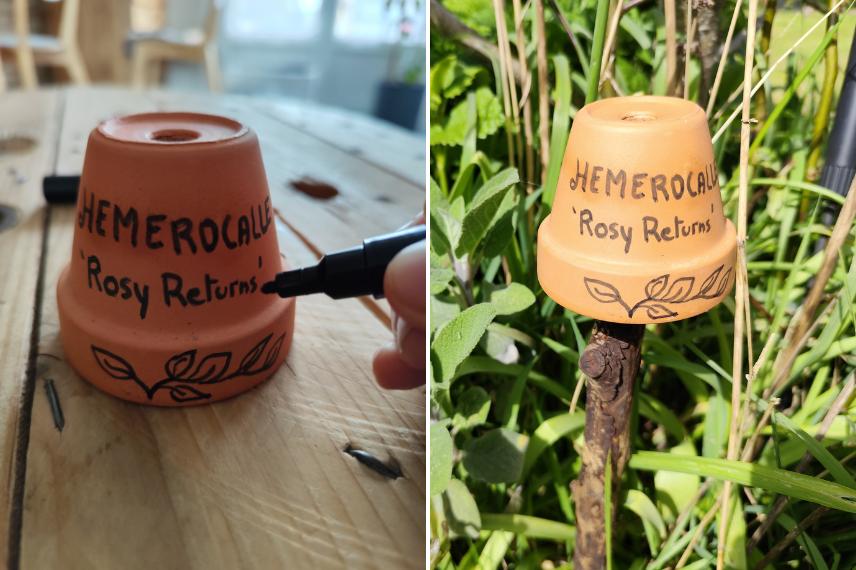
A hat made from a small terracotta pot.
In the garden, it’s always handy to have terracotta pots for sowing or earwig shelters, but also to protect the tops of the stakes from the weather. And what if we adapt this idea to make garden labels?
To do this, insert a stick into the soil at the base of the plant you want to identify. Turn the pot over, then write the plant’s name with an acrylic marker or felt-tip pen. You can add small drawings or let the children decorate the pot. Then place the pot on top of the stick.
Ingrid’s tip: If you also sometimes have balloons drifting around the garden and worry about your little pot, you can fix it with a screw driven into the stick, passing through the pot’s drainage hole.
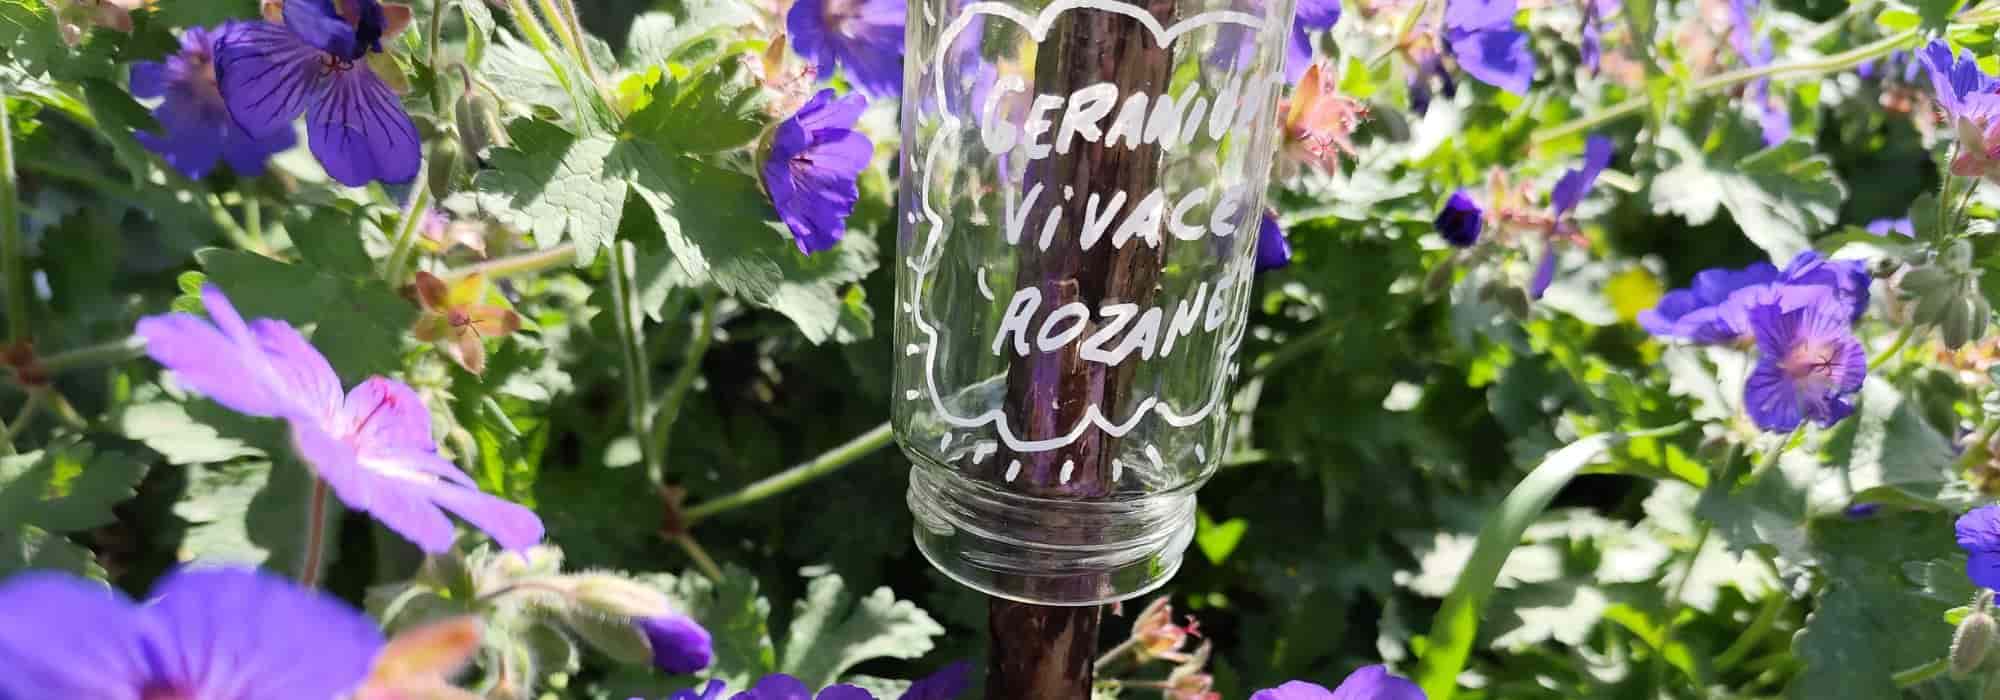
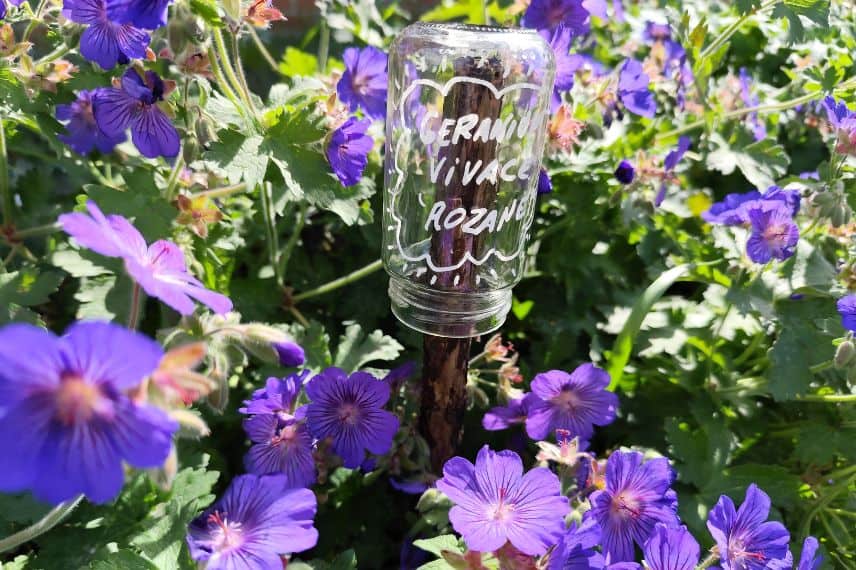
Alternative: the glass pot turned upside down on a stick
Similarly, A glass pot can be used as a label holder by turning it over and placing it on a stake. Depending on the height, you can write the name of the plant on the bottom of the pot or on the sides. You can also stick the label provided at purchase to the bottom of the pot. This method not only recycles your glass pots, but also provides rain protection, keeping your labels legible for longer.
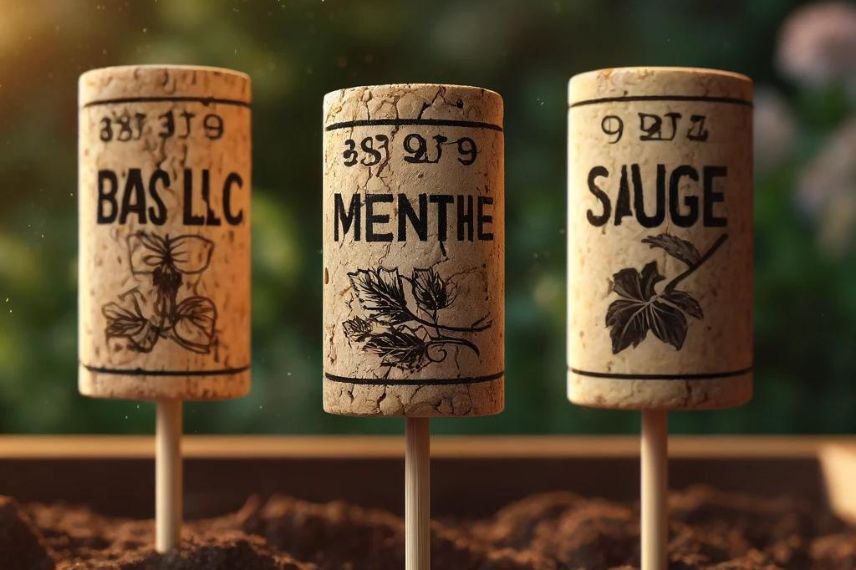
Use old cork stoppers.
Corks are perfect for creating discreet, natural-looking garden labels. Simply insert them onto a wooden stake (such as a barbecue skewer) or a metal stake and engrave or write the plant’s name with a permanent marker. They withstand the weather well and blend seamlessly into the garden setting.
You can even recycle the now-empty bottle! Clean it, then plant it upside down on a wooden or bamboo stake. With a permanent marker, write the plant’s name.
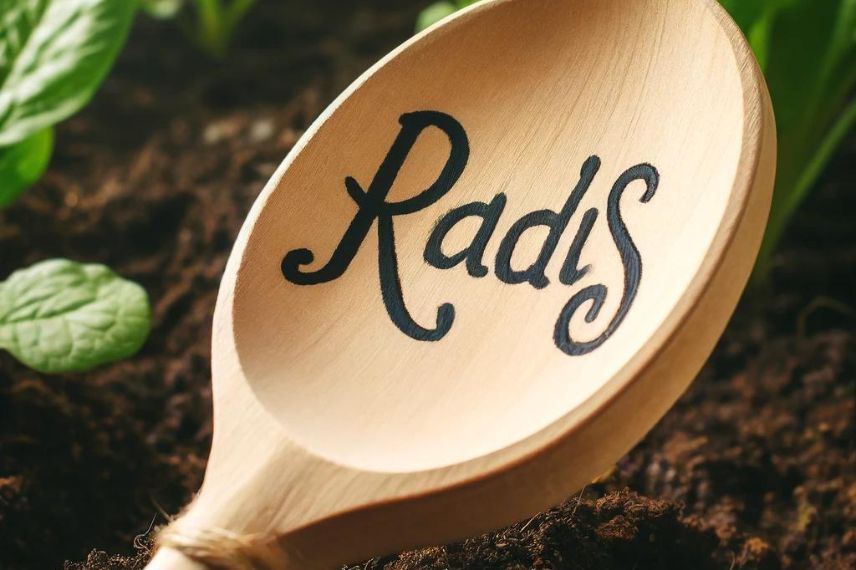
Turning spoons into labels
Did you know that you can also use old spoons to make stunning garden labels and a flea-market vibe? And yes! For this, you only need a few metal spoons, often found at car boot sales or tucked away at the back of our drawers. Place the spoon flat between two wooden boards, then with a hammer, flatten the spoon. Once well flattened, engrave the plant’s name with engraving tools (for the handiest among us) or simply with a suitable marker. All that’s left to do is to plant the spoon by its handle beside the plant.
Ingrid’s tip: even simpler, collect and recycle old wooden spoons (second-hand) to inscribe the names of your plants.
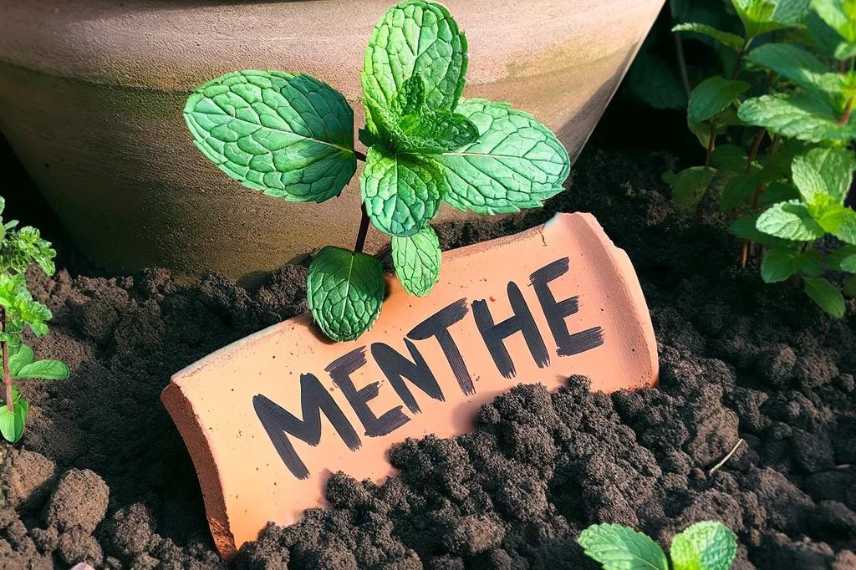
Reuse broken terracotta pots
I don’t know about you, but in my garden I sometimes end up breaking a few terracotta pots accidentally. Sure, you can reuse those pieces by placing them at the bottom of the drainage layer in other pots, but there’s more to it! These terracotta pot shards also make an excellent base for sturdy labels. Write the names of the plants with a marker or an acrylic pen, then insert this pot shard and that’s it! It’s easy and stylish.
Similarly, you can recycle pieces of tile or old bricks, or even old vinyl records.
- Subscribe!
- Contents

Comments