


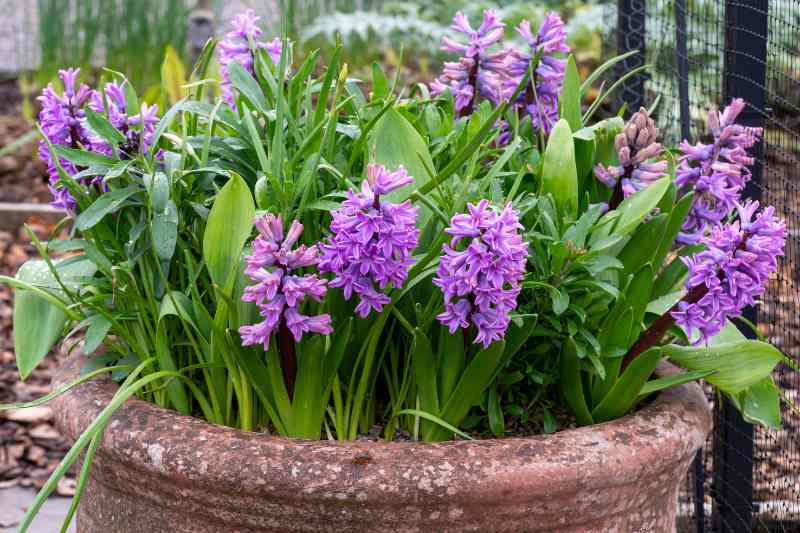
When spring peeps around the corner, how lovely to have a terrace or balcony adorned with pretty containers of tulips, daffodils, hyacinths and all the wonderful spring-flowering bulbs! For this, you need to have anticipated their planting and know how to compose charming displays in urns, small pots or handsome planters.
Here are the steps not to overlook to obtain superb pots of spring bulbs, floriferous and generous, as soon as the days grow longer.
Planting period for spring bulbs
As with planting in open ground, you must start a few months in advance to plant spring bulbs in pots.
Planting spring bulbs in pots is done in autumn, from September to mid-December. This period allows bulbs to experience the cold temperatures necessary for vernalisation, an essential process to induce flowering. Night temperatures should fall to around 6–7 °C for bulbs to develop well. You can plant later, up to December in mild-climate regions, in the south or after very mild autumns.
Plant bulbs as soon as you buy or receive them. The later you plant, the more likely flowering will be delayed or shorter. For early-flowering bulbs, planting too late can even compromise flowering in the first year.
NB: for novice gardeners, remember to note this recurring task in a small notebook, your garden log that will accompany you all year! It will also remind you to buy bulbs early to enjoy the widest selection of these long-awaited bulbs.
Choosing the right pot for spring bulbs
Pot choice is important on a balcony or terrace. Depending on the effect wanted and on the size of the bulbs, you do not plant in the same type of pot or planter.
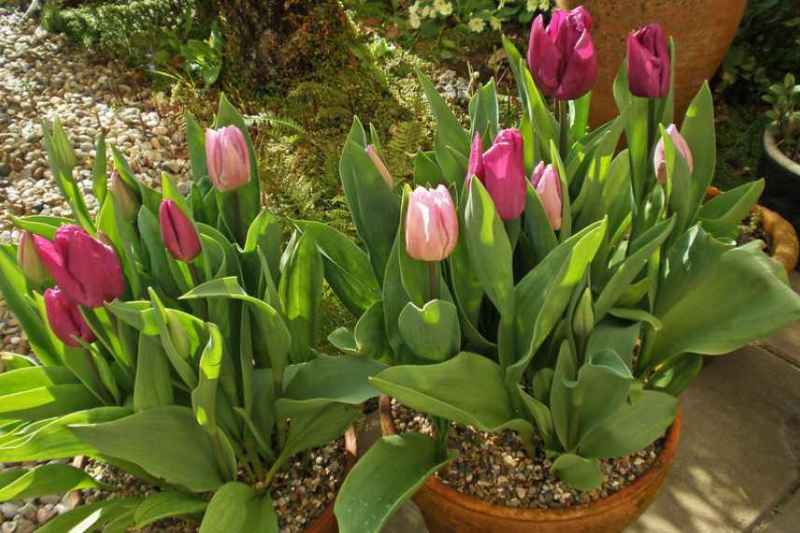
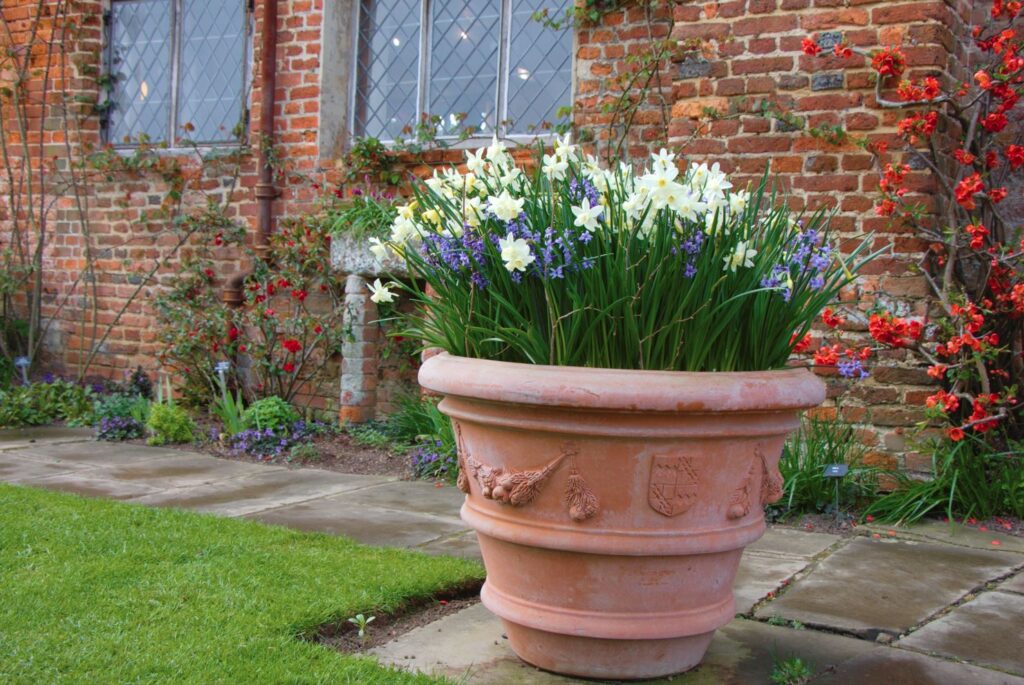
All terracotta pots particularly showcase spring bulbs, their terracotta colour matching all flower hues and their material allowing good gas exchange.
If you want a more theatrical effect, use glazed pots. For example, a blue glazed pot is superb when planted with orange-, blue- or white-flowering bulbs. A green glazed pot enhances all bulbs, particularly pastel flowers. Small-calibre bulbs are especially suited to urns, medium calibres work well in planters and the largest in deeper containers.
Beyond aesthetics, consider two major points first:
- Pot size
Everything depends on whether you plant only bulbs or plant in a pot already occupied by a bush or a perennial.
Pot size also depends on the type of bulb you want to plant. For small bulbs like crocus or muscari, pots 15–20 cm in diameter are sufficient. For larger bulbs such as tulips or daffodils, choose pots 25–30 cm in diameter. For very large bulbs like imperial fritillaries, urns or planters 40 cm in diameter or more are recommended. For mixed plantings of several bulb types, you can go up to pots 50–60 cm in diameter. - Drainage holes
Ensure your pot or planter has drainage holes to avoid water accumulation, which will inevitably rot bulbs. If your pot has no drainage holes, drill a few in the base before starting to plant.
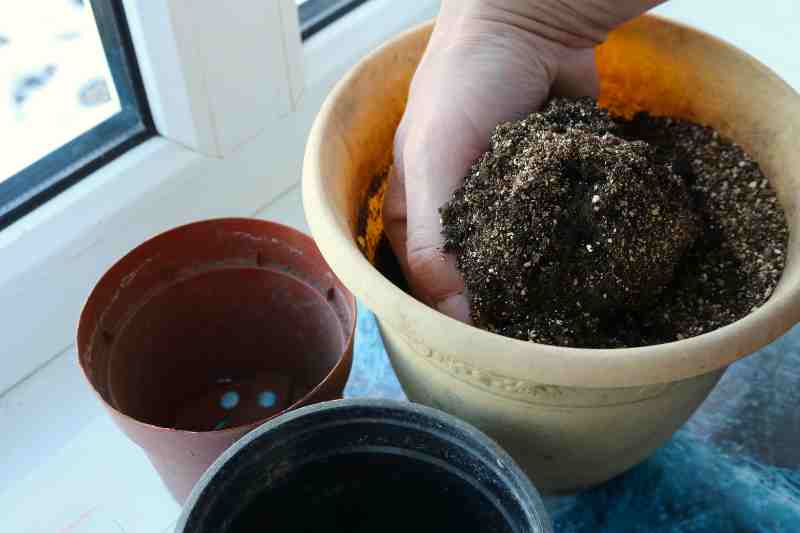
Preparing the ideal growing medium for spring bulbs
Use a well-drained growing medium: bulbs need a loose, friable soil. Prepare a mix of potting compost, garden soil if you have it, and sand or perlite, each making up one third of the mix.
Depth and spacing for planting spring bulbs
The rule is to plant bulbs to a depth equal to twice their height. For the largest bulbs, such as amaryllis or imperial fritillaries, plant them to a maximum depth of 20 cm. Avoid planting too shallowly, as bulbs tend to work themselves out of the soil.
Space small bulbs 2 cm apart and larger ones 3–4 cm apart. For a massed effect, group bulbs 5–7 per planting hole. This works particularly well for tulips, daffodils, muscari and crocus.
NB: crocus, muscari, hyacinths and dwarf irises can be planted less deeply in an urn, for example, with their bulbs partly emerging from the pot.
For more information, read our article: "Which way to plant bulbs?".
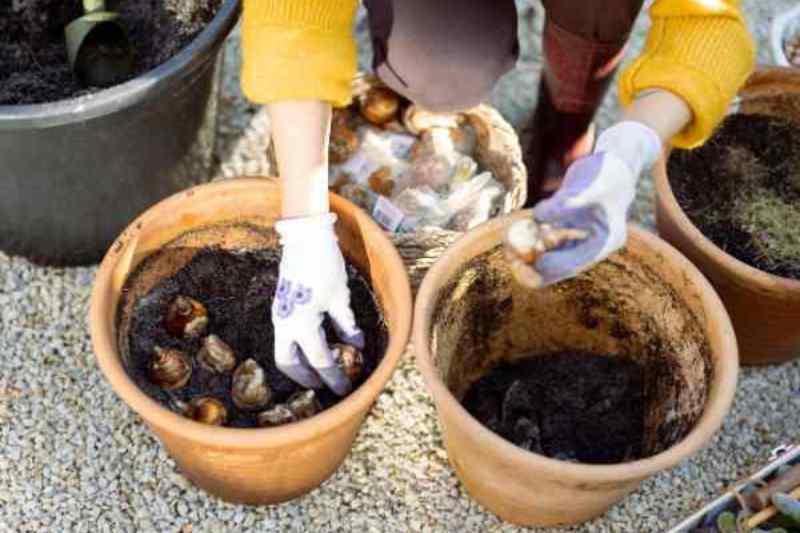
Planting spring bulbs in pots or planters: how many? how?
First tip for planting bulbs in pots: do not skimp on the number of bulbs. Even more than planting in open ground, do not hesitate to plant close together in a container, almost touching, to achieve the result you patiently wait months for: an explosion of colour and freshness when spring returns.
All bulbs have a correct planting orientation. The pointed end is always oriented upwards, while the flat side should face down. If the bulb already has roots, that helps and those will be positioned downwards. If in doubt, place the bulb slightly on its side. For cyclamens and anemones, adorable in planters or urns, the concave face should be up. For ranunculus, the "claws" should face down. For crocus, the broader, rounded part should be down and the pointed part up.
Use a transplanter, effective for digging holes in loose medium. If you plan to make several layers of bulbs, this tool will not be useful (see below).
- Place a thin layer of gravel, broken pot sherds or clay balls in the base of the pot.
- Fill with your growing-medium mix. Place bulbs point upwards at the correct depth.
- Cover with medium. Firm down very lightly and water if weather is dry. That’s it! Now wait patiently for spring to arrive.
My tip: even for a small planter or container, plant in groups of 3 or 5 identical bulbs. Too many different bulbs flowering at the same time is rarely the most attractive. Prefer combinations of 2 or 3 different flowers maximum if they bloom at the same time.
Create a bulb container on different layers
When the pot is deep enough, you can also prepare a container that contains bulbs of different sizes planted at different heights to benefit from staggered and/or varied flowering within the same container. Arrange one to four layers of bulbs, starting with the largest bulbs at the bottom.
For example, imperial fritillaries or alliums, which you cover with your growing-medium mix, then tulips, hyacinths or daffodils in two layers, each covered with medium, then muscari or crocus if you make four "nival zones".
In a planter, generally less deep, you can arrange bulbs in a similar way, favouring smaller bulbs and mixing with perennials such as a hellebore, a fern, a trailing ivy, etc.
Find all these tips in our video How to plant your bulbs in pots? and the step-by-step by Virginie D. in Planting bulbs in “lasagne”
Final tips for your spring bulbs
- Place pots or planters in a sunny or very bright position.
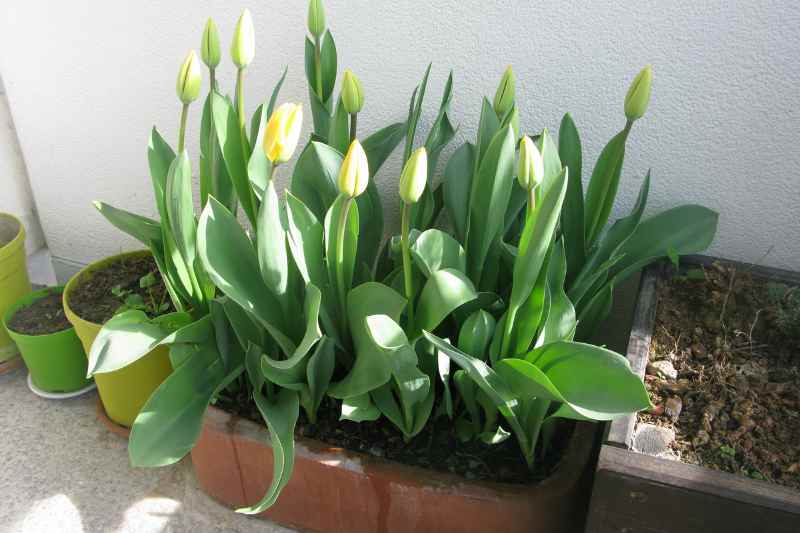
- For small pots and planters, choose short-stemmed tulips, which will withstand wind better on a balcony or windowsill. If the spot is sheltered, all tulips can be suitable.
- Cut stems once flowering is over… but absolutely do not cut the leaves! Leaves are essential for bulbs of all kinds to rebuild before the next season (they help assimilate the plant’s reserves). Wait until leaves have completely yellowed before cutting them or lifting bulbs. At stem level, cut just the flowerhead off, as it also helps assimilate reserves for the following year.
- As with bulbs planted in the garden, consider pairing your spring bulbs with perennials already in the pot such as wallflowers or hardy geraniums, and position them around the edge of the pot, or plant them at the same time in autumn, the ideal period to do so.
- The great advantage of containers and planters is that you can renew your display each year by changing plants, since you can decide to plant some bulbs permanently in the garden. Experiment with slightly less common bulbs that are also very beautiful in pots, combined with hyacinths or daffodils: Chionodoxa, Ipheions, snowflakes (Leucojum), etc.


Comments