


Planting of Arum
Where, when, and how?
Contents
Ethiopian arums, also known as Zantedeschia, are elegant and fascinating plants that bring a touch of exoticism to any garden. With their large glossy leaves and cup or funnel-shaped flowers, these plants are often associated with refined gardens or floral arrangements. To successfully grow arums, it is essential to understand how and when to plant their bulbs. Let’s discover how to properly plant our arum bulbs.
→ To learn more about growing arums, feel free to browse our family sheet: Arums: planting, growing and caring for.

When to plant calla lilies?
The ideal time to plant arum bulbs is in spring, when temperatures begin to rise and the risk of frost has passed. Generally, this corresponds to a period from March to May, depending on the regions. Arums need warmth to thrive, which is why they should be planted after winter.
Where to plant calla lilies?
Callas or arums prefer bright areas, but not those exposed to direct sunlight all the time. Partial shade is perfect for them, especially in regions where summers are very hot. They can be grown in open ground, in gardens, or in pots if you wish to move them or protect them from the cold.
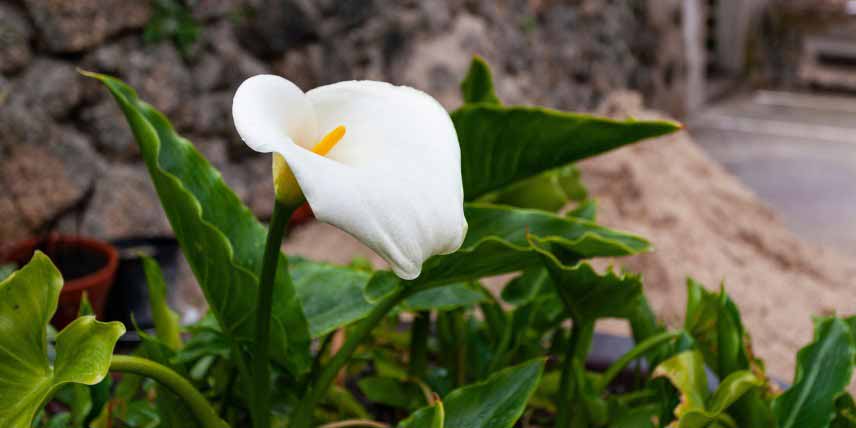
The flowering of an Arum, Zantedeschia aethiopica
Choosing the planting substrate
Callas appreciate rich, well-drained soil. It is important to avoid stagnant water that could cause the bulbs to rot. A slightly acidic to neutral soil (pH 6-7) is preferable, but callas are not very demanding in this regard. If your soil is heavy or clayey, do not hesitate to amend it with compost to improve drainage.
How to plant calla lilies?
In open ground
- Prepare the soil: loosen the soil to a depth of 20 cm. Add compost if your soil is heavy or poor.
- Planting depth: plant the calla bulbs at a depth of about 10 cm, point facing upwards. Maintain a spacing of 30 to 40 cm between each bulb to allow them to spread properly.
- Initial watering: after planting the bulbs, water moderately to moisten the soil, but do not flood it. Callas do not need a lot of water initially, just enough to keep the soil moist.

Calla Bulbs
In pots
Required materials
- A pot with a minimum diameter of 30 cm with drainage holes
- Gravel or clay balls for the bottom of the pot
- A rich and well-draining potting mix
- Compost
- Watering can
Steps to plant callas in pots
- Choose a pot with a minimum diameter of 30 cm to allow the roots to develop properly. Ensure there are drainage holes at the bottom to prevent water from stagnating, as callas dislike having their roots waterlogged.
- Before filling your pot, place a layer of gravel or clay balls at the bottom (about 2 to 3 cm) to ensure good drainage.
- Mix universal potting soil with compost to enrich the soil. Fill the pot with this mixture up to 10 cm from the top.
- Plant the calla bulbs at a depth of 8 to 10 cm, with the tip of the bulb facing upwards. Leave 10 to 15 cm between each bulb if you are planting several in the same pot.
- After planting the bulbs, water lightly to settle the potting mix and moisten the soil without over-saturating it.
Post-planting care
- Regular watering: once the young plants have started to grow, maintain regular moisture in the soil, especially during the active growth period. Be careful, they do not like excess water, so ensure that the soil remains moist but never waterlogged.
- Fertilisation: to encourage abundant flowering, add a balanced fertiliser rich in phosphorus every 4 to 6 weeks during the growth period (spring and summer).
- Maintenance of faded flowers: regularly remove faded flowers to encourage the plant to produce new ones. This also helps prevent the plant from wasting energy on seed production.
- Protect from cold: young plants are not very frost-resistant. If you live in an area where temperatures drop below 5 °C, it is best to dig up the bulbs in autumn to winter them in a dry, cool place away from light. For those in pots, you can simply bring them indoors to a cool but bright place, such as a conservatory or a well-lit garage, and reduce watering until growth resumes in spring.
- Monitoring for diseases and pests: young plants are quite robust, but watch for the appearance of diseases such as botrytis (grey mould) or pests such as slugs and snails, which can attack the young shoots.
- Subscribe!
- Contents