


When growing an Alocasia indoors or on the terrace, there comes a time when repotting becomes necessary. Like any potted plant, this beautiful exotic species, native to subtropical Asia and Oceania, requires a larger volume of soil to thrive further.
When should you repot your Alocasia, and how should you proceed? Follow these useful tips!
Why repot an Alocasia?
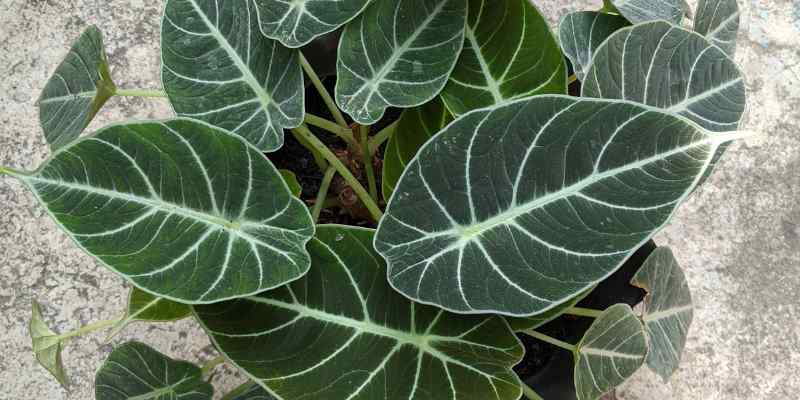
Alocasia is one of those exuberant tropical plants, so exotic! Its broad, lush, or veined foliage is truly luxuriant when healthy.
To keep it in good shape, proper repotting is essential. Repotting provides more space for the roots and renews the substrate. This simple operation gives the plant a boost to continue its growth.
How often should you repot?
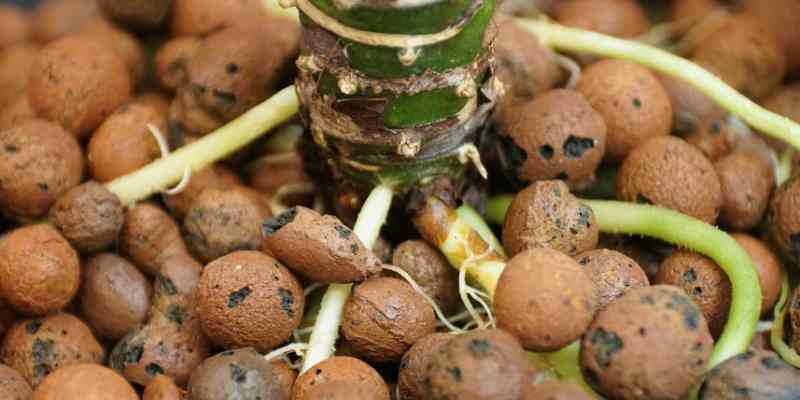
For Alocasia or other non-flowering houseplants, the question often arises: is it time to change pots? Whether it's a giant-leaved Alocasia like the Alocasia macrorrhiza or smaller, more graphic species like the Alocasia zebrina, it's best to observe the plant's roots before considering repotting.
When removing the plant from its pot, roots emerging from drainage holes or becoming spiralled at the bottom of the pot indicate an urgent need to move to a larger pot. Similarly, roots growing on the surface of the soil are another sign from the plant.
A second telltale sign is watering! During watering, water drains too quickly without being absorbed, often indicating that the plant needs fresh substrate. If you need to water your plant much more frequently than before, it's likely that the roots now occupy all available space and the plant needs more soil to retain moisture.
Under good growing conditions, Alocasia should be repotted every two years. Like many houseplants, it prefers slightly cramped roots, so there's no need to repot more often.
Always repot in spring, the ideal time for all houseplants.
Repotting materials
- Gloves (several Alocasia varieties are toxic and can cause skin irritation)
- A pot slightly larger than the old one (2 to 4 cm larger), with drainage holes
- Clay pebbles or gravel
- A well-draining substrate: a mix of potting soil (1/2), perlite or pumice (1/4), and turf or coconut fibre (1/4).
- A trowel
How to repot an Alocasia?
- The day before, lightly water your Alocasia to ease the removal of the root ball
- Prepare the new pot by placing a layer of clay pebbles or gravel at the bottom to improve drainage
- Prepare the substrate by mixing potting soil, perlite, and turf (see proportions above)
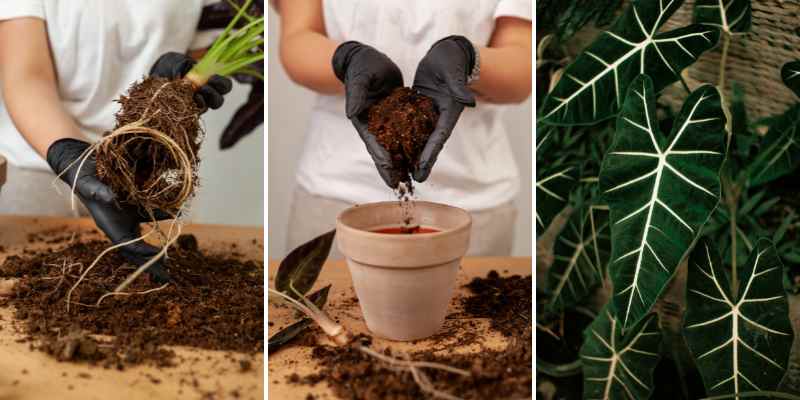
- Remove the Alocasia from its pot
- Tilt the pot slightly and tap the sides to loosen the root ball (if necessary, cut the plastic pot to free roots stuck in drainage holes)
- Trim damaged or rotten roots with disinfected scissors and remove as much of the old substrate as possible
- Place the plant in its new pot
- Add a layer of substrate over the drainage layer
- Position the root ball so the collar (base of the stem) is a few centimetres from the rim.
- Fill the sides with the soil mix and firm it around the base of the plant, without compacting too much
- Water moderately
- Water lightly immediately after repotting. Watering helps settle the substrate around the fleshy roots of the Alocasia
- Wait until the surface of the substrate dries before watering again: moisten without soaking, which could stress the plant.
- Note: if you had to trim many roots, wait two days before watering.
- Place the Alocasia in bright, indirect light
- Avoid direct sunlight for 1 to 2 weeks after repotting
- The plant may droop slightly or drop a leaf or two... This is normal, as repotting is still a stressful event. Recovery usually takes a few weeks.
My tip: if the Alocasia is too large or difficult to handle, opt for top-dressing. Remove 3 to 5 cm of soil from the surface and replace it with fresh, well-draining substrate. This simple action revitalises the plant without disturbing it and is often enough to rejuvenate older specimens without a full repot.
Post-repotting care
- Wait a few days before watering again.
- Fertilisation should also wait. As with top-dressing, the plant has received nutrients from the new substrate. Allow at least four weeks before fertilising to let the plant acclimatise.
- Finally, ensure water doesn’t stagnate in the saucer after each watering.

Comments