


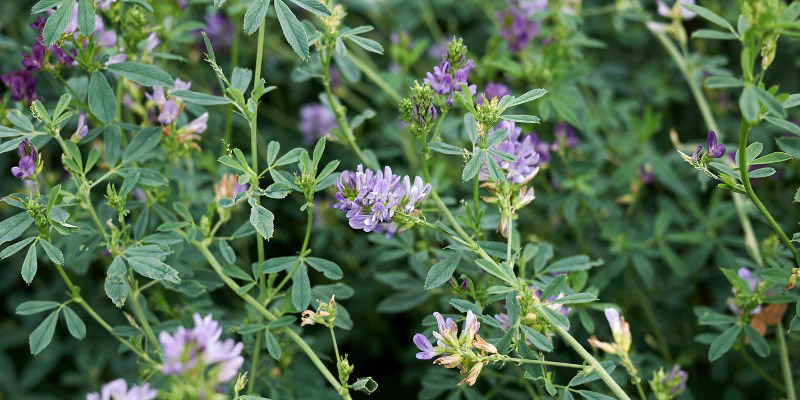
Green fertilisers are plants grown not to be harvested, but to improve soil structure and fertility. There are many species of green fertilisers: for example clover, mustard, lucerne or phacelia. These plants are mown then incorporated into soil to provide nutrients. This practice, common in organic farming, is an excellent way to feed soil. In this tutorial we explain why, when and how to incorporate green fertilisers!
Why incorporate green fertilisers?
It is not obligatory to incorporate green fertilisers: they can also be left on surface as mulch for following crops. Fertilising effect is then slightly delayed, but this technique is more effective at limiting weed growth and preventing erosion. They can also be incorporated into compost or into a lasagne bed.
Incorporating green fertilisers offers many advantages for soil and crops. Once incorporated, they break down more quickly because they are in direct contact with soil and micro-organisms. Mineral elements, such as nitrogen, phosphorus or potassium, become available more quickly to plants, and this prevents them from being leached. This helps feed following crops in a natural and sustainable way.
When to mow and incorporate green fertilisers?
It all depends on species you are growing and on when you sowed green fertiliser. Many green fertiliser species, particularly when sown in late summer or autumn, should be mown and incorporated in late winter. This is the case for rye, oilseed rape, crimson clover… This helps keep soil covered in winter, limiting erosion, and allows plot to be put back into cultivation in spring.
You need to plan green fertiliser crop carefully and anticipate, because you must wait at least one month between mowing and starting a new crop on plot.
It is important to mow green fertilisers before they set seed. Ideally mow just before flowering or at start of flowering. At this stage, plants have accumulated maximum nutrients and their dry matter content is optimal for decomposition. However, some green fertilisers, such as mustard or crimson clover, can be incorporated earlier to prevent them setting seed.
If green fertilisers were sown in autumn, they may be naturally killed by frost in winter (mustard, phacelia, vetch…). In that case mowing is not necessary. Likewise, if green fertiliser is young and not very developed, it can simply be pulled up and left on surface, or directly incorporated without being mown beforehand.
After mowing, leave green fertiliser on soil for 2 to 3 weeks before incorporating it. It will thus begin to decompose on surface. Once you have incorporated green fertiliser, you must wait another 2 to 3 weeks before establishing the following crop.
Tools required
To mow green fertilisers, you can use one of following tools:
To incorporate green fertilisers:
- A spade or digging fork. It is also possible to use a rotavator, particularly for large areas.
- A rake or fork: to level soil after incorporation.
How to do it?
Here are steps to follow to incorporate green fertilisers:
- Using a lawnmower (set high) or a scythe, cut green fertilisers close to soil. If plants are small and tender, you can move straight to next step.
- Leave green fertilisers to dry on soil for at least two weeks. This will aid decomposition and reduce risk of rot.
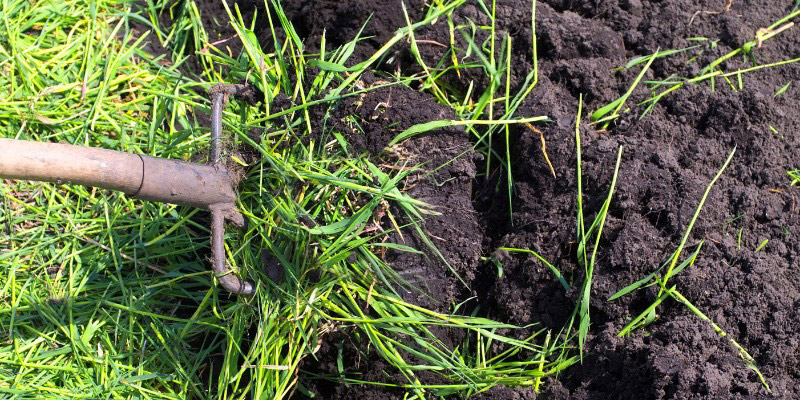
- Using a spade or digging fork, turn soil and incorporate green fertilisers to a depth of about 10–15 cm. It is important they are not buried too deeply! Try to mix green fertilisers evenly with soil.
- Using a rake or fork, level soil and break up largest clods of earth.
- Now wait: leave green fertilisers to decompose for at least two to three weeks before starting a new crop. This delay may be longer depending on type of green fertiliser and climatic conditions.
- You can then plant nitrogen-loving vegetables (lettuce, cabbages, spinach, leeks…).


Comments