


If you have a garden with a few plants, it is very likely you own this indispensable gardener's tool: pruning shear! This trusty tool, when well sharpened, is handy for a clean, precise cut of stems and branches, without risking damage to your beloved plants! But let's be honest: after some time, like all cutting tools, it undergoes natural wear and loses its edge. Blades become dull and, instead of slicing cleanly, they crush stems. Not great for your plants or your arms! Don't worry — with a little maintenance and regular sharpening, your pruning shear will regain its performance. Follow our method in this article to sharpen the blades correctly and extend the life of your pruning shear.
Why sharpen pruning shear?
Poorly maintained or blunt pruning shear can cause irregular cuts, creating wounds on plants and compromising their health. Such cuts can encourage disease and infections in your plants.
Here are reasons why sharpening a pruning shear is useful:
- Make clean cuts: A sharp edge allows cutting branches without effort, instead of crushing them or producing a poor cut.
- Avoid damaging the cutting edge: A blunt blade needs more pressure and force. This can damage blade structure, even if it is made of quality steel.
- Extend tool life: Regular maintenance of the cutting head keeps your pruning shear in good condition for many years.
- Make work easier: A well‑sharpened pruning shear requires less strength and reduces risk of injury from excessive pressure or poor grip.
So, to care for your cutting tools and your plants, let's see how to sharpen your pruning shear blade properly.
How to sharpen your pruning shear?
Equipment needed for sharpening:
- A clean cloth or wire brush: To clean the blade.
- Lubricating oil: e.g. linseed oil, tung oil or WD‑40, to protect blades after sharpening.
- A sharpening stone: A natural whetstone or corundum stone for precise sharpening. You can also use a diamond file or a sharpening hone.
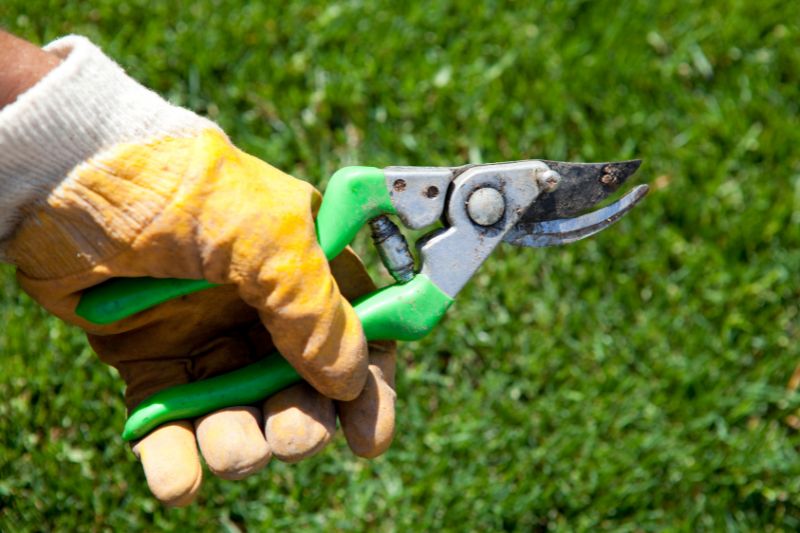
- protective gloves: To avoid accidental cuts.
- Soapy water: For deep cleaning.
- A screwdriver (optional): To dismantle the cutting head if necessary.
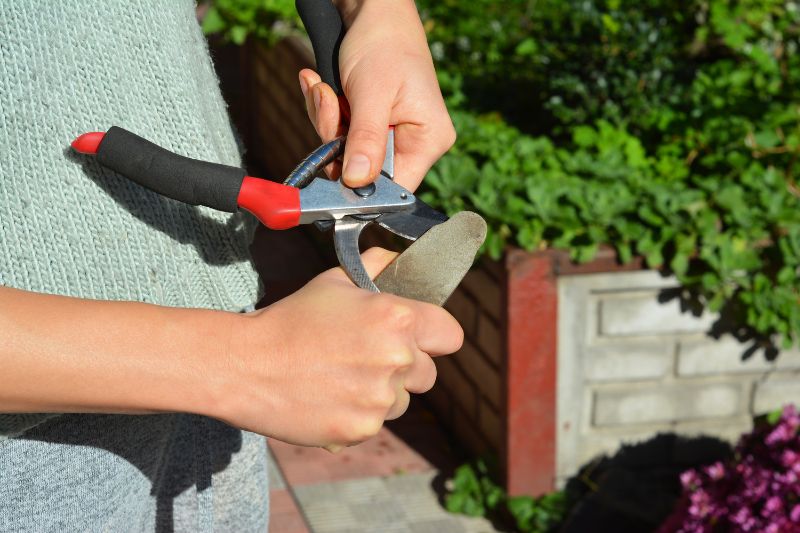
Step 1: Prepare the pruning shear
1- Clean the pruning shear
Before sharpening anything, clean your pruning shear. Use a brush or cloth soaked in soapy water to remove sap, wood residue or rust. For stubborn sap, a little household alcohol works wonders. A clean blade makes sharpening easier and also extends life of your sharpening stone.
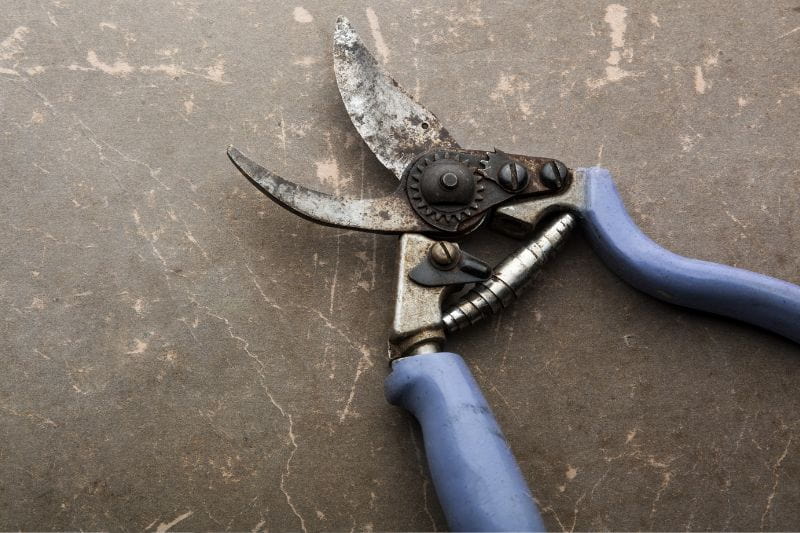
2- Inspect blade condition
Before sharpening, inspect blade for nicks, wear or deformities. If too damaged, you may need a grinder to reduce a deep nick or consider replacing the blade, or even the pruning shear.
3- Disassemble pruning shear (optional)
For precise sharpening, it can be useful to disassemble your pruning shear. Simply unscrew the cutting head with a screwdriver to access the cutting blade. This makes it easier to work on the blade without obstruction. Remember to note how parts fit together for reassembly!
Step 2: Sharpen the blade
1- Find the correct angle
Pruning shear blades are beveled, meaning only one face is sharpened. Look closely to spot the cutting side. Generally, sharpening angle is around 20 to 30 degrees. Keep that angle to obtain a fine cutting edge and a clean cut.
2- Use a metal file or sharpening stone
- With a sharpening stone: Apply a light coat of lubricating oil to the stone to ease sharpening. Glide the blade across the stone with steady strokes, following the bevel angle.
- With a diamond file: Run it along the blade following the bevel angle. Move from inside to outside, as if you are "pulling" the blade across the file.
Practical tip: Make steady strokes and do not force. A few passes are enough to restore the edge.

3- Check the sharpness
Then test the blade on a sheet of paper or a small branch. If the cut is clean and easy, job done! If it still "catches", give one or two more passes.
Step 3: Maintain and protect the blade
Sharpening is good, but protecting is better. A well cared‑for blade will last longer and stay effective. Here’s how:
1- Remove residue
After sharpening, wipe the blade with a clean cloth to remove metal particles.
2- Apply oil
Using a cloth, apply a thin layer of oil to the blade to prevent rust. You can also lubricate moving parts of the pruning shear to ensure smooth action.
3- Reassemble pruning shear
If you disassembled it, reassemble now. Tighten screws well, but not too tight: pruning shear should open and close easily.
Step 4: Make it a habit
Now that your pruning shear has regained its edge, don't let it deteriorate again. Regular maintenance will keep your tool in perfect condition:
- Clean your pruning shear after each use, especially when cutting plants with sticky sap (such as resinous plants).
- Also remember to disinfect your pruning shear before or after each use to avoid spreading disease between plants.
- Sharpen the blade every 2–3 months (or after an intensive pruning season).
- Store garden tools in a dry place, away from humidity.
- Avoid forcing the blade by cutting wood that is too hard or branches that are too thick. In that case, use a lopper.
Questions about sharpening pruning shear
What if my pruning shear is too damaged?
If blades are rusty or chipped, you can try lightly sanding them with sandpaper before sharpening. If truly beyond repair, it might be time to invest in a new pruning shear.
Which file is best to use?
A fine steel file is ideal for pruning shear. You can find one at DIY or garden stores.
Which sharpening stone should I choose?
A natural stone or a corundum stone with a fine grit is ideal for sharpening a pruning shear.
Can I do the same with an anvil pruning shear?
Yes, but with an anvil pruning shear (where the cutting blade meets a flat base), also check condition of the anvil. Clean it and, if damaged, sand it lightly so it remains flat.


Comments