


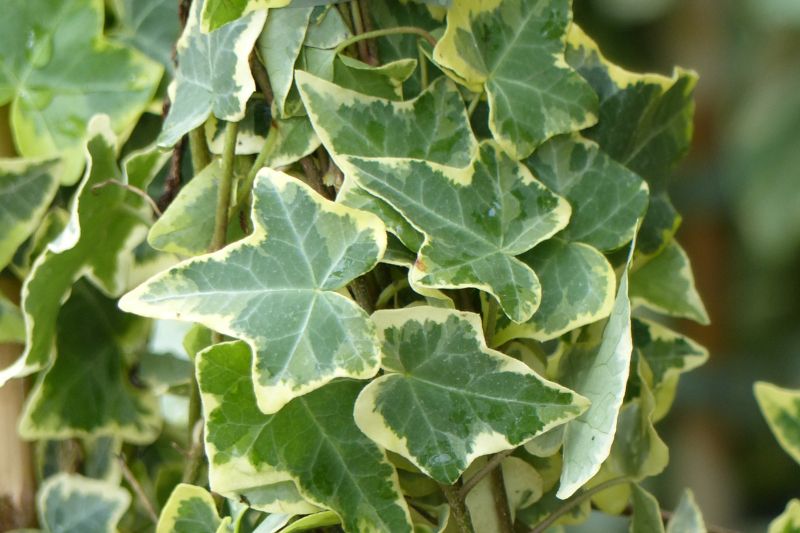
Ivy, that common climbing plant, weaves its way through gardens, fences and up walls. Able to cling to almost any support thanks to its climbing roots, ivy dresses green spaces. But beyond its rustic charm, ivy propagates very easily, ideal for gardeners wishing to extend this plant with little effort.
Discover, in this tutorial, three different methods to propagate ivy.
When to propagate ivy?
Ivy can be propagated at several times of year, but best time for a cutting is either early spring (March–April) or in autumn (October–November). Layering is done in early spring (April–May). During these periods temperatures are generally moderate, which favours good establishment of new cuttings.
Method 1: Propagating ivy in potting compost
Required material:
- One or more ivy stems with at least three nodes
- Scissors or a pruning shear, clean
- Potting compost
- Coarse garden sand
- One or more pot or bucket
- A cloche or a plastic bag
- Facultative: plant rooting hormone
Steps for taking ivy cuttings in compost
1. Cut one or more healthy ivy shoot tips, preferably young, 10–15 centimetres long.
2. Remove lower leaves, leaving only a few at the top.
3. Facultative: dab base of cutting in plant rooting hormone to help rooting.
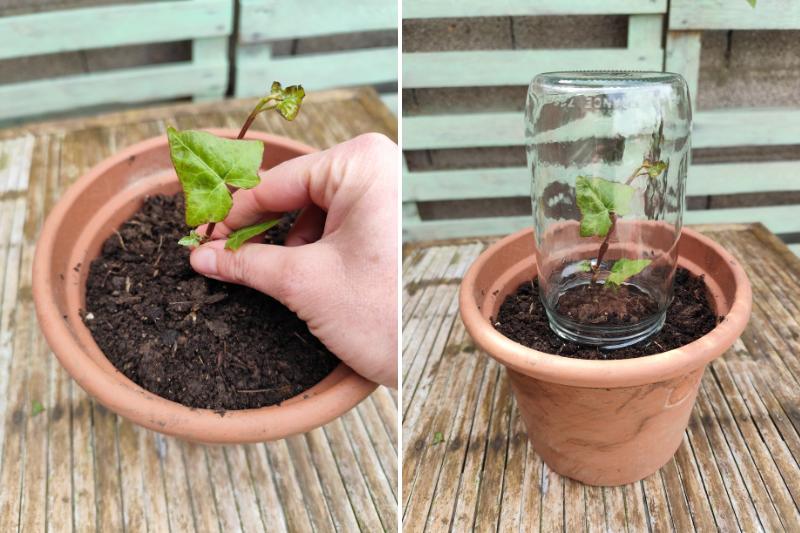
4. Plant cutting in a pot filled with a mix of two-thirds potting compost and one-third coarse garden sand, slightly moist. Ensure lower nodes are well covered, as roots will form there.
5. Place pot in a bright spot, but out of direct sun. Keep compost slightly moist, not waterlogged.
6. Cover cutting with a cloche or a clear plastic bag held up by supports, avoiding contact with leaves. This "enclosed cutting" technique helps retain humidity and encourages root development.
7. After six to eight weeks roots should start to appear. Begin acclimatising plant by gradually removing cloche.
8. In following spring or autumn transplant cutting into a larger pot or directly into ground.
Method 2: Propagating ivy in water
Required material:
- An ivy stem with at least three nodes
- Scissors or a pruning shear, clean
- A glass
- Water, ideally rainwater
Steps for taking ivy cuttings in water
1. Select a healthy young ivy stem, then cut a cutting of 10–15 cm on the slant, just below a node.
2. Remove lower leaves leaving only a few at the top.
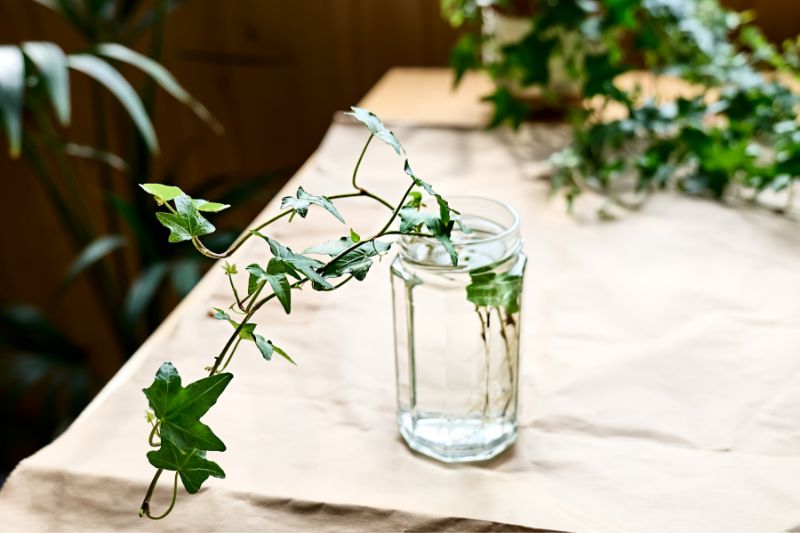
3. Place stem in a glass filled with water, ensuring several nodes (where leaves were removed) are submerged. Make sure upper leaves do not touch water.
4. Position container in a bright spot, out of direct sun.
5. Change water weekly to prevent algae and bacterium growth.
6. Watch for root formation, which should begin after a few weeks. Once roots are a few centimetres long, transplant cutting into a pot filled with potting compost.
7. Keep compost slightly moist but not waterlogged. You can repot ivy or plant out in spring or following autumn.
Method 3: Layering ivy
Required materials:
Steps for layering ivy
1. Choose a low, healthy branch on your ivy.
2. Remove leaves from part you will bury.
3. With your clean knife, remove a small strip of bark on that same section. Keep branch attached to parent plant.
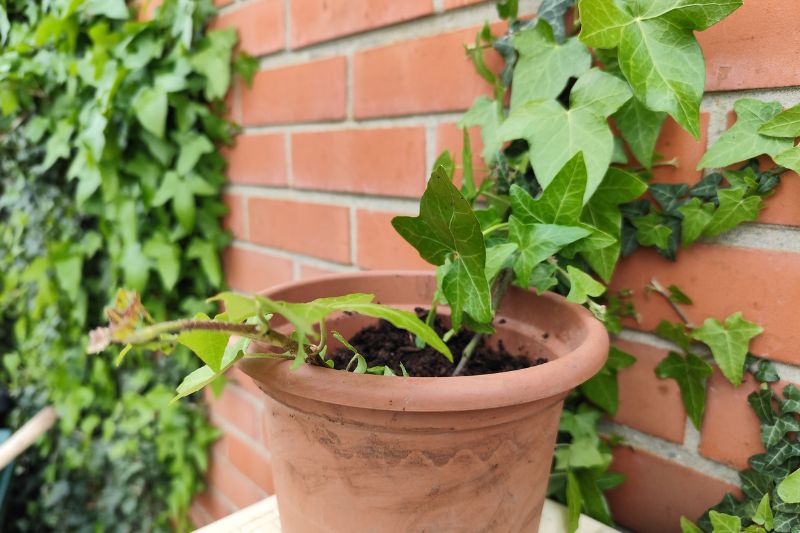
4. Bury this exposed strip in a pot with a mix of two-thirds potting compost and one-third river sand. Be sure to bury two to three eyes on this stem, as roots will start from there.
Tip: use string, a heavy stone or a garden peg to keep branch under soil.
5. Water this medium and keep it slightly moist in the weeks to come, but do not flood.
6. By autumn roots will be well formed and you can then cut branch linking young plant to parent. Then transplant young plant into a larger pot or directly into garden soil.


Comments