


Paulownia, charmingly nicknamed Empress Tree, is a tree native to Asia that grows rapidly and is prized both for its elegant silhouette and for its foliage and flowering. In spring it produces clusters of mauve flowers and bears large heart-shaped leaves, highly decorative. Its generous foliage makes it an excellent shade tree. In this tutorial we give all our tips to propagate it by sowing or by propagation by cuttings!
For full details on its cultivation, consult our complete datasheet: "Paulownia, Empress Tree: Planting, cultivation and care"
By sowing
Sowing is a very simple technique to multiply Paulownia and allows obtaining a large number of young plants at low cost. However, compared with propagation by cuttings, this method takes longer for young plants to reach a size suitable for planting out.
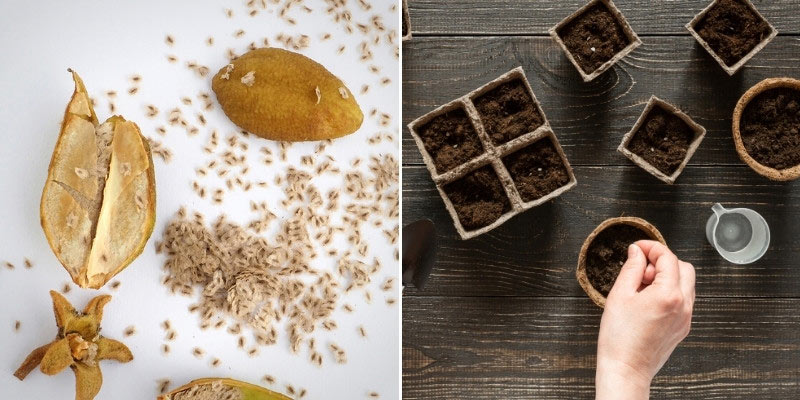
After flowering, Paulownia produces ovoid capsules that contain the seeds. Once capsules are dry and brown, you can collect the seeds for sowing. If you do not have a Paulownia, feel free to buy seeds directly.
When to sow Paulownia seeds?
Paulownia seeds need a cold period to germinate (stratification). Thus, you can either sow them in autumn and leave pots outdoors over winter, or sow them in late winter–early spring after artificial stratification. To do this, place seeds in an airtight bag with damp sand and keep them in the fridge (ideally at 5 °C) for 4–6 weeks.
How to sow them?
- First, remember to stratify seeds by placing them in the fridge for at least one month.
- Fill pots with a light, well-drained growing medium, ideally seed compost or a mix of compost and sand.
- Paulownia seeds are very fine. Place them gently on surface of medium, then cover with a very thin layer of compost.
- Use a spray bottle to moisten medium without displacing seeds.
- Cover pot with plastic film or a clear lid to retain humidity.
- Place pot in warm, bright spot, out of direct sun. Ideal temperature is 18–20 °C.
- Keep medium slightly moist but not waterlogged until germination.
- Paulownia seeds can take 2–4 weeks to germinate, sometimes up to 2 months. Once germination begins, remove cover gradually to harden young plants to ambient conditions.
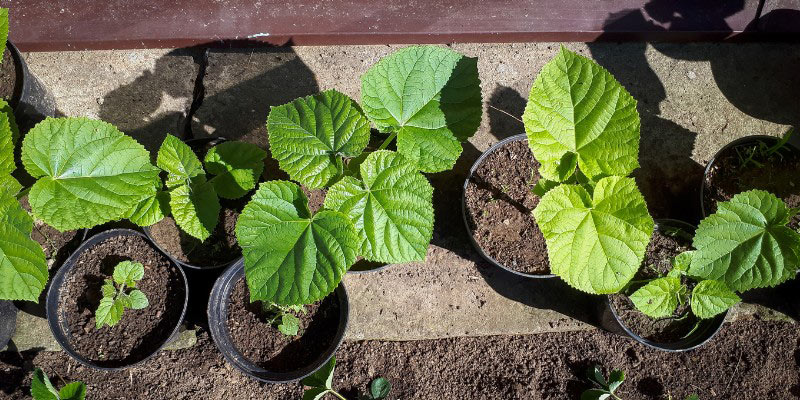
- When seedlings reach a few centimetres in height, pot into individual pots.
- Let them grow in pots for one or two years before planting outdoors.
Required equipment
- Paulownia seeds
- Pots with drainage holes
- Seed compost
- A spray bottle
- Plastic film or clear lid to cover container
- Labels to identify sowings
By propagation by cuttings from roots
When to take root cuttings of Paulownia?
Best time is late winter or early spring, just before tree begins active growth cycle.
How to do it?
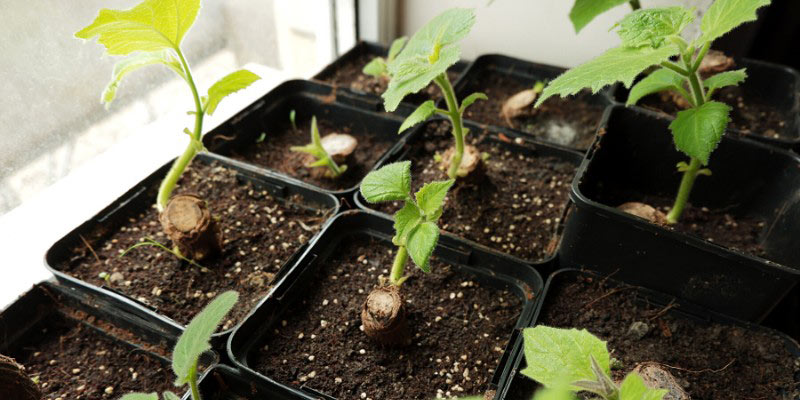
- Start by digging soil around your Paulownia to expose some roots.
- Choose healthy, vigorous roots (ideally with rootlets), at least 0.5–1 cm diameter, then use pruning shear to cut segments about 5–10 cm long.
- You can dip cut end of cuttings in plant hormone for cuttings. This will encourage take.
- Fill pots with a light, well-drained growing medium.
- Make a hole in centre of each pot and insert root cutting vertically, ensuring eye or bud is level with soil surface.
- Cover gently and firm medium around cutting.
- Water lightly to moisten medium without saturating it.
- Place pots in a warm, shaded spot, protected from bright light. Ideal temperature is around 20 °C.
- Keep medium slightly moist until first signs of growth appear.
- When cuttings begin to produce new leaves, gradually harden them to outdoor conditions. Once they look sturdy and well rooted, transplant to final location.
To learn more about root cuttings, see Ingrid's guide: "A root cutting, what is it?"
Required equipment
- A spade to dig up roots
- A clean, sharp knife
- Plant hormone (facultative)
- Pots
- Light, well-drained compost
- Watering can
By propagation by cuttings of shoots
Propagation by stem cuttings is a little less effective than root propagation by cuttings, but it is simpler and useful if you do not have access to roots.
When to take stem cuttings of Paulownia?
Ideal time is early summer, when tree has produced new vigorous shoots that are neither too soft nor too lignified. This period takes advantage of active growth to encourage rapid, effective rooting of cuttings.
How to do it?
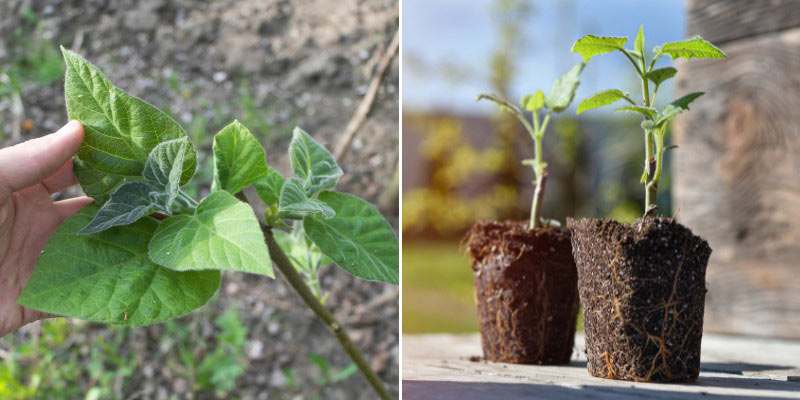
- Choose healthy, vigorous shoots of current year, then use pruning shear to take cuttings about 15 cm long, ensuring at least 2–3 nodes per cutting.
- Remove lower leaves leaving only a few at top of each cutting. This reduces transpiration and focuses cutting's energy on root formation. If remaining leaves are large, cut them in half.
- Fill pots with light, well-drained growing medium, or mix of compost and sand.
- You can dip base of cuttings in plant hormone for cuttings. This will aid rooting.
- Make a hole in medium with small stick or pencil, then insert cutting so nodes where leaves were removed are well buried.
- Firm medium gently around stem to hold cutting in place.
- Water.
- Place pots in warm, bright spot, out of direct sun.
- Keep medium evenly moist but not waterlogged until cuttings show signs of growth, indicating rooting success.
- Once cuttings have developed a robust root system and new shoots, begin hardening off before transplanting outdoors to final position.
Required equipment
- A clean, disinfected pruning shear
- Plant hormone (facultative)
- Pots
- Light, well-drained compost
- Watering can to keep medium moist


Comments