


Cotoneaster is a lovely bush with dark green leaves, which offers white or pink flowers in spring followed by very decorative red berries. It is often evergreen, but can also be deciduous depending on the species. It takes on very different forms and can fit into a wild or formal hedge, trimmed strictly, but can also be grown as ground cover to adorn a slope or rockery. Versatile and very easy to cultivate, Cotoneaster thrives in well-drained soil, in any exposure. In this guide, we will explore the different methods to propagate it: by cuttings, layering, or sowing. Discover all our tips to obtain new plants!
Propagation by cuttings
To propagate Cotoneaster, cutting is the most commonly used technique, as it is simpler and faster than the other methods.
When to take cuttings of Cotoneaster?
Evergreen Cotoneasters (Cotoneaster franchetii, Cotoneaster lacteus...) should be cut in late summer to early autumn, around September (semi-woody cuttings). Deciduous varieties (like Cotoneaster horizontalis) should be cut in spring, in May-June (herbaceous cuttings).
How to take Cuttings?
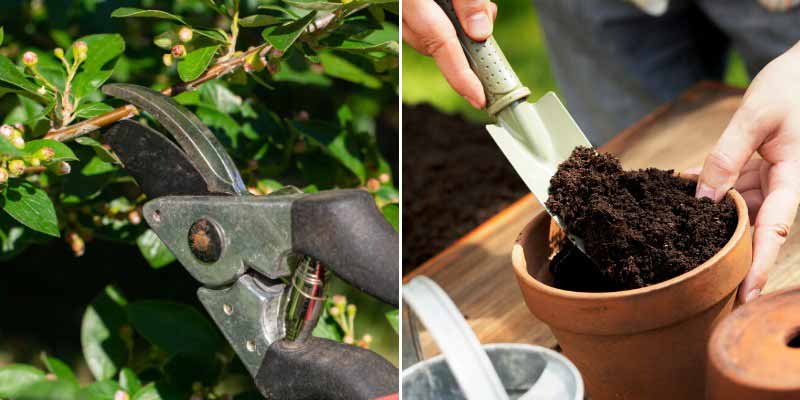
- Start by disinfecting your tools to avoid transmitting diseases.
- Choose a healthy and vigorous branch from your Cotoneaster. Cut a section 15 to 20 cm long, just below a node.
- Remove the lower leaves, leaving only a few at the top of the stem.
- You can also dip the base of the stem in rooting hormone to encourage new root growth.
- Fill a pot with potting soil
- Make a small hole using a pencil or stick.
- Insert the cutting into the hole, so that it is buried about 5 cm deep.
- Firm the soil around it well.
- Water generously.
- Cover the pot with a plastic bag or a plastic bottle to maintain a humid environment (cutting under glass).
- Place the pot in a warm, bright location but out of direct sunlight.
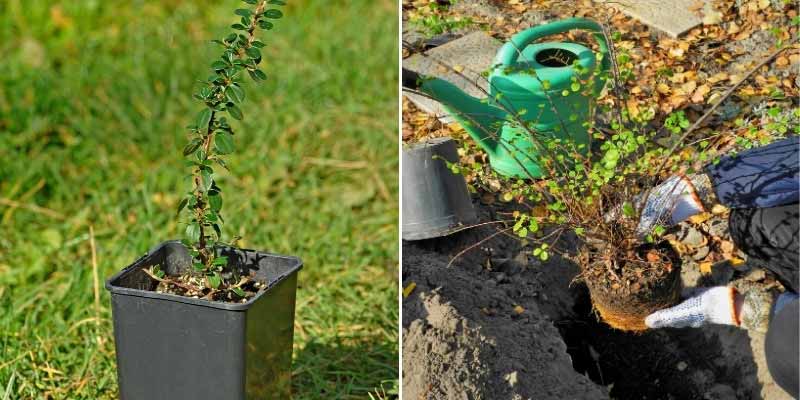
- After 4 to 6 weeks, roots should start to develop. Once the cutting is well-rooted, it can be transplanted.
Necessary Materials
- Pruning shears
- Special potting soil for sowing and cuttings
- Rooting hormone (optional)
- Pots with drainage holes
- A plastic bag or a plastic bottle
- A pencil or stick
Layering
Layering works very well with Cotoneaster. The creeping species tend to layer naturally and can easily cover slopes.
When to layer Cotoneaster?
The best time to layer Cotoneaster is in spring.
How to layer?
- Choose a low, long, and flexible branch that can reach the ground.
- Remove the leaves from the part of the branch that will be buried, and make a small diagonal incision on this part (ideally just below a bud).
- You can apply rooting hormone to the incision to encourage root growth. This will increase the chances of success.
- Bring the branch down to the ground and dig a small furrow at that spot.
- Place the branch in the furrow.
- Cover it with substrate (ideally a mix of potting soil, well-decomposed compost, and sand, but garden soil will also work), ensuring that the end of the branch is above the soil.
- Secure the branch with a hook, or simply with a stone, and keep the end of the branch upright with a small stake.
- Firm the substrate well to ensure good contact with the branch and avoid air pockets.
- Water generously.
- In autumn, you can separate the layered branch from the mother plant and replant it in a pot or in the ground at its final location.
Necessary materials
- A sharp, disinfected knife
- A trowel
- Potting soil, compost, and coarse sand
- A hook (optional)
- A watering can
- A stake
Sowing
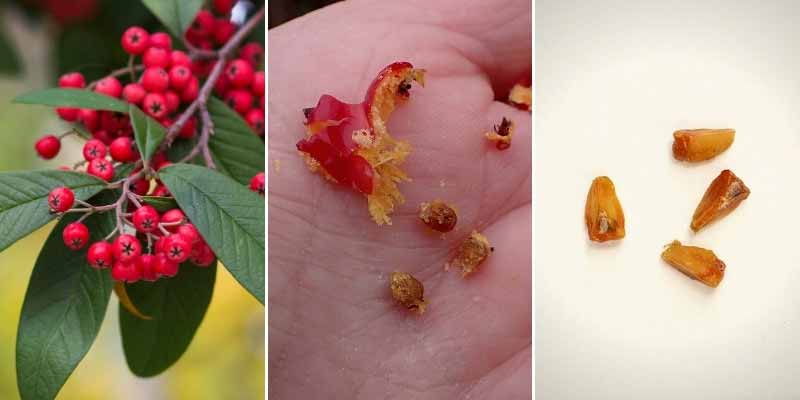
Cotoneaster produces bright red, decorative fruits in autumn. You can collect them to retrieve the seeds they contain and sow them.
When to sow Cotoneaster?
Sowing can be done in autumn or early spring.
How to sow Cotoneaster?
- Before sowing, soak the seeds for a few days in a glass of water.
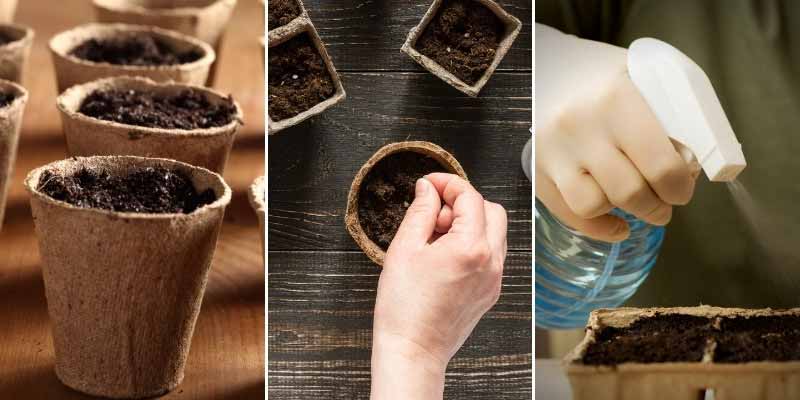
- Prepare pots by filling them with special potting soil for sowing.
- Lightly firm and level the surface.
- Sow the seeds on the surface of the substrate, spacing them at least 2 cm apart.
- Cover them with a thin layer of potting soil.
- Water lightly.
- As with cuttings, cover the pot with plastic film. You can also use a mini greenhouse.
- Place the pot in a sheltered, bright location but without direct sunlight.
- Remember to water regularly to keep the substrate slightly moist until germination, which usually occurs in 2 to 4 weeks. You can then space out the watering a bit.
- You can then transplant the young plants into individual pots as soon as they reach a size that allows handling.
Necessary materials
- Cotoneaster seeds
- Special potting soil for sowing
- Pots with drainage holes
- A watering can with a rose or a spray bottle
- Plastic film or a mini greenhouse


Comments