


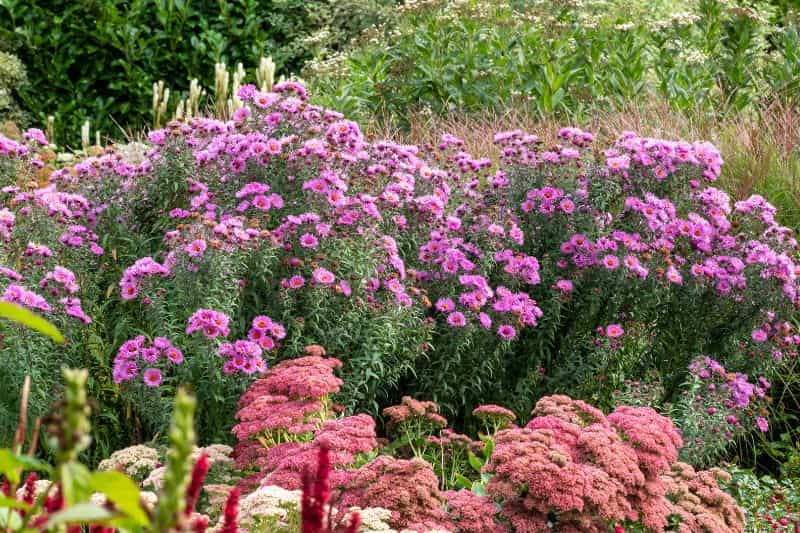
Late summer and autumn, when flowering becomes rarer in gardens, asters take centre stage with their myriad daisy-shaped flowers. Their generous flowering and varied colours, from white to purple, as well as pink and blue, make them essentials for brightening beds late in season. Aster lends itself well to multiplication, whether to enrich the garden or to rejuvenate the plant. Division of clumps, propagation by cuttings or sowing, discover the different methods to multiply Aster.
Why multiply asters?
Multiplying asters has several advantages:
- To rejuvenate the plant: over time, asters can become less vigorous. Dividing clumps revitalises plants and makes them more floriferous. It also prevents the plant from becoming bare in the centre. This division should ideally be done every 5 years.
- To obtain new young plants: multiplying asters produces new young plants to plant in garden or to share with other gardeners.
Different methods to multiply asters
There are three main techniques to multiply asters: division of clumps, propagation by cuttings and sowing. Each has its particularities, advantages and constraints. Let’s look at them in detail.
Division of clumps (easiest method)
Division is the most common and easiest method to multiply asters. It consists of dividing a mother plant into several pieces. This method is ideal for asters already well established and several years old, generally 5 years.
When to divide asters?
The best time to divide asters is early spring or autumn after flowering. This allows plant to recover before next growth season.
Steps to divide asters:
1- Preparation: water mother plant well the day before operation to make soil easier to work and to facilitate extraction of roots.
2- Pruning: using pruning shear, cut back dry stems to ground level (dry stems protected stump from cold during winter).
3- Lift out: with a fork-spade, gently lift aster clump from soil, taking care not to damage roots excessively.
4- Division: separate clump into several sections by hand or with a sharp knife. Each section must have roots and stems in good condition (ideally about ten stems per young plant).
5- Replanting: plant new sections immediately in well-tilled soil, in a sunny spot. Plants should be spaced 30–40 cm apart.
6- Care: water abundantly after planting and mulch around base to protect stump. Keep soil slightly moist, not waterlogged, especially during first summer after division.
Propagation by cuttings
Propagation by cuttings is a more technical method, but it allows multiplying large numbers of plants from a single specimen. This method suits rarer or more delicate varieties well.
When to take cuttings of asters?
Taking cuttings of asters is generally done in spring, when new shoots begin to appear.
Steps to succeed with cuttings:
1- Prepare buckets: fill buckets with a mix of seed compost and sand. Moisten compost with rain water, but do not waterlog. Use a pencil to make a hole in substrate to receive cutting.
2- Select shoots: choose young, healthy stems about 10–15 cm long. They must not be floriferous. Cut shoots just below a node (that is, below junction of leaf with stem).
3- Prepare cuttings: remove lower leaves, leaving only a few leaves at top.
4- Plant cuttings: place cuttings in hole and firm substrate around stem. Put buckets in a bright spot without direct sun, and keep substrate slightly moist, not waterlogged.
5- Pricking out: after a few weeks, cuttings should start to develop roots. The following autumn, when roots are well developed, you can prick them out into individual buckets or plant directly in soil.
Sowing
Asters produce seeds easily after flowering and can even self-seed for some varieties. Sowing is a slower method, but allows multiplying asters without damaging mother plant.
Note: hybrid varieties of Aster are sterile. No point attempting sowing for these.
When to sow asters?
Sowing asters can be done in spring, after last frosts, directly in soil or in a bucket. Sowing indoors in March is also possible.
Steps to succeed with sowing in a bucket:
1- Prepare substrate: use a seed compost, fine and light, well drained so seeds germinate under good conditions.
2- Sow seeds of asters and cover with a fine layer of compost. Water gently with a spray bottle filled with rain water.
3- Germination: place sowings in a bright spot without direct sun and keep substrate slightly moist (avoid excess water to prevent rot). First shoots will appear after one to two weeks.
4- Pricking out: once young plants have developed 3–4 leaves, prick them out into a larger bucket or in soil, in a sunny, well-drained spot. For best results, prick out in autumn, once hot, dry summer is over.


Comments