


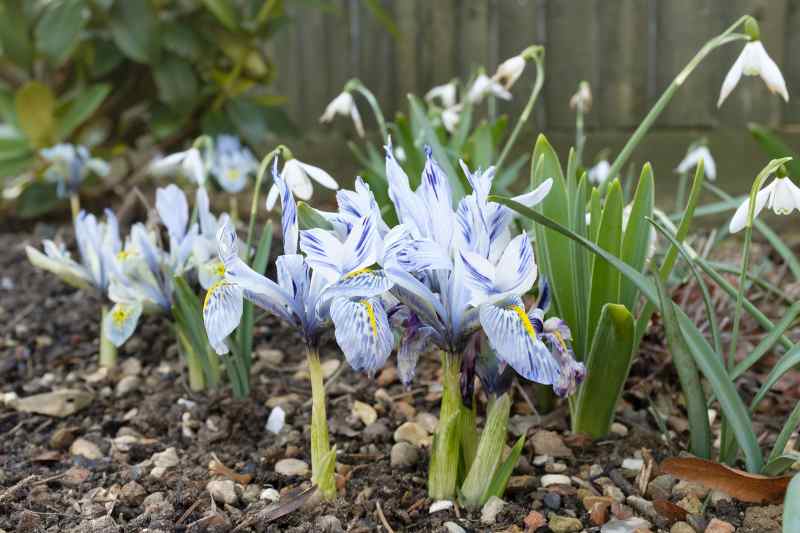
Spring bulbs, tulips, daffodils, hyacinths and other alliums are planted in autumn. But how should they be planted to ensure satisfying flowering from first year? Here are five golden rules to follow so your spring bulbs will not disappoint!

Planting period
This always refers to autumn, but in practice extends from September to mid-December, as usually indicated on packets. This fairly wide window covers northern regions that will plant earlier, up to the end of October, and southern or mild-climate regions that can plant until December. Climatic conditions are also taken into account, since very mild autumns sometimes allow planting rather late.
It is time to plant when night temperatures fall to 6–7°C. For tulips and many so-called spring bulbs, at least 12 weeks of cold are considered necessary (the famous vernalisation, essential for bulbs in particular) to trigger flowering. This winter cold is what enables these plants to produce their flowers. Planting at the wrong time is therefore likely to fail.
The later you plant, the more flowering will be delayed, shortened or even absent in the first year if you planted early-flowering bulbs too late, or if you planted slightly capricious bulbs that may not re-establish if put in too late (see Pascal’s article Planting spring bulbs late).
N.B.: plant bulbs as soon as you buy them or receive them if you ordered them!
Preparing well-drained soil
This is the secret to succeeding with most spring bulbs (and others too). Few of them will appreciate heavy or clay soil. To establish well during the months before emerging, they all need to be planted in soil that is sufficiently friable and drained, and that will not remain waterlogged all winter, which would inevitably rot the bulbs. When soil is poor, lighten it when digging planting holes with a few handfuls of sand up to a 5 cm layer (if soil is really unhelpful) or some gravel. Otherwise… plant in a pot!
Be careful: some bulbs are particularly sensitive to drainage, as they grow naturally in poor, dry, even stony soils: these include botanical bulbs such as some crocuses and certain botanical tulips like Greig’s tulip or the Turkestan tulip, dwarf irises, steppe lilies (Eremurus), but also fritillaries and some botanical fritillaries. Without properly prepared soil, they will struggle to naturalise (for botanical species).
Depth and spacing for each bulb
Two very simple tricks help remember how to plant bulbs correctly without consulting a book or phone.
- The bigger the bulb, the deeper it should be planted, because ...
- .. a bulb should be planted at roughly twice its height: this works for small and medium bulbs, while for the largest (amaryllis, eucomis, Scilla peruviana, imperial fritillaries, etc.) plant to a maximum depth of 20 cm.
Never plant too shallowly. Bulbs have an annoying tendency to work their way out of the soil. When in doubt, plant a little deeper rather than not deep enough… except in heavy clay soil where slightly shallower planting is recommended. For fritillaries with very large bulbs, position them slightly on their side to reduce risk of rotting.
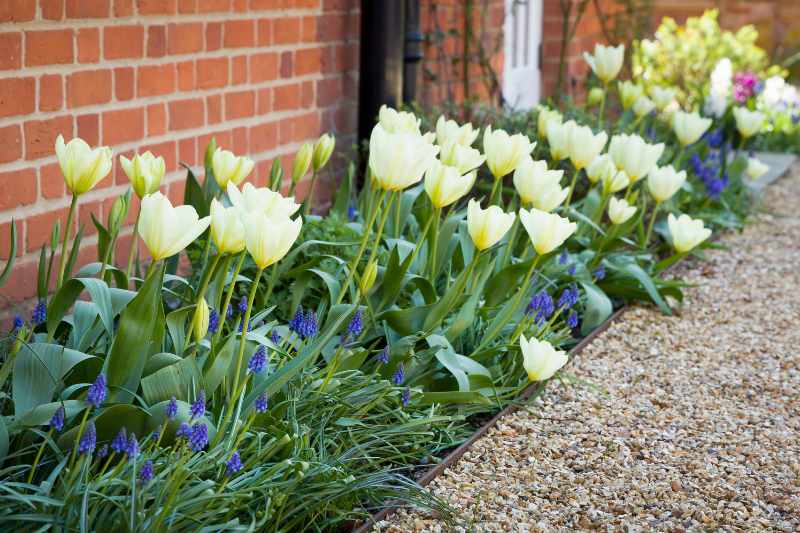
Space the smallest bulbs about 2 cm apart and the largest 3 to 4 cm apart, but in open ground what is often desirable is a mass effect, especially with small bulbs, and I recommend grouping bulbs closely for tulips and daffodils, as well as muscari and crocuses. Group them in clusters of 5 to 7 bulbs per planting hole.
Also read: Spring bulbs: depth guide, bulb sizes: how to choose, our quirky tips in How to fail at planting bulbs in 5 lessons? and Planting bulbs in mass: why and how.
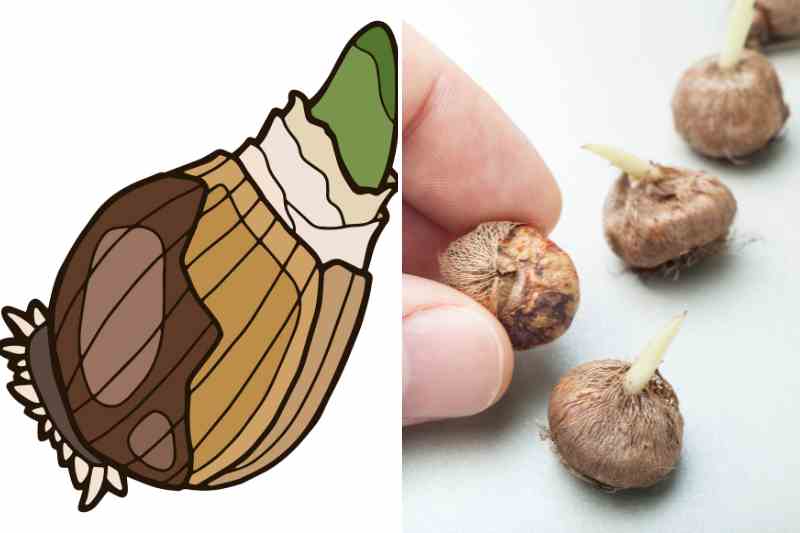
Getting planting orientation right
All bulbs have a planting orientation. To know which way to plant, rely on the pointiest end, which should be upwards. This is present on most bulbs. Roots will emerge from the flat side. Sometimes bulbs have started to show green at the tip — they are beginning to sprout — which clearly indicates planting orientation. If you plant a bulb upside down, no plant will emerge because it will not orient towards light. If the bulb already has roots, these should face down.
If you really doubt, and it is true that on some bulbs one is uncertain, place the bulb slightly on its side.
Here are bulbs that often raise questions:
- Erythronium bulbs have an atypical, elongated tooth-like shape. The pointy end should face up, the swollen end down.
- Cyclamens: their tubercle is flat and round. The concave (hollow) side should face up.
- Anemones: their tubercules are often flat and disc-shaped. The concave side should also face up.
- Ranunculus: they appear as claws. These "claws" should be oriented downwards.
- Crocus: their corms are rounded and slightly flattened. The widest, rounded side should face down and the pointiest side up.
For more information, read our article: "Which way to plant bulbs?".
Planting bulbs easily with the right tools
Now to the actual planting. Before you begin, make sure bulbs are sound quality, free from mould and firm to the touch.
You can use a bulb planter or a hand trowel. The hand trowel (or planting trowel), which every gardener has, is ideal for small bulbs or for gardeners who prefer a multipurpose tool. Some are even graduated. Dig a hole to the appropriate depth, place bulb in correct orientation and cover with soil.
For larger bulbs or quicker planting, the bulb planter is another option. Push the planter into the soil with a twisting action to desired depth, withdraw it leaving a perfectly sized hole, place bulb at bottom of hole and replace soil.

Another efficient method for planting bulbs over large areas or for mass planting is to plant in a trench. Dig a trench to appropriate depth (generally two to three times bulbs' height) and desired length. Place bulbs in trench, spaced according to specific recommendations for each type, point upwards. Once all bulbs are in place, cover trench with soil and firm lightly. Water if no rain is forecast in following days. This method allows planting many bulbs quickly and uniformly over large areas.
Avoid planting in regular rows, which looks unnatural. A recommended technique is to toss bulbs randomly and plant where they fall. This works well also when planting bulbs on a short grass meadow.
And after? Rake to level and do not water! Autumn rains will take care of it. If you live in a region with dry autumns and winters, then do water a little.
Final tips
- Do not water; autumn rains will do it for you!
- Mark plantings with a small stick or stake, possibly labelled if you plan to plant other perennial plants in autumn so you do not dig them up by mistake.
- Bulbs need to be allowed to yellow off their foliage completely to build reserves; combine them with some perennial plants to hide this rather untidy foliage for several weeks. Autumn is ideal for doing this!
My tip: also combine early-flowering bulbs with later-flowering bulbs to extend display of your borders. - Some rodents dislike daffodils, alliums or fritillaries. If you have noticed tulips not reappearing year after year, try planting some nearby. Voles and field mice also avoid some bulbs such as snowdrops and sternbergia. If rodent problems persist, definitely plant in bulb baskets or make your own chicken-wire frames. See also How to protect bulbs from rodents?
- By following all these tips, your bulbs will be able to return reliably each year and naturalise with appropriate bulbs. Among spring bulbs, only tulips are generally lifted at season end (May–June) and stored dry, which is usually done when they are under cover of deciduous trees (they receive less summer heat, which is essential for good rebloom).


Comments