


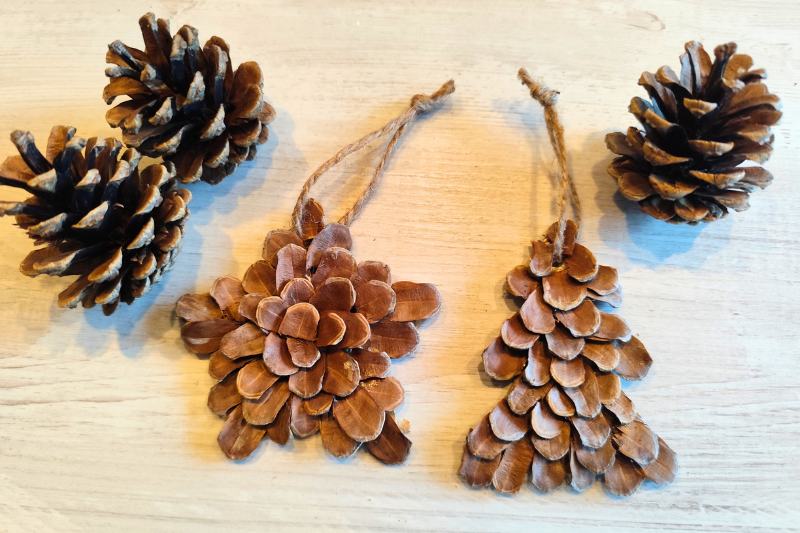
What if this year you made your own Christmas decorations using natural, recycled materials? In this tutorial, we suggest turning pine cones and cardboard into adorable star- or tree-shaped ornaments (or any other shape you fancy). Easy to make, economical and perfect for sharing a cosy moment with family, this project will delight young and old. Get scissors out and prepare to add a touch of magic and creativity to your celebrations!
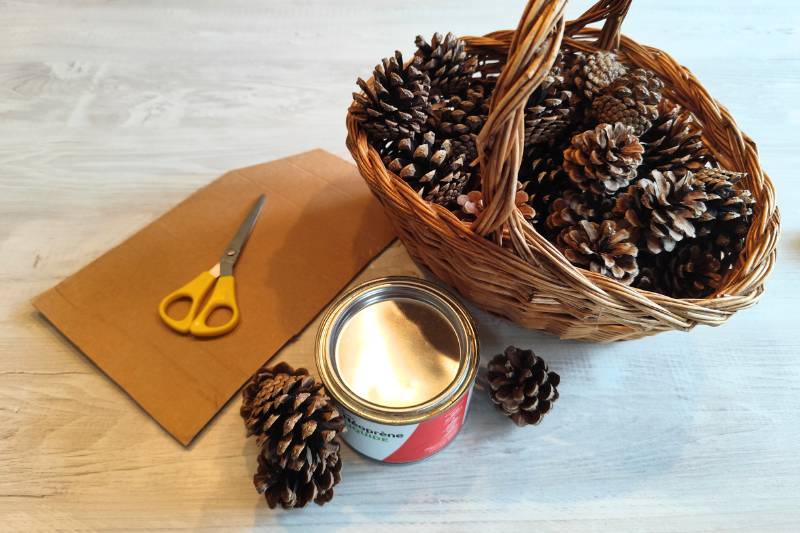
Materials needed :
- Recycled cardboard (packaging boxes, for example).
- Pine cones.
- Pair of scissors.
- Liquid neoprene glue or strong adhesive (can also use glue gun).
- Brush to apply glue.
- Hole punch or thick needle to make holes.
- Natural twine (jute type).
- Pencil and eraser to draw shapes.
Steps to make your Christmas decoration
Step 1: Prepare pine cones
- Collect pine cones. If necessary, clean them to remove dust and debris. If cones are closed, place them near a heat source (radiator, for example) for a few days so cones become well open.
- Once pine cones are open, separate scales one by one by hand. Take care not to prick yourself! You can use pliers to remove stubborn pieces (under adult supervision for children).
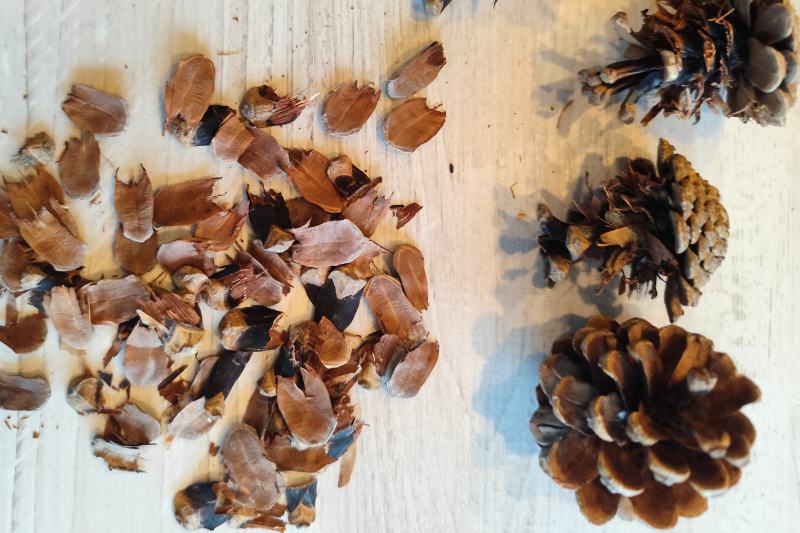
- You can trim (with scissors or pruning shears) scale ends if they are too frayed for your taste. Group pieces by size for a more homogeneous glueing.
Step 2: Prepare cardboard bases
- Using pencil, draw your Christmas shapes on cardboard: star, tree or snowman (you can even hum a song about the latter)! Don’t hesitate to let creativity guide you.
- Then, cut out the contours carefully with scissors.
- With hole punch or thick needle, make small hole at top of each shape to thread twine through.
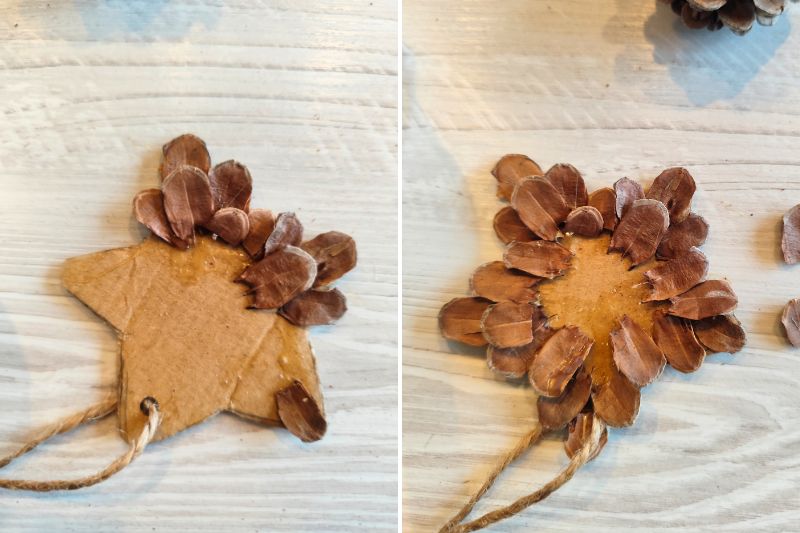
Step 3: Assemble decorations
- Using brush, spread a thin layer of glue on a small section of cardboard shape. Work in zones so glue does not dry before attaching scales.
- Glue pine cone scales one by one, starting at base of shape. Overlap them slightly, like tiles, to create textured effect.
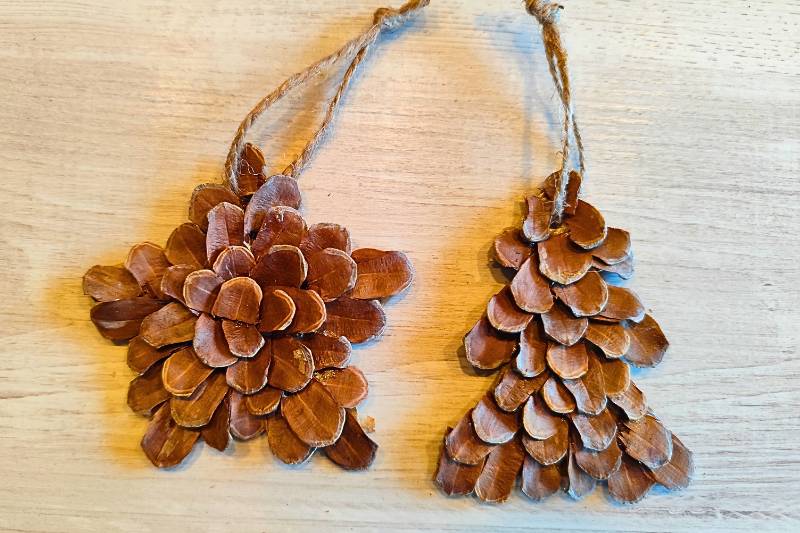
- Tip depending on decoration shape : For tree (or little house or more rectangular shape), start at bottom and work up. For star (or bauble, heart or snowman), start at edges and finish towards centre.
- Once entire surface is covered, let decoration dry completely. This can take several hours depending on glue used.
- Facultative : You can paint scales with white or gold acrylic paint for snowy or sparkling effect. Pale and ribbons are also welcome! If you want shinier finish, apply thin coat of clear varnish to scales once glue is dry. Personally, I prefer natural look.
- Your decorations are ready to beautify tree, fireplace or even serve as personalised gift tags.
Alternative for young children
Neoprene glue is not always easy to use with children (for me, I end up with it on all my fingers and it’s not so easy to remove!). For an activity with young children, replace neoprene glue with ordinary school glue and let imagination run free using just stickers or cotton wool (for snowman effect… him again!) and water-based paints.


Comments