


Planting a herbaceous clematis
In the ground or in pots, techniques and tips
Contents
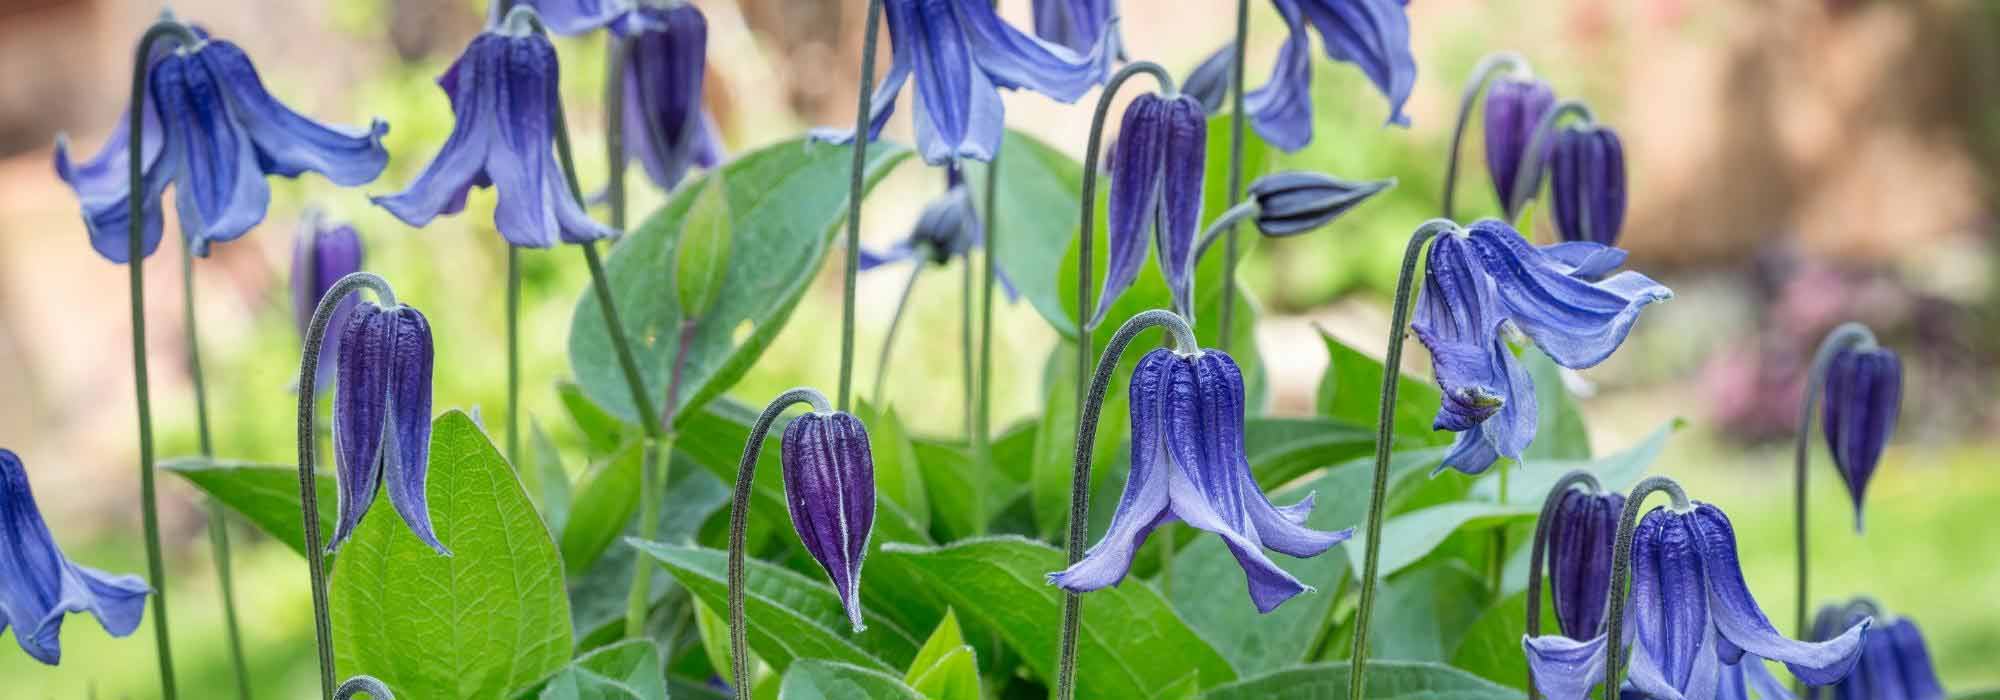
Herbaceous clematis, non-woody, are little or non-climbing. Most of them are perennials with a dense annual growth, forming bushy clumps or lovely groundcovers. Magnificent and highly floriferous, with a simple and rustic appearance, they easily and quickly enhance and flower beds with their fragrant bells or stars.
Are you ready to try these lesser-known plants in your garden? Follow us, we bring you all the tips for planting herbaceous clematis correctly!
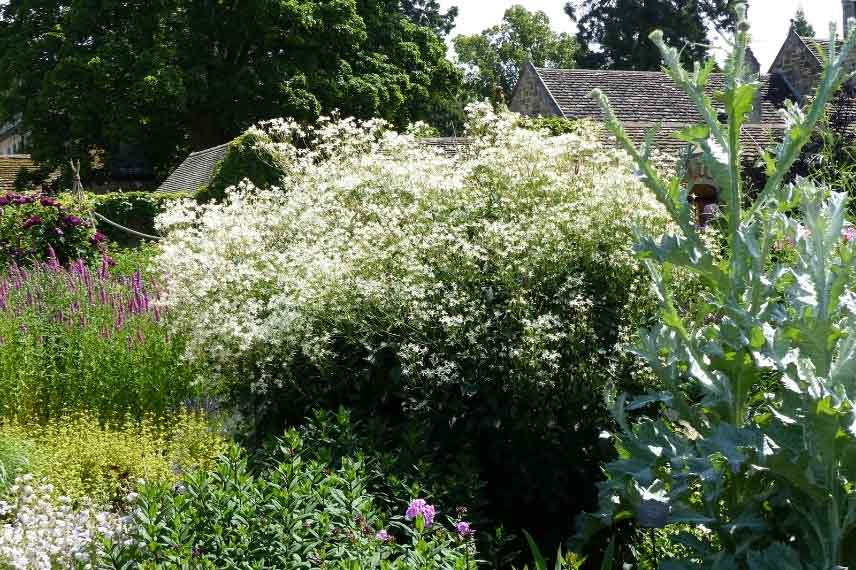
In summer, clouds of small fragrant white flowers from Clematis recta

When to plant herbaceous clematis?
- We recommend planting herbaceous clematis in autumn, from September to November. They will have time to settle in and bloom by the following spring or summer, depending on the species and varieties.
- They can also be planted in spring, but be mindful of watering during this time to allow their freshly installed root system to develop.
Read also
Clematis: planting, pruning and careWhere to plant herbaceous clematis?
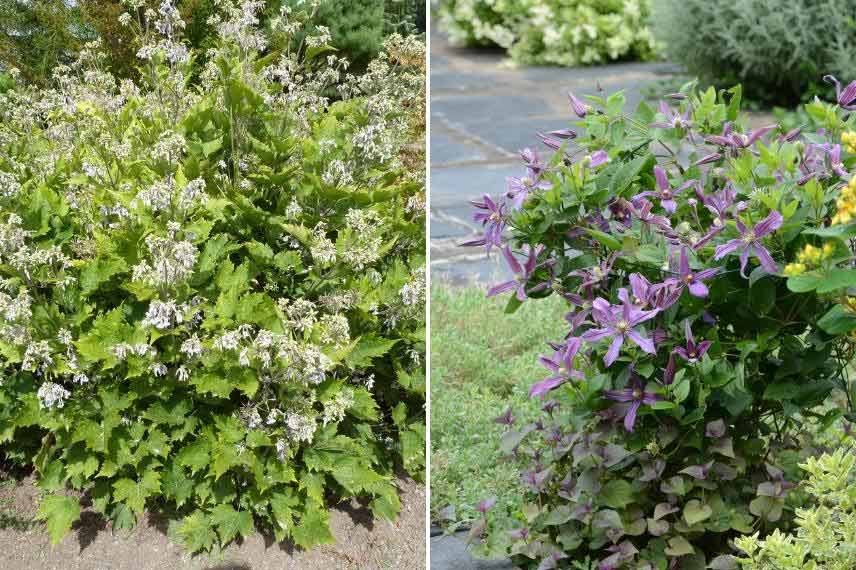
- Plant them in open ground in full sun or light shade in hot, dry regions. Be careful, some species, such as Clematis heracleifolia, are edge plants and prefer a semi-shaded position. Therefore, ensure that the location is adapted to the growing conditions required for the different species, as well as their development at ripeness.
- Herbaceous clematis are stunning in borders with perennials and bushes or on slopes alongside other plants with a romantic, natural, and wild appearance. You can also plant them in pots or containers.
- Plant them in well-drained soil that is regularly fertilised.
- It is not necessary to plant their base in shade and their top in sun for all species. So, be sure to check the specific growing conditions for each. If necessary, you can place a flat tile in front of the stump or install groundcover plants at their base.
 When planting your herbaceous clematis, ensure that their location is suited to their future development. Here: clematis integrifolia and Clematis Saphyra ‘Estrella’
Discover other Herbaceous Clematis
View all →
Available in 1 sizes

Available in 1 sizes

Available in 1 sizes

Available in 1 sizes

Available in 1 sizes

Available in 2 sizes

Available in 1 sizes

Available in 1 sizes

Available in 2 sizes

Available in 1 sizes
How to plant herbaceous clematis?
In the Ground
1) The necessary equipment:
- A fork or a spade
- A trowel
- One or more herbaceous clematis
- Coarse sand or gravel
- Some potting soil, well-decomposed manure, or compost. You can also add a handful of bone meal or dried blood, base fertilisers that will benefit the establishment of your clematis.
2) Preparation:
Determine the location of your clematis, considering its future growth and exposure. For planting a clematis in a 2/3 litre pot, dig a hole approximately 1.5 times the size of the pot in depth and width. Then loosen the soil at the bottom of the planting hole with the fork.
If your soil is not sufficiently draining and rich, mix 1/3 coarse river sand or gravel, 1/3 potting soil, manure, or compost, and 1/3 garden soil. If your soil is excellent and draining, you can plant your clematis directly without any additions.
3) Planting:
For the best effect, we recommend planting your herbaceous clematis in groups of 3 or 5 to achieve a mass flowering. Consider combining different varieties to stagger the flowering from May to October.
- Soak your clematis, removed from its pot, for a few minutes. If they are very dry, feel free to soak them longer to adequately rehydrate them.
- If the root balls show a root balling, gently untangle the roots.
- Place your clematis in the planting hole. Position the root ball 5 cm below the soil level to encourage new shoots to emerge at the base of the plant. Some species may take a while to settle in, as they root deeply before growing upwards. But your patience will be well rewarded later!
- Cover with the removed soil or the mixture, firm it down, and then water lightly.
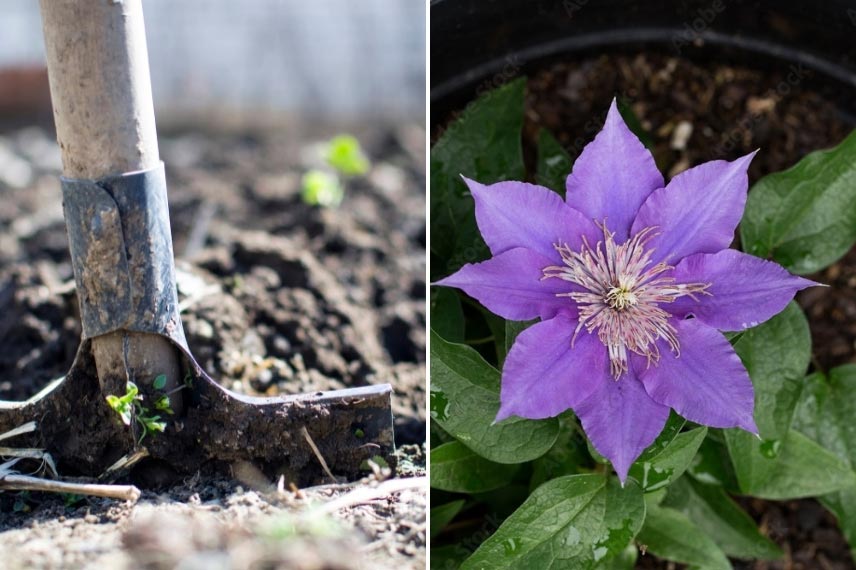 Planting herbaceous clematis in the garden should be done in rich, well-draining soil.
In a Pot
1) The necessary equipment:
- An herbaceous clematis
- A pot with a minimum depth and width of 40 cm
- Clay balls or gravel
- Garden soil, sand, and potting soil in equal quantities
2) Planting:
- Place a layer of clay balls or gravel at the bottom of the pot for effective drainage.
- Mix the soil, sand, and potting soil.
- Add substrate to the bottom of the pot.
- Install your clematis.
- Cover with substrate and water gently.
→ Sophie’s advice: Take care when handling the root balls during planting. The roots of clematis are quite fragile.
Read also
7 ideal Clematis for potsHow to care for herbaceous clematis?
- In the first weeks following planting, regular but moderate watering will be necessary to keep the soil or potting substrate moist. However, be cautious: the main enemy of Clematis is moisture, so the soil must never be waterlogged. Soil or substrate that is too wet can lead to wilting and then decline.
- In spring, before growth starts, cut back the stems to 20-30 cm, leaving a few healthy buds on the lignified stems. This pruning helps maintain a nice shape for the plant and keeps it looking dense.
- For semi-climbing species, you can train them on a support (such as trellis or mesh) without tightening them until they cling on by themselves with their tendrils. You can also let them spread freely on the ground, as you prefer.
- When the clematis flowers fade, the fruits form characteristic small silver tufts. Leave them on the plant to extend their decorative effect.
→ Sophie’s advice: Cut stems root easily. Plant sections with 2 to 3 buds in the garden or in pots. They will take root quite easily, allowing you to multiply your favourite clematis!
- Mulch the Clematis in February with garden compost or well-rotted manure, avoiding direct contact with the stems.
- For herbaceous clematis in pots: water regularly to ensure the root ball never dries out completely. Apply complete fertiliser in spring and summer.

- Subscribe!
- Contents

Comments