


How to plant Iris reticulata?
Our tips to plant them in the ground
Contents
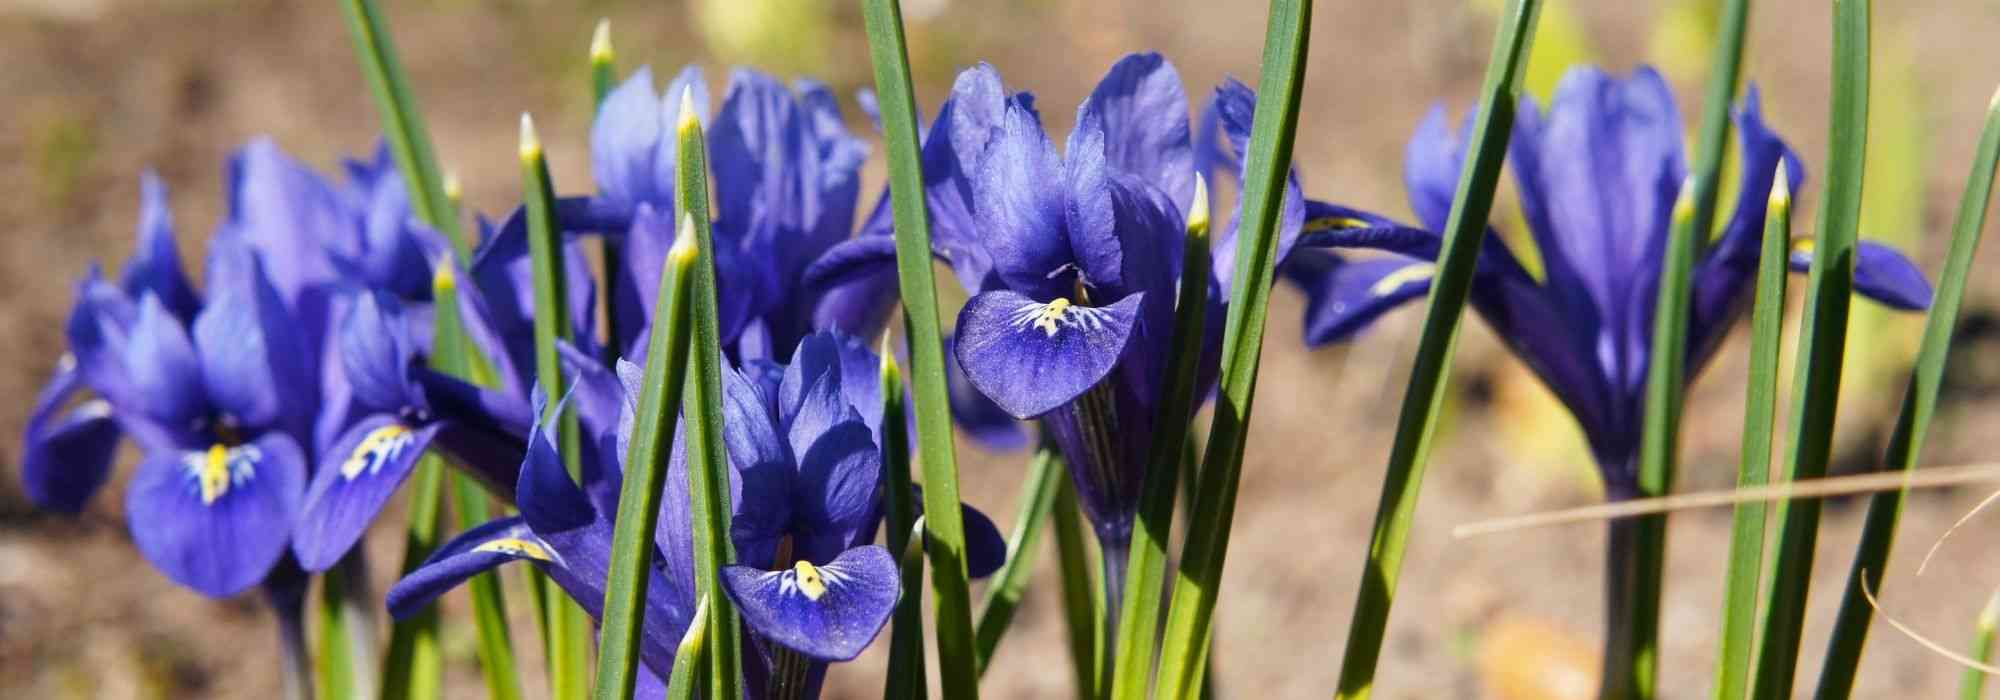
Very early in the year, in February and March, Iris reticulata (or reticulate iris) show their faces and brighten up our gardens. These early flowering bulbous plants are a delight for the eyes, but also for the nose. They offer a beautiful palette of colours, often in shades of blue, purple, but also crimson, yellow, or white. These elegantly shaped flowers are delightfully fragrant and find their place at the edge of sunny borders alongside other spring bulbs like Cyclamen, Crocus, and Snowdrops, as well as in dry rockeries. This dwarf iris requires little attention and is quite resistant to diseases, provided it is grown in well-drained soil. Discover all our tips for successfully planting the bulb of reticulate iris in your garden!

When to plant Iris reticulata in the ground?
We recommend planting the reticulate iris in autumn, ideally from September to October. This allows the bulbs time to settle in and flower in February-March. Planting until December is possible, but be aware that flowering will be slightly delayed and shorter.
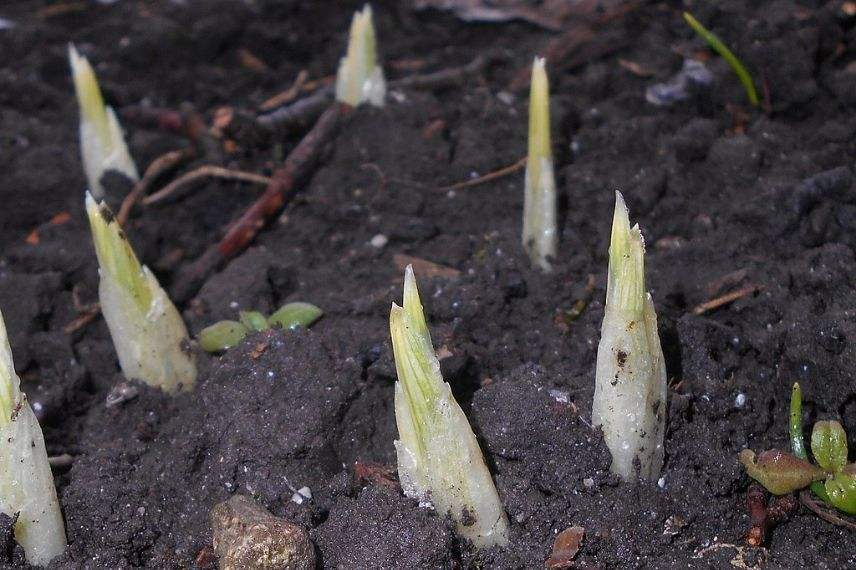
Young shoots of Iris reticulata. They will flower in late winter (photo Salicyna – Wikimedia).
Read also
Iris reticulata : planting and growingWhere to plant Iris reticulata?
To achieve a beautiful flowering, plant Iris reticulata in full sun. They can tolerate light shade, but the flowering will be less spectacular. It is also essential to plant them in well-draining soil that does not retain moisture. Indeed, waterlogged soils can cause bulb rot due to the onset of fungal diseases. Considering these criteria, these bulbous plants will thrive in rockeries or at the front of borders. Being small in size, ensure that surrounding plants are not too invasive; otherwise, the Iris reticulata will be overshadowed.
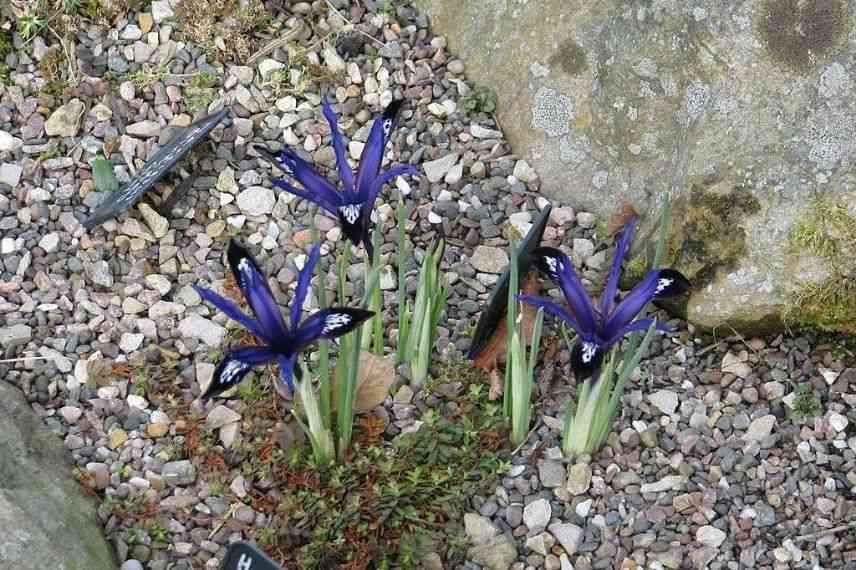
Iris reticulata can also be placed in rockeries (photo Peganum – Wikimedia)
Discover other Iris Reticulata
View all →
Available in 1 sizes

Available in 1 sizes

Available in 1 sizes

Available in 0 sizes

Available in 1 sizes

Available in 1 sizes

Available in 1 sizes

Available in 1 sizes

Available in 1 sizes

Available in 1 sizes
How to plant Iris reticulata in the ground?
The necessary equipment:
- bulbs of reticulate Iris
- a spade
- a rake
- sand or potting soil
- a dibber, preferably narrow (the bulbs are only 2 cm in diameter)

On the left, the rake is useful for preparing the soil. On the right, the narrow dibber allows for making small planting holes
Preparation:
Prepare your soil using your spade to a depth of about fifteen centimetres. Loosen it with the rake so that it is light and remove any weeds. To improve drainage, mix sand or potting soil with your garden soil.
Planting:
We recommend planting your Iris reticulata in groups of 15-20 bulbs. This will create a beautiful effect of coloured patches during flowering. Before planting your bulbs, check that they are healthy and free from any signs of mould.
- Form a small mound of soil where you wish to plant the bulbs, to allow water to drain away and not stagnate near the bulbs.
- Using the dibber, dig a hole about 8-10 centimetres deep for each bulb and space them approximately 8 centimetres apart.
- Place a layer of sand or gravel at the bottom of the planting hole if your soil is particularly heavy.
- Place your Iris reticulata bulbs with the point facing upwards and the roots in contact with the bottom of the hole.
- Cover with soil, gently firm down, and then water.
Also discover our practical and useful tips for planting bulbs.
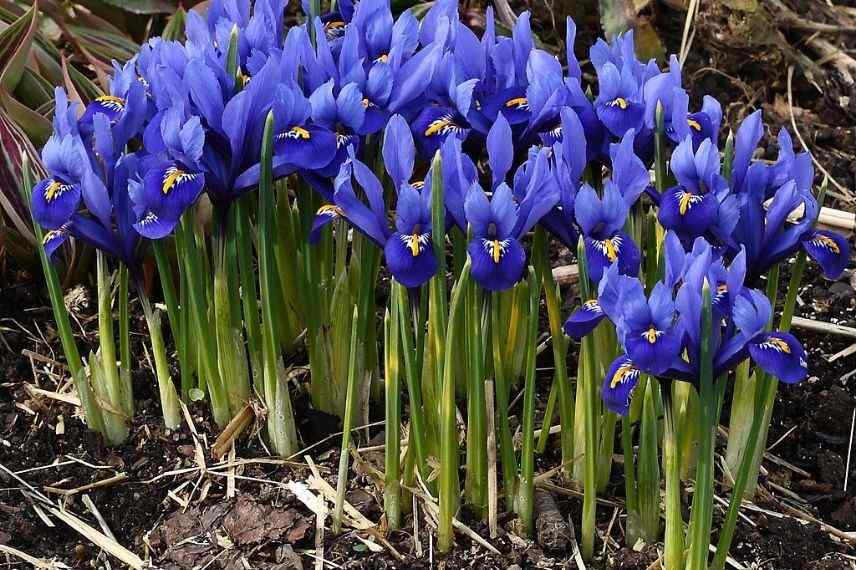
Plant your bulbs in groups to create a beautiful splash of colour during flowering (photo Hedwig Storch – Wikimedia)
Read also
How to plant irisHow to care for Iris reticulata?
Caring for Iris reticulata is quite simple.
- Regularly remove faded flowers and flower stems, not only for aesthetic reasons but also to prevent the plant from exhausting itself producing seeds.
- After flowering, the plant will continue to store energy: provide it with special fertiliser for bulbous plants (low in nitrogen, which promotes foliage at the expense of flowers) following the manufacturer’s recommended doses. The next flowering will be even more abundant.
- Then, it will finally enter dormancy. The leaves will yellow and completely wilt. It is at this point that you can remove the foliage. Tip: place labels to mark the location of your Iris, which will no longer be visible. This will prevent you from accidentally damaging them with a spade if you need to work in the bed during their dormant period.
- If you wish to move your bulbs, lift them from the ground during the summer. As the plant is dormant, its cycle will not be disturbed.
Hardy, Iris reticulata bulbs can remain in the ground. However, note that Iris reticulata naturally multiplies after flowering by dividing into bulblets that will not flower for a few years. This is why this Iris is planted as an annual in the ground. If you find that the flowering has not been optimal, it may be due to your soil not being well-draining. We recommend lifting them from the ground to replant them in another location the following autumn, knowing that your Iris will not flower again for 2-3 years.
To aerate the clumps, consider dividing them every four years or so, after flowering, during the dormant period. This will rejuvenate them.
How to store a reticulate iris bulb?
The reticulate iris is quite hardy and there is no need to lift it for winter. However, if you wish to remove it from the garden for later planting (preferably in autumn), do so in summer. Once the bulbs are extracted, remove the soil and lay them flat to ensure they are no longer damp. Remove their foliage and store them in a place protected from light, moisture, and frost, in a net or paper bag.
Diseases and pests of Iris reticulata
Iris reticulata can be affected by diseases caused by fungi, such as heterosporiosis, fusariosis, or rust. Excess water causes the bulbs to rot. If the plant is affected, we recommend treating it with a fungicidal product. Drainage is therefore important during planting, and watering should be moderate. This bulbous plant tolerates drought relatively well. It is perfectly suited for planting in dry gardens!
Your garden may sometimes be visited by rodents such as voles, mice, and others that are fond of bulbs. Be aware that there are bulb baskets in which you should place the bulbs during planting, providing good protection against these pests. Find all the details on how to protect your bulbs in our guide.
The reticulate Iris can be attacked by snails and slugs that feed on its foliage. Discover our guide to fight slugs effectively and naturally.
Find all our tips to care for Irises.
For further reading
- Find all our tips for growing Iris reticulata in pots
- Subscribe!
- Contents
")
Comments