


6 climbing plants easy to layer
All our tips for easy propagation!
Contents
Layering is a propagation technique often used for climbing plants, as their flexible stems lend themselves well to it. It is easy to bend them down to soil so they root there. Some climbing plants even tend to layer themselves naturally! For climbing plants, layering by pegging down or serpentine layering are mainly used. These are very good alternatives to propagation by cuttings, involving no risk, since you wait until stem has rooted before separating it from parent plant (unlike propagation by cuttings, where a stem is taken before it has roots). Find out in this advice sheet when to carry out layering and how to multiply clematis, wisteria, climbing roses, Virginia creeper easily — all our tips!
And if you want more explanations about different layering techniques, feel free to consult our advice sheet “Layering: how to do it?” as well as bushes that are easy to layer.

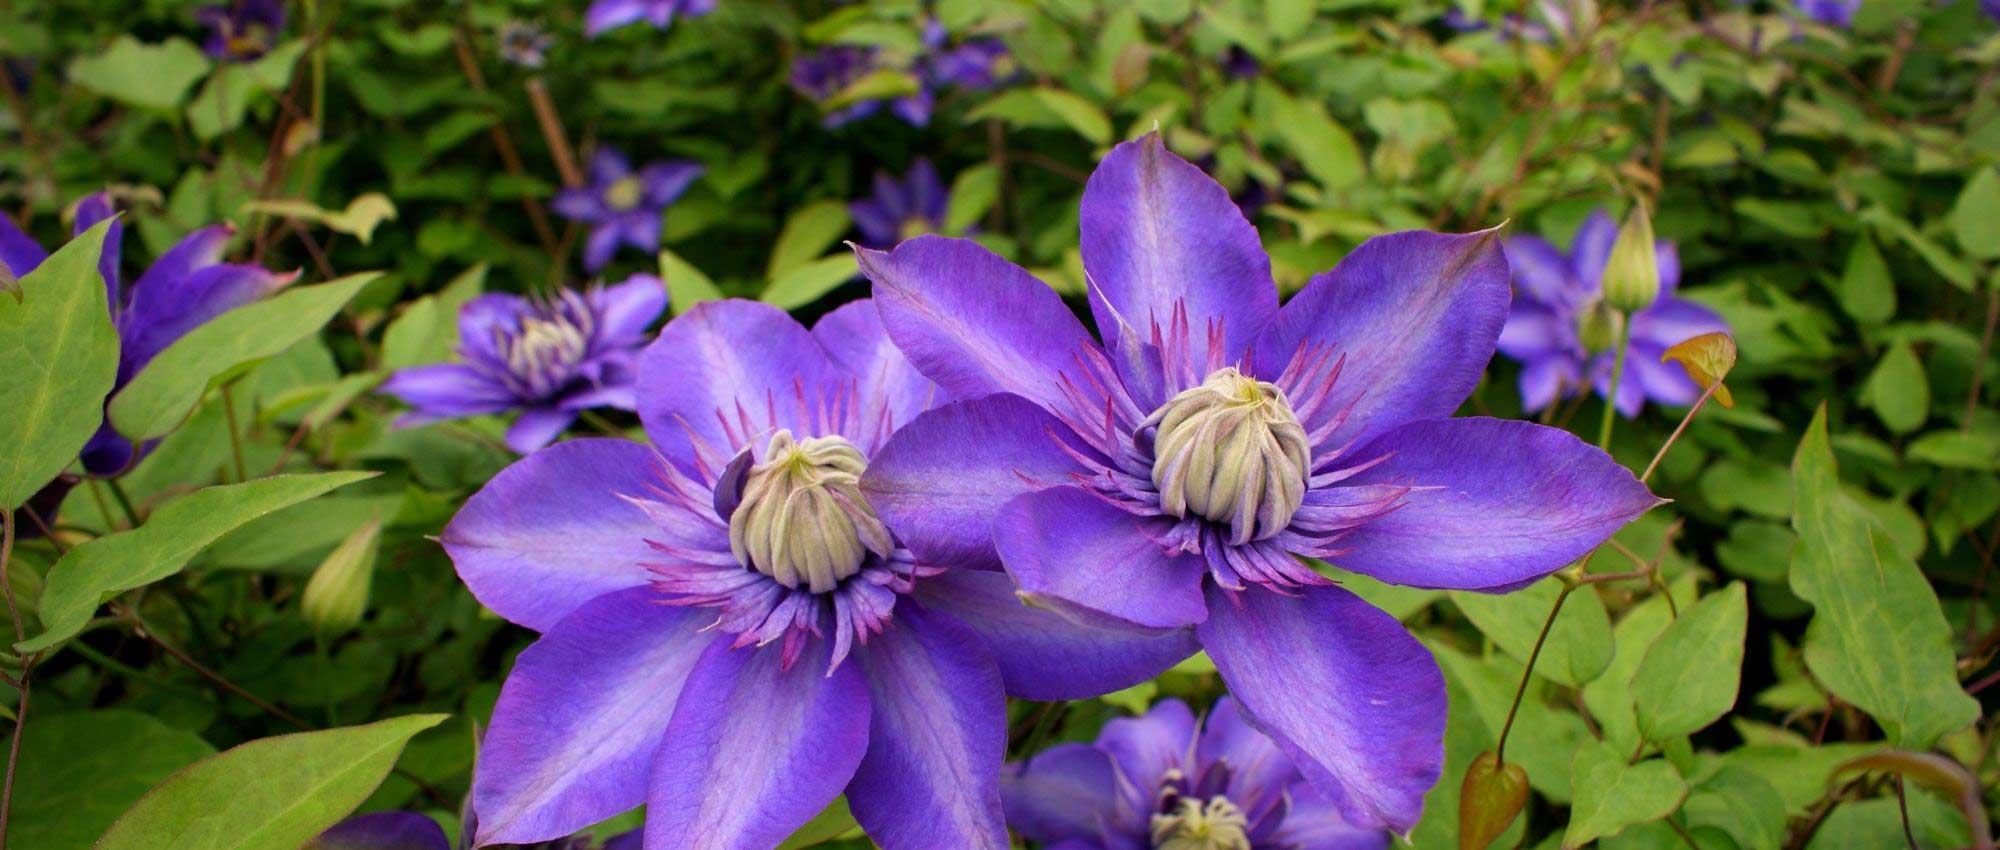
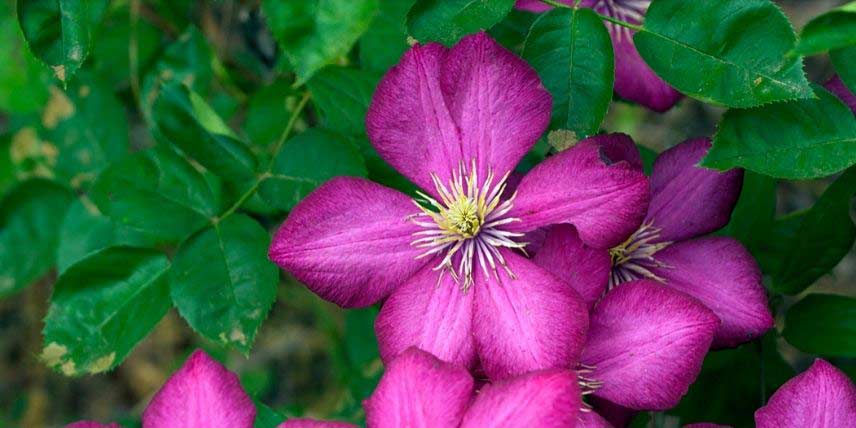
Clematis
Clematis are fairly difficult to propagate by cuttings. However, they lend themselves very well to layering thanks to their long, flexible stems.
When to layer a clematis?
You can propagate clematis by layering (ground-layering) in summer, around August. Layer directly in a pot.
How to layer a clematis?
Use a pot 10–15 cm in diameter, place a layer of gravel in the bottom for drainage, then fill with potting compost. Next, choose a long lignified stem and remove leaves so only those at the tip of the stem remain. They will allow photosynthesis and supply the plant with sap. Make an incision to remove a little bark (about 2–3 cm long) on the part that will be buried. Then bend the branch so it lies in the pot, and cover it with compost. Lift the end of the branch and tie it to a stake so it stays upright.
All that remains is to firm down the potting compost to ensure good contact between stem and compost, and to water to encourage rooting.
Read also
Layering: how to do it?Wisteria
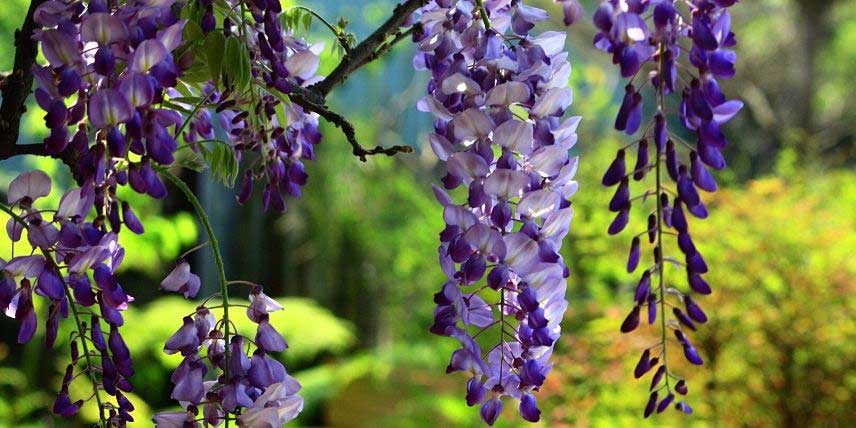
Although wisteria can be propagated by propagation by cuttings, by grafting or by sowing, layering is the easiest and quickest technique to obtain new young plants! Sometimes wisteria even layers itself when one of its stems touches the soil.
When to layer wisteria?
Best time to layer wisteria is summer. Carry out layering by laying down (or, if the branch is very long, serpentine layering – a variant of the same technique that allows several young plants to be obtained).
How to layer wisteria?
Choose a low, long, healthy and vigorous branch, and bend it to bring it closer to the soil. At that spot, dig a furrow and add some potting compost. Make a cut on the lower side of the shoot that will be buried. The cut should be a few centimetres long. Also remove the leaves on the part that will be in the soil, leaving only a few at the tip. Then bring the branch to the soil and place it in the furrow. Cover it with a layer of potting compost, and hold it in place with a hook, a peg or a stone. Lift the tip of the branch so it stands vertically, and tie it to a stake. Water generously the buried part. When the layer has developed its roots, you can separate it from the parent plant and replant it, in a pot or in open ground.
Discover other Climbers
View all →
Available in 0 sizes

Available in 0 sizes

Available in 0 sizes

Available in 0 sizes

Available in 0 sizes

Available in 0 sizes
")
Available in 0 sizes

Available in 1 sizes

Available in 1 sizes

Available in 2 sizes
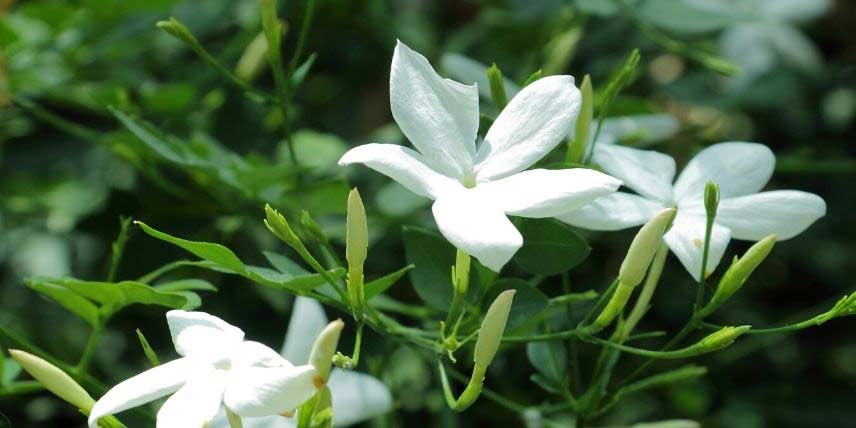
Jasmine
As with wisteria, jasmine can be easily layered by ground layering or by serpentine layering.
When to layer jasmine?
We recommend layering in autumn after flowering.
How to layer jasmine?
Find a low, long and vigorous stem and bend it down to ground level. Where it touches the ground, make a slight incision 3 to 4 cm long. Future roots will develop in this area. Remove leaves from the portion that will be buried. You can then loosen the soil near the stem and add a mixture of potting compost and sand. Then bury the stem in the soil, cover it with substrate, and lift the tip of the stem vertically, securing it to a stake. Finally, water thoroughly.
Wait one year before separating the layer. In autumn, check that it is properly rooted, then separate it from the original young plant and replant in a pot or in open ground.
If the stem is long enough, you can carry out serpentine layering by burying the stem at several successive points. This way you will obtain several young plants from the same stem.
Read also
10 tips for gardening on a budgetActinidia
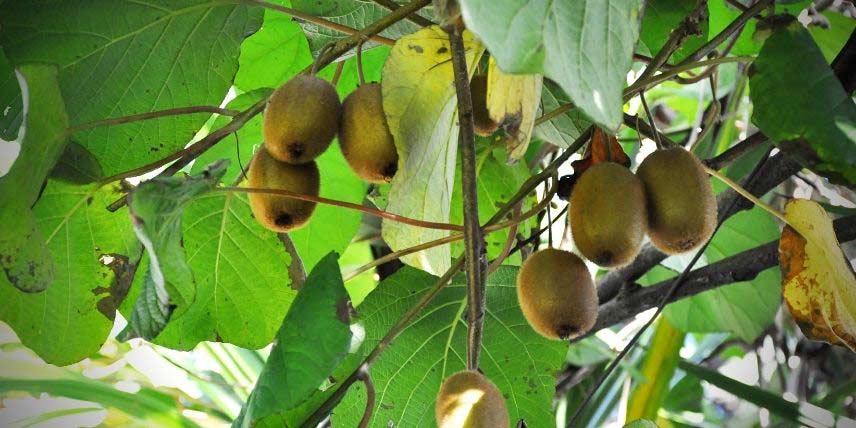
Kiwi has the advantage of producing long flexible shoots that are easy to bring down to soil level.
When to layer kiwi?
It is layered by ground layering in spring, around May.
How to layer kiwi?
Take a flexible shoot and lay it in the soil at the base of the kiwi. Remove the leaves from the portion that will be buried, and strip the bark with a knife for about 5 cm. Then dig a trench about 15 cm deep, place some potting compost in it and bury the stem there. Cover it with the potting compost, firm the soil and water thoroughly. Lift the tip of the stem and tie it to a stake so it stays upright. Water regularly so the soil remains moist, as this will encourage rooting.
As soon as the layer has developed enough roots, you can cut the part still connecting it to the original young plant to detach it. All that remains is to lift it carefully and transplant it to its permanent position!
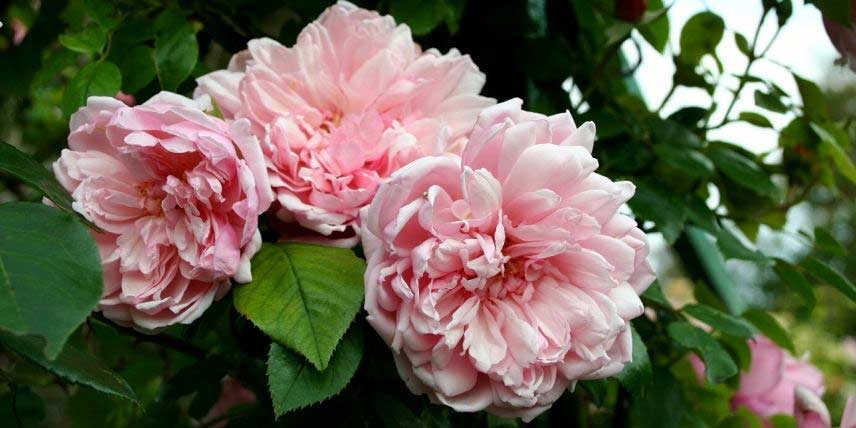
Climbing roses
Layering of climbing roses (and rambling roses too) is really simple to carry out.
When to layer climbing roses?
To layer climbing roses, do it in late summer to early autumn.
How to layer a climbing rose?
Choose a young stem from the current season that can easily be bent down to ground level without breaking. Find a spot on the stem that can be buried, then remove leaves there (over about 15 cm) and make an incision with a knife about 3 cm long on the underside of the stem, preferably at an eye. This is where future roots will develop. You can apply plant hormone for propagation by cuttings to the wound to encourage root development. Then dig a small furrow in the soil close to the bush, 10 to 15 cm deep, place some potting compost there, then bury the branch and cover it with potting compost. You can place a stone or a peg to hold it in place. Raise the tip by tying it to a stake, then water.
Keep watering occasionally whenever soil becomes dry. You can also apply mulch to keep it cool for longer.
Most roses take between one and two months to root, but we advise waiting one year before severing the layer. This will give it time to strengthen and develop a good root system, which will ensure better establishment.
Parthenocissus
Virginia creeper tends to layer naturally when a stem touches soil. It is therefore very easy to layer !
When to layer Virginia creeper?
It layers in late autumn by couching.
How to layer Virginia creeper?
Take a low stem and bend it towards ground. Dig a small furrow of about 15 cm depth at that spot and place potting compost in it. No need to make cuts on the stem. Simply bury it in the furrow, ensuring three to four eyes are in soil, and lift its tip, attaching it to a stake so it stands vertically. You can use a hook or pegs to keep the buried part firmly in place. Wait one year before severing the layer: the following autumn cut the stem that still connects the layer to parent plant, then dig up the layer and plant it in its final position.
- Subscribe!
- Contents

Comments