


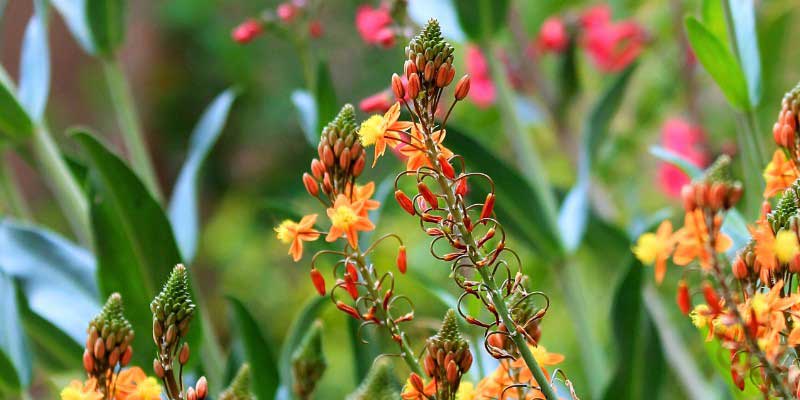
Bulbine is a charming small perennial native to South Africa that produces long linear, fleshy leaves and delightful star-shaped orange or yellow flowers. It flowers for a long time from late spring through to autumn. In the garden it prefers full sun and well-drained, rather light and sandy soils, as it dislikes stagnant moisture. It tolerates drought well but is rather tender, not tolerating temperatures below -4°C: growing it in the ground should therefore be limited to frost-free areas. However, it adapts very well to being grown in a pot, which allows it to be brought under cover for winter. Bulbine is easily propagated by division of clumps, but also by sowing. Discover all our tips to obtain new plants!
For full details on how to grow it, see our complete sheet: "Bulbine: plant, grow and care for"
By dividing clumps
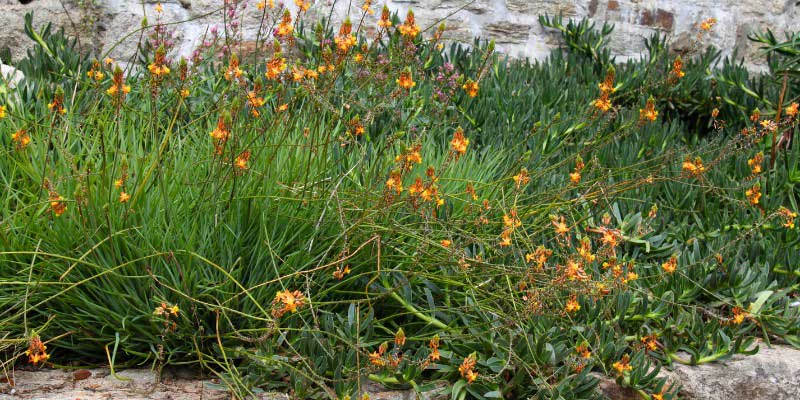
Over time Bulbine tends to form large clumps: it is easy to take a few divisions to replant elsewhere or in a pot. This also helps to rejuvenate plants and give them more space.
When to divide Bulbine?
The best time to divide bulbine is spring, but it can also be done in autumn in mild climates.
Materials needed
- A spade or fork
- A sharp, disinfected knife
- A watering-can
How to proceed?
- Choose a well-developed Bulbine clump.
- Water the plant generously.
- Using a spade or fork, carefully lift the plant, digging wide and deep enough not to damage its roots.
- Gently shake the rootball to remove excess soil from the roots.
- Separate the plant into several divisions using a sharp knife. Make sure each division has sufficient roots and foliage to allow it to regrow.
- Replant immediately, in a pot or in the ground.
- Water abundantly to help establishment.
By sowing
After flowering, Bulbine produces small capsules on the flowering stems that contain tiny seeds. You can harvest the seeds from the dry capsules that have reached ripeness.
When to sow Bulbine?
Sowing is preferably done in spring, around April.
Material needed
- Pots or buckets with drainage holes
- Sowing compost or a mix of compost and coarse sand
- A watering-can with a rose or a spray bottle
How to proceed?
- Fill pots or buckets with a light, free-draining compost.
- Firm the compost down lightly and level the surface.
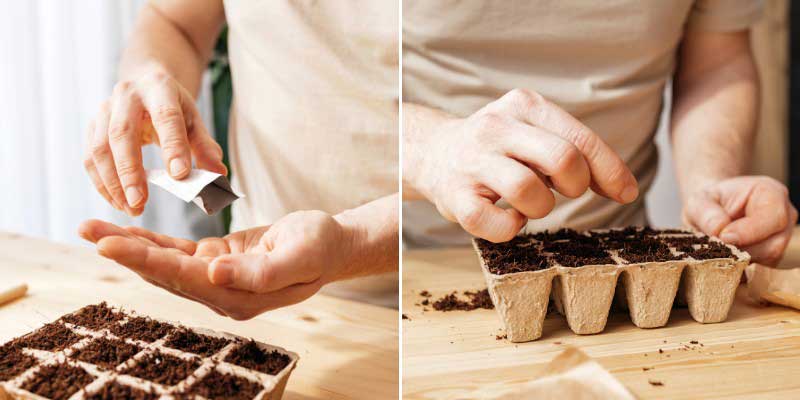
- Sow the seeds by distributing them on the surface.
- Cover them with a thin layer of compost.
- Water with a fine spray using a watering-can with a rose or a spray bottle to avoid displacing the seeds.
- Place the pots in a warm, bright spot out of direct sun. Ideal temperature is 20 to 25°C.
- Continue to water regularly.
- Germination occurs within a few weeks.
- As soon as the young plants are large enough to handle, pot them on into individual pots.


Comments