


Birds are useful to gardeners, as they regulate populations of certain pest insects that damage crops. But they can also become too greedy, devouring all strawberries, cherries, figs and grapes in the garden! So why not deter them by making a scarecrow? Easy to make alone or with family, this playful and practical activity helps protect your crops from birds… and add a decorative touch to your outdoor space. Discover, in this tutorial, how to create a scarecrow using reclaimed materials.
Materials needed
To make your scarecrow, you will need the following items :
- 2 wood posts, one 2 metres and the other 1.20 metres.
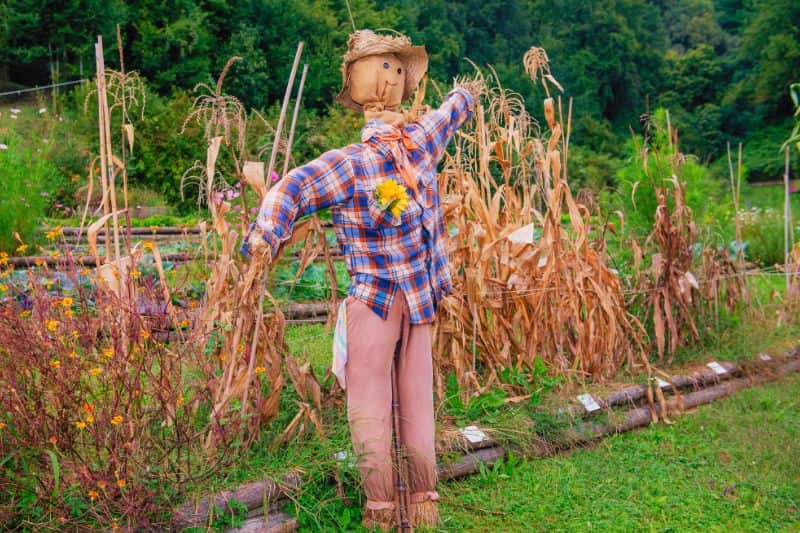
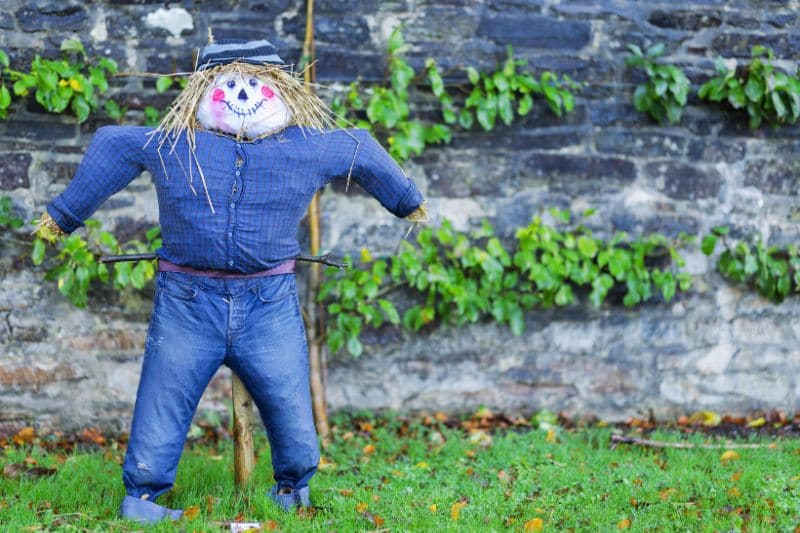
- Old clothes: a long-sleeved shirt and trousers, or a long dress, long-sleeved and buttoned at the front.
- An old pillowcase or a fabric bag to make the head.
- Straw to fill the scarecrow.
- String or rope.
- Nails and a hammer.
- Paint for the face. Buttons can also be used for the eyes, etc.
- Various accessories (hat, gloves).
Practical tips
- Choose weatherproof materials. For example, use treated or recycled wood, and favour worn but still sturdy clothing.
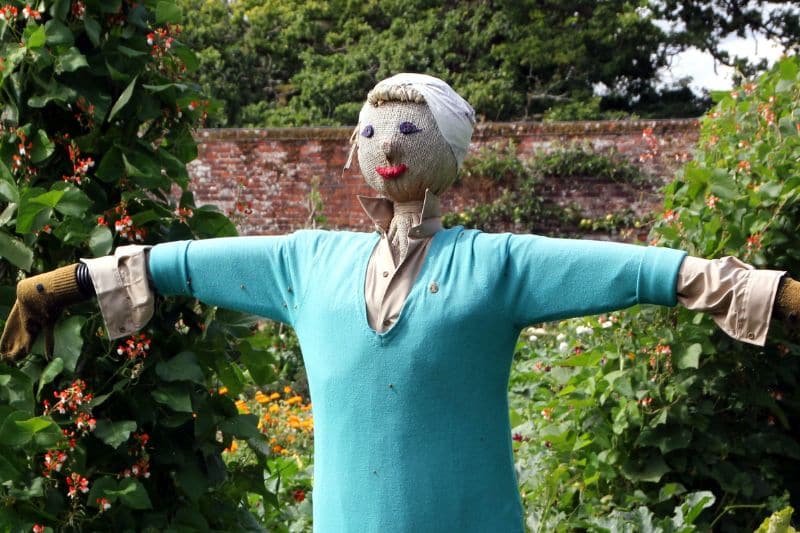
- Brightly coloured clothing is more of a deterrent to birds. Likewise, a long, flowing dress will move with the wind, and that movement will unsettle birds.
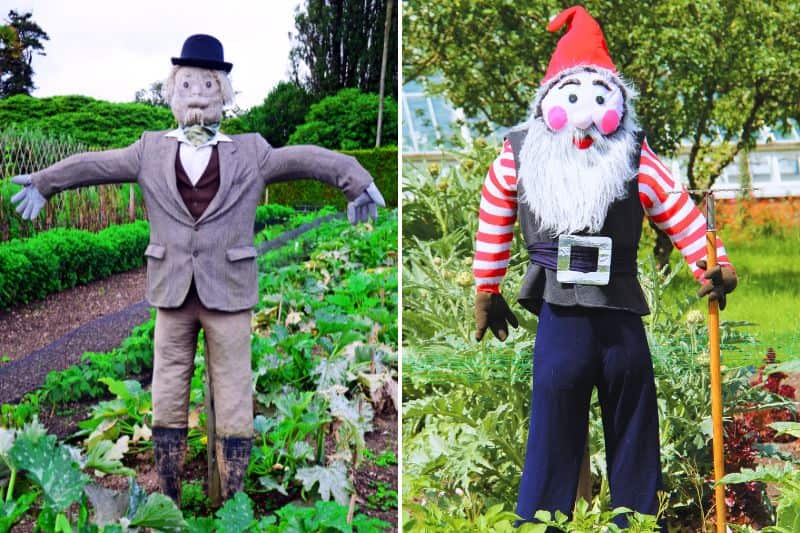
- The more realistic your scarecrow looks, the more likely it is to frighten birds (and perhaps even neighbours or children in the process…).
Steps to build a scarecrow
1- Preparing the wood posts : take your two wood posts. One will serve as the body, the other as the arms. Cross them in a T shape, fixing the horizontal post (the arms) about a quarter of the way down from the top of the vertical post (the body). Use nails and a hammer to securely join the two pieces.
2- If your scarecrow is wearing trousers, slide the vertical post (the body) up through one trouser leg. Fasten the back of the trousers at the waist to the wood post, leaving the front open so you can fill it with straw later.
3- Anchoring in the soil : choose location where you want to install the scarecrow. Drive lower part of vertical post into soil. For better stability (especially in windy conditions), sink it at least 30–40 cm. Firmly pack soil around base.
My tip : place scarecrow near crops you want to protect, but where it won’t obstruct movement in the garden.
4- Slip the shirt or dress over the horizontal post (the arms). Then tie sleeve ends with string so straw or stuffing cannot escape. Do the same for the bottom of the trousers. If using a dress, tie the waist to the post with rope.
5- Fill the shirt and trousers (or the dress) with straw until well stuffed. Make sure stuffing is evenly distributed to give the body a realistic shape.
Creating the head
1- The head can be made from a canvas bag or an old pillowcase, filled with straw.
2- Draw and paint a face on your scarecrow’s head. Be creative! You can add buttons for the eyes, wool for hair, or even an old pair of glasses!
3- Attach the head to the vertical post, fastening it firmly with string or nails. Make sure the head is stable and does not move.
Adding accessories
Personalisation : add a hat to your scarecrow’s head, attach gloves to the sleeve ends, put on a waistcoat or tie a scarf around the neck. These accessories will not only personalise your scarecrow, but also help make it more convincing to birds.
Tips : consider adding reflective objects, such as old CDs, to strengthen the deterrent effect. Ribbons can also create an impression of movement.


Comments