


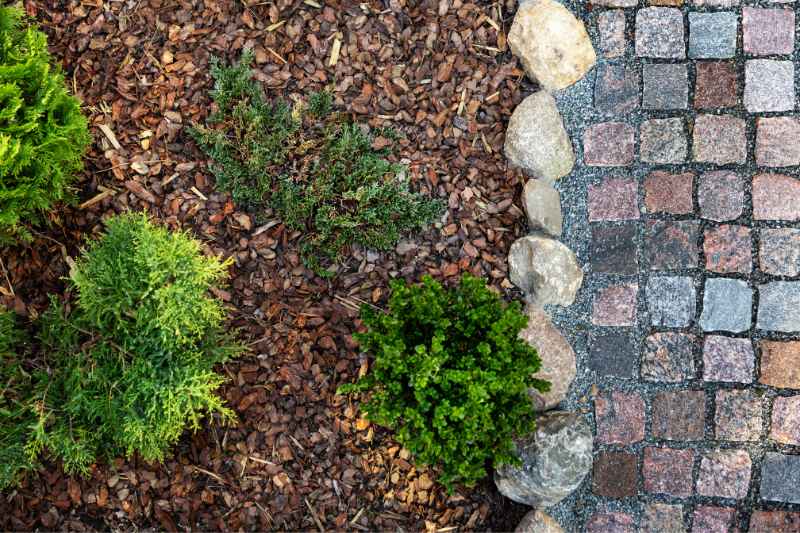
Landscaping a paved garden path is not just a matter of aesthetics; such a path also plays a crucial role in structuring outdoor space and in ease of movement within the garden. Paving stones, thanks to their wide variety of shapes, colours and textures, offer design flexibility to create paths in harmony with the garden's overall atmosphere. In addition, they are known for their durability and ability to withstand climate variations, providing a long-term solution for any outdoor landscaping project. Choosing paving stones for a path also helps manage rainwater more effectively, preventing water pooling and soil erosion. Let’s discover how to start this type of work with confidence!
Materials required
- Paving stones: choice (and quantity) will depend on desired aesthetic and technical specifics of the project.
- Sand: used as bedding for the paving stones and for filling joints.
- Gravel: often required for the base layer, ensuring good drainage.
- Geotextile : this fabric is laid between soil and gravel layer to prevent weed growth and ensure better stability.
- Edging: used to define the path and keep paving stones in place.
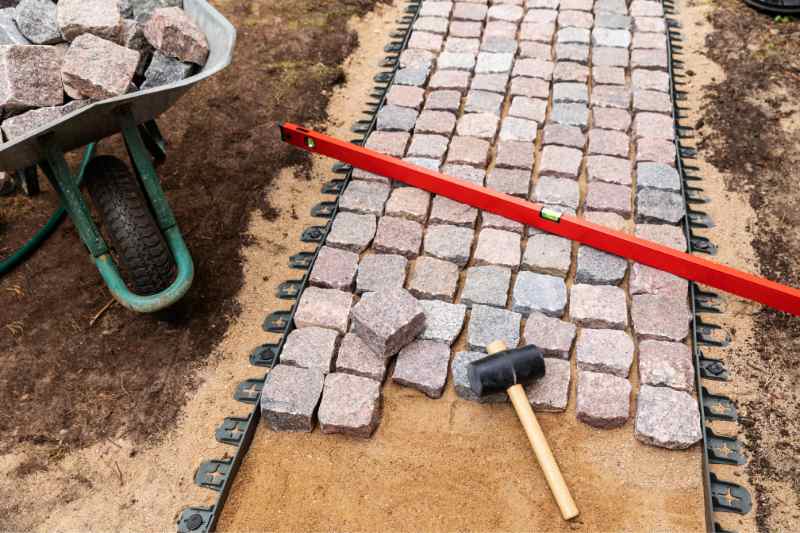
- Rubber mallet: essential to adjust paving stones without damaging them.
- Spirit level and masons' line: to check alignment and level of paving stones.
- Shovel and wheelbarrow: to prepare ground and transport materials.
- Mason's rule and string: to ensure a straight, regular alignment of the path.
- Hand tamper or vibrating plate: to compact gravel and sand, ensuring a solid base.
- Paving saw or paver cutter: to make precise cuts in paving stones to fit path dimensions.
- Broom: to clean excess sand from paving stones after laying and jointing.
Plan your garden path
Start by defining location and layout of the path, considering how it integrates with garden space and daily use. Think about design taking into account your garden's overall style: paving stones should complement existing aesthetic while meeting functional needs, whether for foot traffic or more frequent use. Choice of paving stones depends on desired visual effect, but also on their durability and maintenance.
Next, measure accurately the area to be paved to determine required quantities of materials, including paving stones, sand, gravel and edging. A good estimate will avoid costly excess or frustrating shortages during the project.
Prepare the ground
- Start by clearing the area where the path will be installed, removing debris, stones and roots.
- Use pegs and string to mark exact outlines of the path, which will help visualise the space and ensure straight lines or graceful curves according to chosen design.
- Excavation is next: dig out soil to an appropriate depth, generally between 15 and 20 cm, depending on paving stone height and base layer. This creates a bedding that will receive foundation materials.
- To ensure good drainage, maintain a slight slope, ideally 1–2%, away from house or any building, to facilitate water runoff.
- After excavation, lay a geotextile felt to prevent weed growth while allowing water to infiltrate.
- Then, add and compact a layer of gravel for stability, followed by a layer of sand that will serve as bedding for the paving stones.
Laying the foundations for the paved path
Base material selection typically favours a combination of gravel for the lower layer and sand for the upper layer. Gravel provides effective drainage and a solid base, while sand makes levelling and precise laying of paving stones easier.
Start by spreading a gravel layer about 10 to 15 cm thick. Use a hand tamper or vibrating plate to compact this layer firmly, ensuring a stable foundation. Check uniformity and slight slope for drainage with a spirit level or laser.
After the gravel, apply a sand layer of around 2 to 5 cm. This sand serves as an adjustable bedding for the paving stones, allowing them to be set exactly at desired height. Level the sand carefully, using boards or metal bars as guides, to achieve a uniform, flat surface. This method ensures paving stones are well laid and remain in place over time.
Installing the paving stones
- Begin by installing edging that will act as guide and support for the paving stones. Edging defines the path and ensures paving stones stay in place, while contributing to overall appearance of the path.
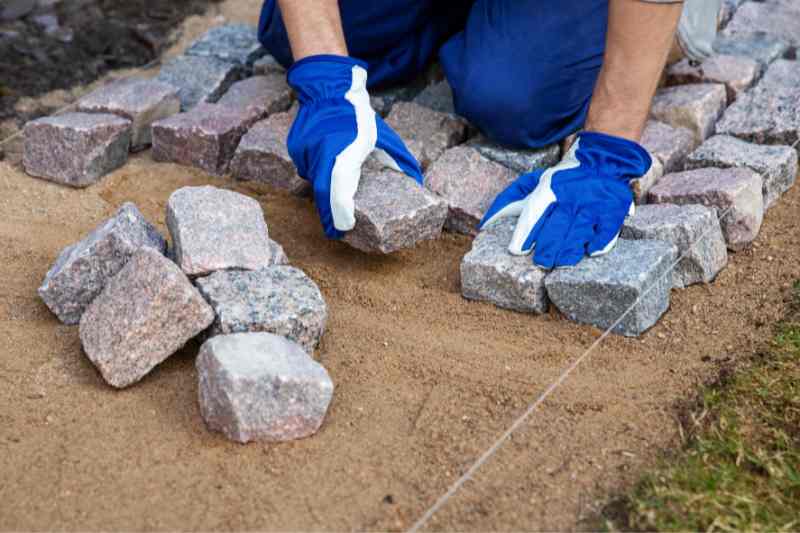
- Once edging is in place, start laying paving stones from a corner or outer edge, working towards centre or opposite end. To maintain alignment and squareness, use a masons' line stretched between edgings as a guide. You can also check alignment regularly with a mason's rule and spirit level, adjusting stones slightly with a rubber mallet as needed.
- You will likely need to trim some stones to fit remaining spaces near edgings or around garden features such as trees or lights. For this, measure and mark the stone to cut with a pencil, then use a paving saw or paver cutter to make a clean cut.
Finishing and jointing
Choice of jointing material depends on desired aesthetic and functionality: polymerous sand for water-activated hardening, offering resistance to weeds and ants, or traditional sand for a more natural look.
- Spread sand over entire path and use a broom to sweep sand into joints between paving stones, ensuring all gaps are well filled.
- Once joints are filled, using a vibrating plate with a protective mat can help compact sand into joints, making surface more stable and preventing sinking of paving stones.
- After jointing, carefully sweep away excess sand to avoid staining paving stones. If you used polymerous sand, a light misting with a sprayer will activate and harden the jointing, without saturating the paving stones with water.
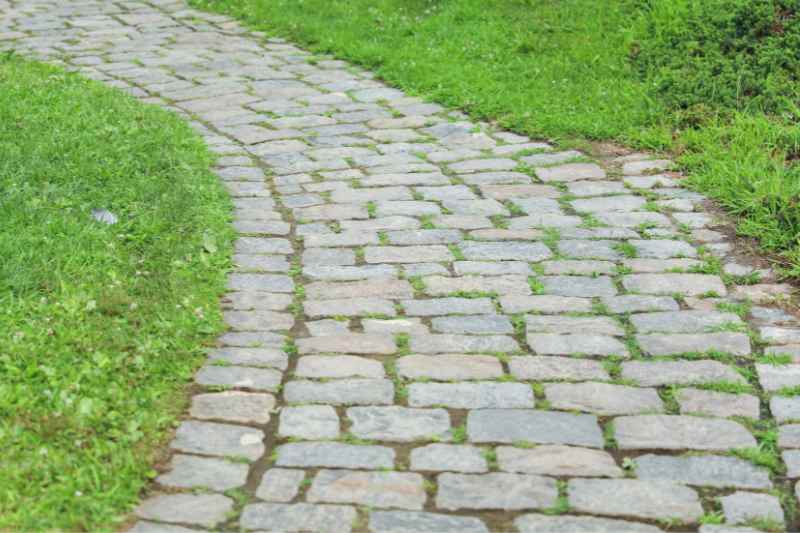
Maintenance of your paved path
Regular maintenance of your paved path preserves its beauty and functionality through seasons. A seasonal routine includes clearing fallen leaves and debris, sweeping to remove accumulated sand and dirt, and inspecting joints to refill any voids that could encourage weed growth. For stains, use gentle cleaners suitable for paving stones and brush lightly. Preventing weed regrowth can be aided by periodically applying polymerous sand in joints, reducing their appearance.
Regarding common issues, sinking and displacement of paving stones are often caused by a poorly compacted base or insufficient drainage. Reinforcing foundation with a compacted gravel layer and ensuring adequate slope for runoff can fix and prevent these problems. For water management and drainage, installing channels or French drains alongside the path can significantly improve water removal, thus avoiding accumulation and saturation that contribute to soil settling beneath the paving stones.


Comments