


Planting alliums
Where, when, and how to plant ornamental garlic ?
Contents
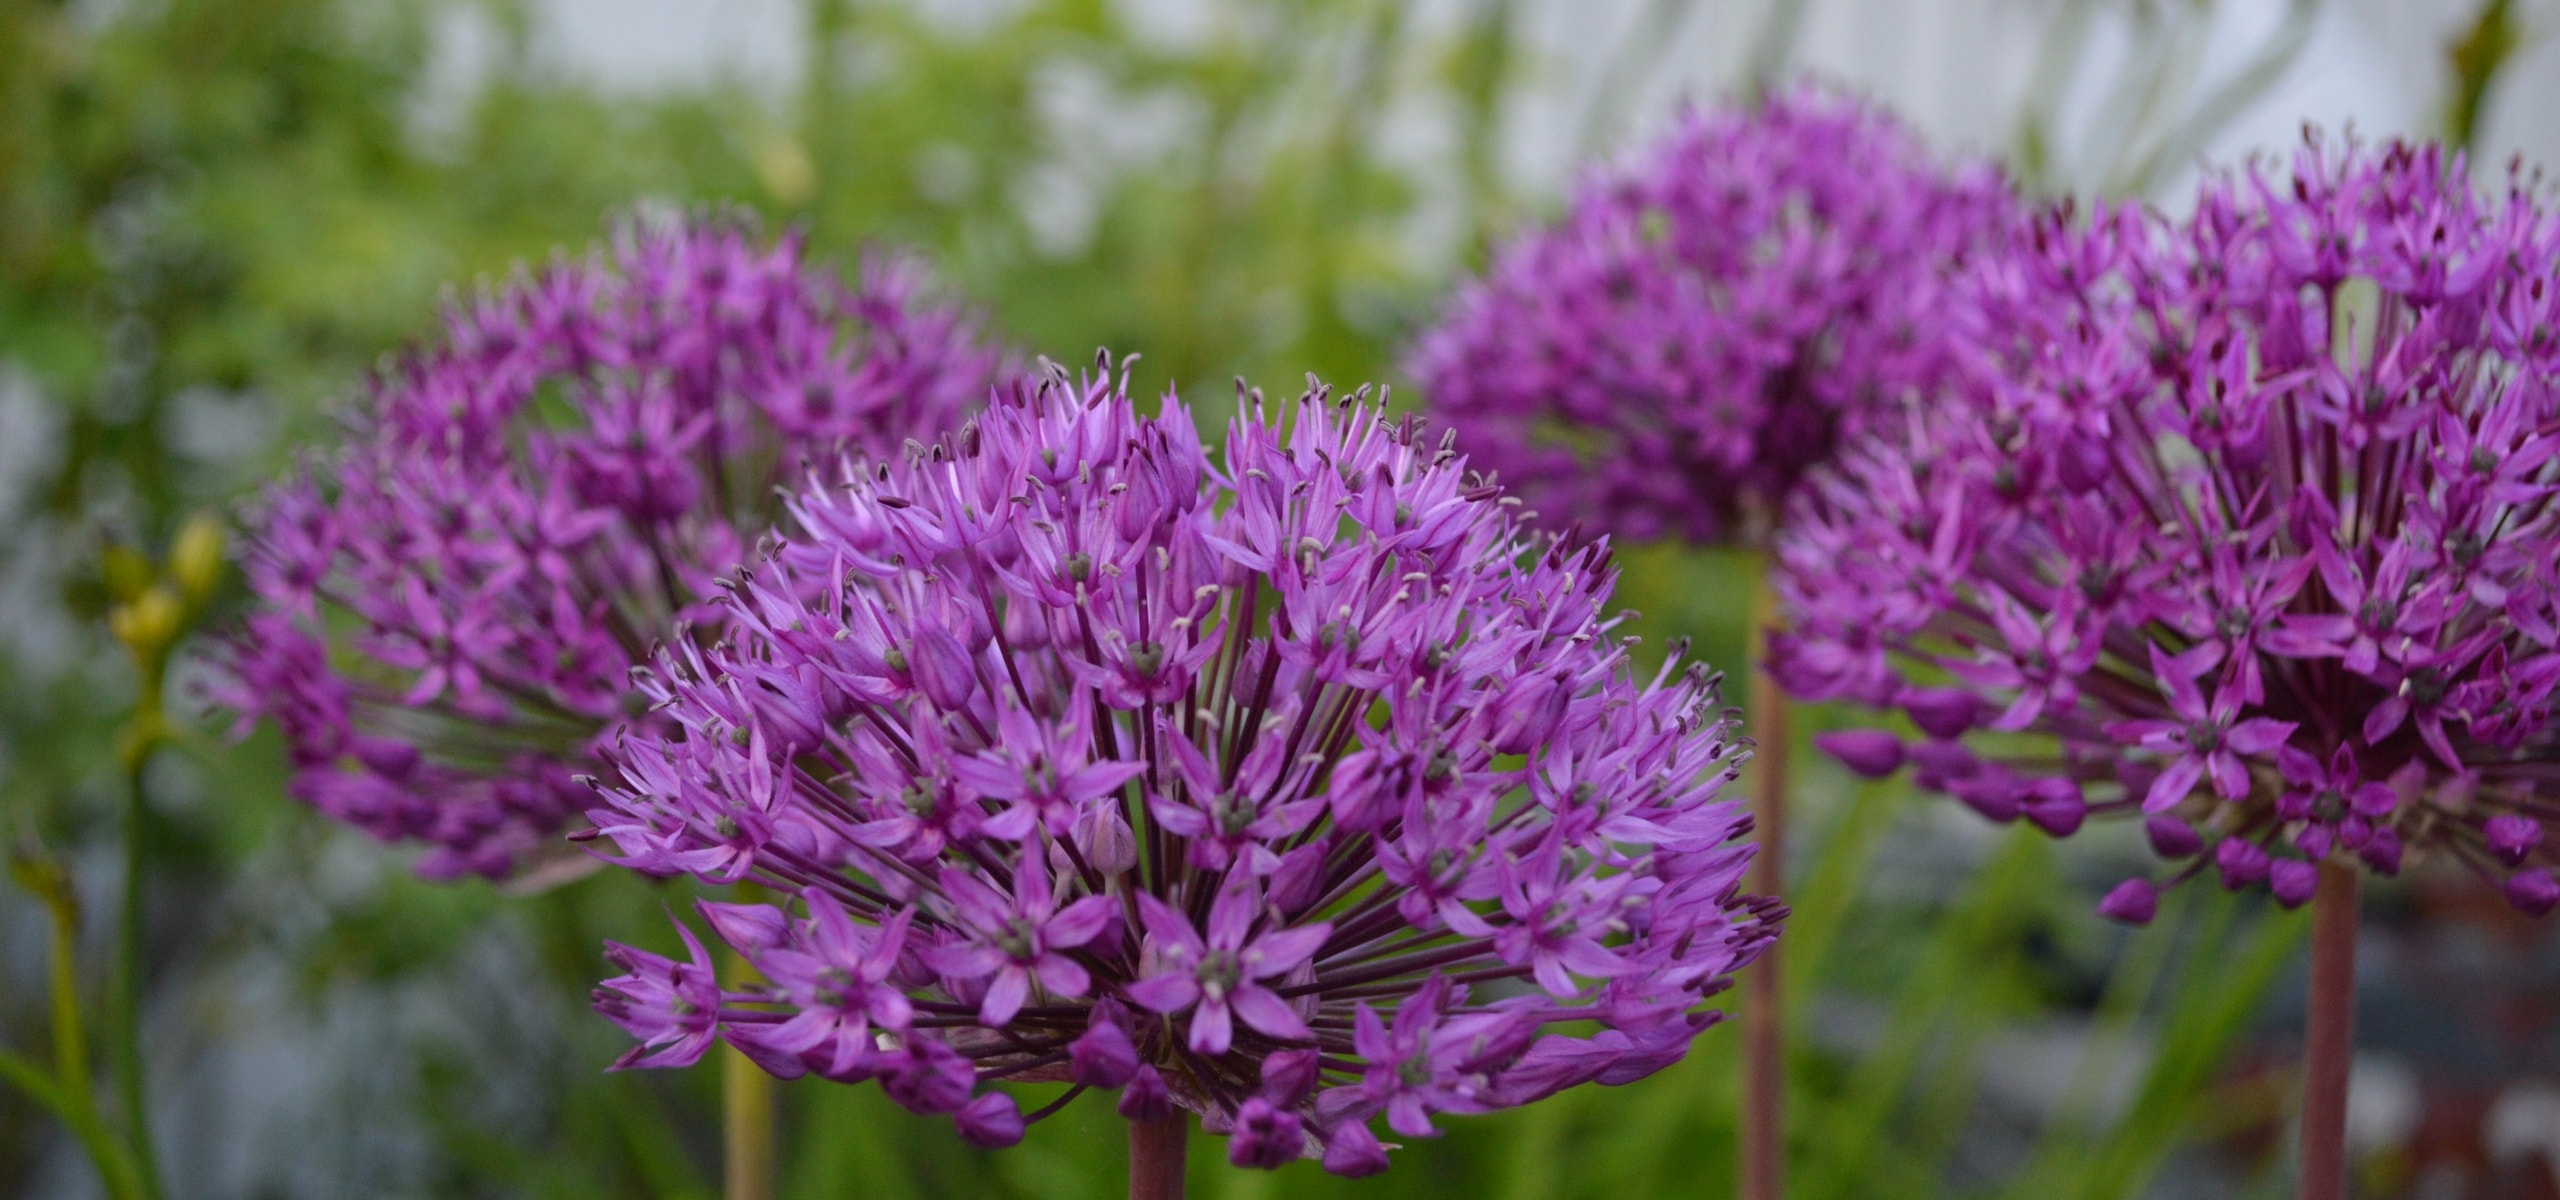
Alliums, or ornamental garlic, are among the most beautiful flowering bulbs. Easy to grow, they charm with their spectacular inflorescences in perfectly round balls or light umbels. Available in a wide range of colours (blue, lilac, white, pink, yellow…), these elegant flowers stand atop long, slender stems, adding height and structure to all types of gardens. Alliums primarily bloom in late spring and early summer, taking over from spring bulbs like tulips and daffodils. Once planted, they are stunning from their first year and return faithfully each season.
Versatile, alliums find their place in both contemporary gardens with clean designs and in flower-filled meadows with a more natural look. They are distinct from edible species such as garlic (Allium sativum), onion (Allium cepa), or chives (Allium schoenoprasum).
But how can you successfully grow these stunning bulbs? Where should you plant the tall or short species? Where, when, and how should you install them in the garden? Discover all our tips and tricks for planting Alliums, in the ground or in pots!

Where to plant Allium bulbs?
Aside from certain edible species like A. ursinum or wild garlic that tolerate partial shade and the cool soils of woodlands, these Mediterranean bulbs thrive in full sun. Preferably, position your alliums sheltered from strong winds to protect their stems, especially for the taller varieties.
They appreciate all types of light soil, even poor, dry, or stony, but especially well-drained; they are sensitive to heavy and overly moist soils in winter, which can cause the bulbs to rot. They will live and flower for many years in well-drained soil but may only last a few years in compact, heavy, and clayey soil.
Perfectly hardy, they can survive winter underground even in cold regions. Once well established, they will flower for many years.
They can be planted in groups or individually, in the middle or background of perennial or bush beds, at the edge, in rockeries, or in pots. Vegetable species like garlic (Allium sativum), onion (Allium cepa), shallot, or chives (Allium schoenoprasum) are obviously best reserved… for the vegetable garden!
Consider the post-flowering period. In beds, plant alliums with various perennials such as Delphiniums, Eryngium, or ground cover (Hardy Geranium) that will take over the flowering and mask their yellowing foliage. They also pair well with grasses and with peonies and roses.

Alliums pair well with all sorts of perennials. Here, the grey tones of an Eryngium giganteum highlight the purple inflorescences of an Allium schubertii.
Read also
Plant hardy bulbs for summer floweringWhen to plant allium?
Allium bulbs are planted in autumn, starting from September, when the soil is still warm. Ideally, they should be planted before the end of November to allow them to establish their roots well before the onset of severe cold. If you have “missed the boat,” don’t worry: it is still possible to plant your alliums until the end of January, as long as the soil is not frozen. However, keep in mind that late planting may delay their flowering.
Discover other Allium
View all →
Available in 1 sizes

Available in 2 sizes

Available in 0 sizes

Available in 2 sizes

Available in 1 sizes

Available in 1 sizes

Available in 0 sizes

Available in 1 sizes

Available in 1 sizes

Available in 1 sizes
Which allium for which location?
Alliums comprise over 700 species and adapt to all types of gardens thanks to their great diversity. They vary in height, ranging from tall species measuring between 80 cm and 1.5 m, to medium species of 45 to 75 cm, down to low, compact species of 20 to 40 cm. Their flowers, in balls or loose umbels, offer diameters ranging from 5 to 40 cm. This diversity allows them to be used to structure borders or dress more intimate spaces like edges or pots.
Structuring borders with tall alliums
Tall alliums, such as Allium christophii or Allium ‘Globemaster’, are perfect for the background of borders. Plant them in groups for a spectacular effect and pair them with low perennials to create contrast and harmony.
Flowering edges and pots with small alliums
The most compact alliums, such as Allium moly, Allium karataviense, or Allium sikkimense, are perfect for borders, rockeries, or small spaces. Allium moly, with its bright yellow flowers, naturalises easily and is well-suited for wild areas or paths. Allium karataviense, on the other hand, charms with its compact habit and ornamental foliage, perfect for pots or small flower beds.

Allium sikkimense, vigorous and perennial, is used in rockeries or borders
Read also
Planting spring bulbs lateAt what density should they be planted?
The planting density of alliums mainly depends on the size of the bulbs and the desired visual effect. If you aim for a natural effect, plant them in small irregular groups. For a spectacular display, opt for a dense planting in numbers.
For a harmonious result, we recommend planting at least five bulbs of the same variety. Depending on the species and the size of the bulbs, plan for a density of 15 to 150 bulbs per m². Small bulbs, such as those of low alliums, can be planted in larger quantities to cover a dense area. Conversely, large bulbs of tall alliums, such as Allium giganteum, should be planted in groups of 4 to 10 bulbs, spaced about 10 cm apart.
When planting, respect the spacing and avoid bulbs touching each other! They should be spaced at least half their width apart. Small-sized bulbs are planted very densely, spaced 5 cm apart, medium ones 15-20 cm, and very large ones about 30 cm apart.
How to plant alliums?
Start by choosing healthy and intact bulbs. A few traces of mould are not a concern; however, if the roots appear to be in poor condition, it is better to discard the bulb.
In open ground:
- Clear the soil of weeds and stones.
- Loosen the soil to a depth of 20 to 30 cm using a spade or fork.
- Add organic matter, such as well-rotted manure, dried blood or ground horn to enrich the soil. The richer the soil, the larger the Allium will grow and the more floriferous it will be in the following years.
- Dig holes using a trowel or bulb planter, to a depth equal to three times the height of the bulb (e.g., a bulb 5 cm high should be planted at 15 cm).
- If the soil is heavy or clayey, improve drainage by placing a layer of sand or gravel at the bottom of the planting holes. You can also mix a bit of light potting soil with the soil.
- Plant the bulbs point upwards, ensuring they do not touch each other.
- Maintain spacing between the bulbs: 5 to 10 cm for small bulbs, 15 to 20 cm for medium ones, and up to 30 cm for large bulbs.
- Cover the bulbs with a layer of soil equal to twice their height.
 In open ground as well as in pots, Alliums require perfect drainage
In pots:
Allium bulbs are easily grown in pots to enjoy their flowering on the terrace or balcony. As in open ground, drainage must be impeccable.
- Choose a deep pot with drainage holes to prevent excess water.
- Spread a layer of clay balls at the bottom.
- Fill the pot with substrate, ideally a mixture consisting of half garden soil, a quarter of potting soil, and a quarter of gravel or pumice.
- Plant the bulbs point upwards, spacing them slightly and covering them with two to three times their height in soil.
- Water lightly after planting.
Mass planting
- Dig a zone of flowerbed or lawn to a depth of 10 cm using a trowel or a spade.
- Arrange the bulbs according to their size, spaced 5 to 30 cm apart.
- Cover the bulbs with soil or cut grass.
If planting in lawn, cut patches of grass, place the bulbs, then reposition the patches after planting.
 Don’t hesitate to plant Alliums in mass: guaranteed effect!
How to care for them?
The tallest species, such as Allium giganteum, may require staking to keep their flower stems upright, especially in windy locations.
Watering alliums should remain moderate. During the growing season, water only if the soil is very dry, at a rate of twice a week in prolonged dry conditions. In summer, when the bulbs enter dormancy, it is essential to keep the soil dry to prevent any risk of rot.
To encourage beautiful flowering, we recommend adding some fertiliser in spring, when the flower spikes begin to emerge. Use a specific fertiliser for flowering bulbs or enrich the soil with well-rotted compost or another organic amendment. This action not only promotes the current flowering but also supports the healthy development of the bulbs for years to come.
After flowering, the faded flower spikes can be cut using pruning shears if you wish to preserve the bulbs’ reserves or prevent self-seeding. However, if you appreciate the decorative aspect of the dry inflorescences, you can leave them in place to extend their visual interest in the garden.
The foliage should only be cut once it is completely yellow and dry. This allows the bulbs to replenish their energy reserves in preparation for the next flowering. Once the foliage has faded, it can be removed without harming the plant.
- Subscribe!
- Contents