


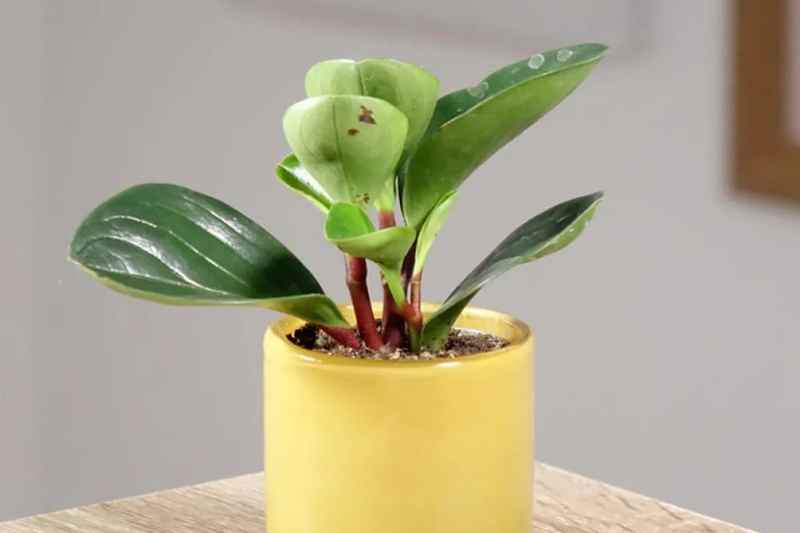
The Peperomia, native to Brazil and Latin America, has made its way into our homes. This trendy little plant fits in almost anywhere, especially when you appreciate its beautiful colours and the graphic design of its foliage. Do you want to propagate your plant to give away or to obtain new ones? Propagation by cuttings is a simple and effective method to reproduce these adorable little houseplants exactly. In this tutorial, I will explain how to propagate a Peperomia either in water or directly in soil!
When to propagate Peperomia?
The ideal time to propagate a Peperomia, regardless of its species, is in spring or early summer, when the plant is in a phase of active growth. It is during this period that cuttings are most likely to root quickly due to warmer temperatures and longer sunlight exposure.
The materials
Before you begin, make sure you have all the necessary materials:
- garden scissors
- Alcohol to disinfect your tools
- Glass pots or containers for propagation in water
- A light, well-draining potting mix
- A spray bottle to maintain humidity
- Plastic bags or propagation domes to create a humid environment
Technique 1: Propagating Peperomia in water
Both methods are effective, but if you are a beginner, you will likely find propagating in water a bit more reassuring, as it allows you to visually track the progress of the roots forming.
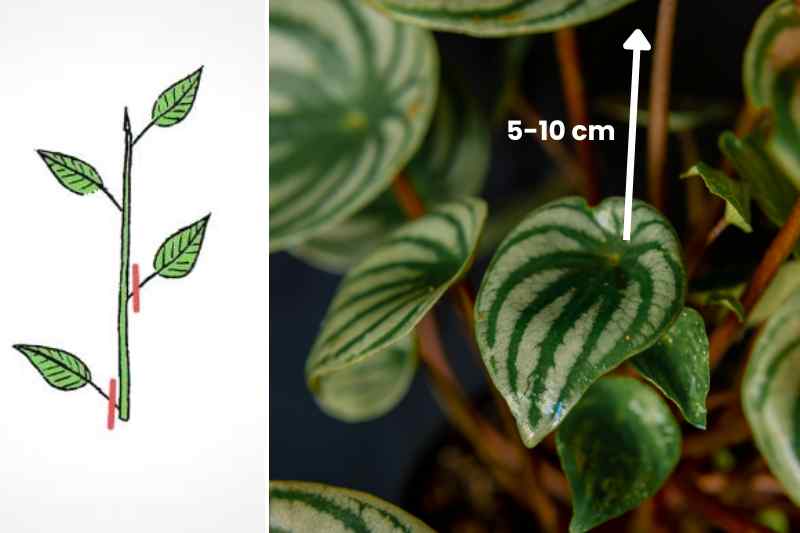
- Prepare the cutting: take a healthy, vigorous stem 5 to 10 cm long. Cut a section that includes at least one or two nodes (the place where the leaves are attached) and just below a node. Remove the lower leaves to prevent them from rotting in the water. Only 2 or 3 leaves should remain at the top to limit evaporation and encourage rooting.
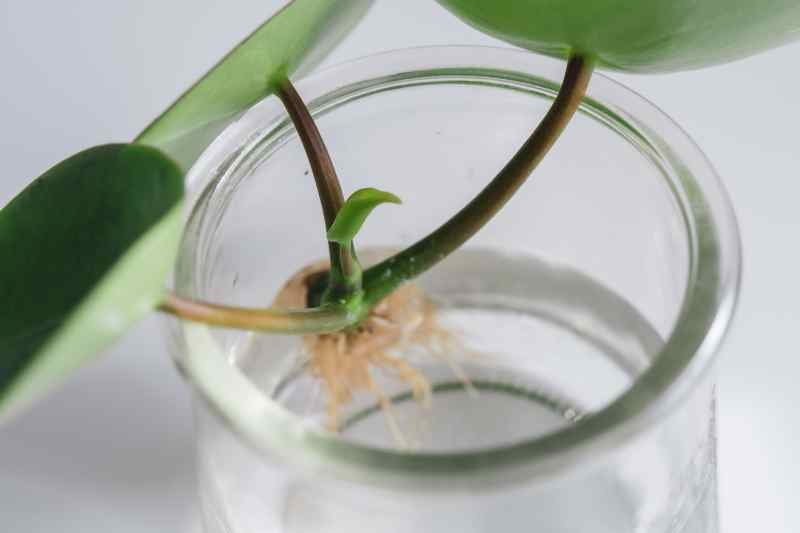
- Place the cutting in a glass of water: immerse the base of the stem in a large glass or jar of room temperature water, ensuring that no leaves touch the water and that the nodes are submerged. Ideally, use rainwater. Place your cutting in a bright spot, but out of direct sunlight.
- Change the water regularly: replace the water every 3 to 4 days to prevent the proliferation of bacteria and support healthy rooting.
- Transplanting: after 2 to 4 weeks, roots should have appeared. Once they reach 2 to 3 cm in length, transplant the cutting into a pot with a light, well-draining potting mix.
Technique 2: Propagating Peperomia in soil
This method allows cuttings to adapt directly to their final growing medium, which reduces transplant shock. You can take a stem cutting (highly recommended for Peperomia obtusifolia and Peperomia scandens) or a leaf cutting (perfect for Peperomia hederaefolia), knowing that rooting will take a bit longer for leaf cuttings.
- Prepare the new pot: fill a small pot 2 cm wider with a light, well-draining potting mix (based on potting soil for houseplants, mixed with a third of perlite or sand, and coconut fibre if you have it).
- Prepare the cutting: as with propagating in water, take a healthy stem section 5 to 10 cm long using disinfected scissors and remove the lower leaves. The stem should have at least one node or a leaf with its petiole (the small stem that connects it). Cut the leaves in half cleanly.
- Plant the cutting: gently insert the base of the stem (or leaf) into the substrate, burying it slightly, ensuring that at least one node is below the soil (and half of the leaf is in the soil). Firm the potting mix around the cutting to stabilise it.
- Moisten the substrate: lightly water the cutting to maintain constant humidity without saturating the substrate.
- Create a humid atmosphere: cover the pot with a plastic bag to maintain a high humidity level and encourage rooting. Place the pot in a bright spot, but out of direct sunlight.
- Care: roots typically form in 3 to 6 weeks, slower than the cutting in water. On leaf cuttings, shoots appear at the ends of the main veins.
Regularly check the humidity of the potting mix and water lightly if necessary. After a few weeks, you will see new leaves appearing or existing stems elongating, indicating that the cutting has successfully rooted and continues to grow!


Comments