


The raspberry bush (Rubus idaeus) is a fruiting shrub that can reach 2 metres in height and produces sparsely ramified stems. Its naturally irregular, bushy habit can even become invasive in the garden.
Staking or training raspberry bushes will help support their growth, optimise fruit production and make harvesting easier.
Discover our advice for effective training: varieties concerned, the right time for staking, necessary equipment and the different methods available.
→ Discover our complete guide Raspberry Bushes: Planting, Pruning and Care
Why stake raspberry bushes?
Raspberry canes are long and very vigorous. Their growth is rapid and they can quickly develop randomly, even becoming completely unruly. Tying raspberry bushes to a support will encourage vertical growth by properly guiding the vegetation's development.
Staking or training also offers other benefits:
- allowing maximum light to reach the entire raspberry bush
- supporting fragile canes to prevent breakage (from wind, under their own weight...) or growth towards the ground
- optimising fruit productivity and obtaining better yields
- making fruit harvesting easier
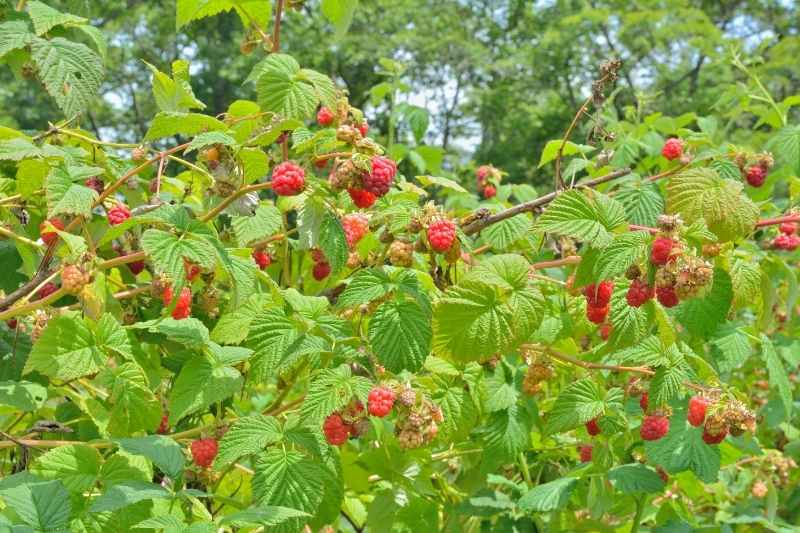
Raspberry bushes can quickly become invasive
Varieties that need staking
Staking will benefit all raspberry varieties, but will be particularly essential for the tallest varieties, such as the very vigorous 'Meeker' raspberry, the 'Zeva' raspberry with its large fruits or the 'Malling Promise' raspberry which can reach 2 metres in height at maturity.
Training dwarf raspberries, of reduced size, such as 'Ruby Beauty', 'Little Sweet Sister' or 'Groovy' is not obligatory, but will help guide the vegetation better and make picking easier, whether in pots or in the ground.
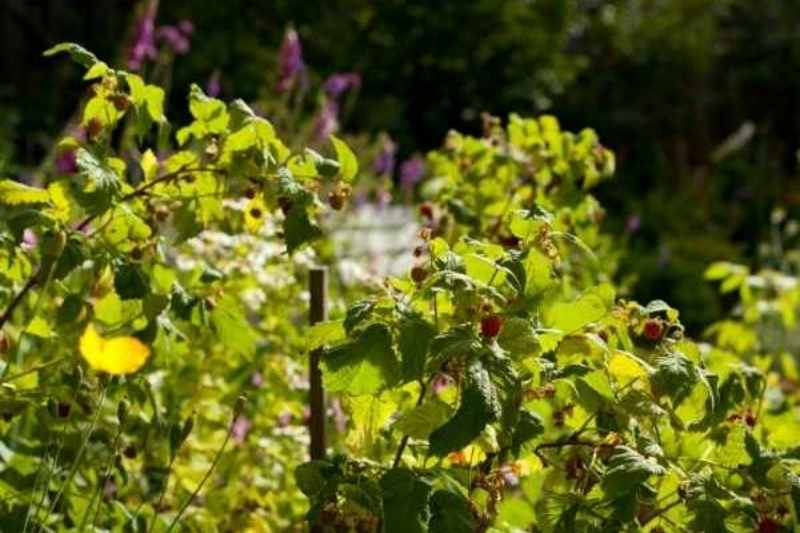
When to train raspberry bushes?
Staking raspberry bushes is generally done at planting time, in autumn.
Over the years, using a spade, remove suckers and shoots (which can be replanted elsewhere without any problem) to maintain controlled growth.
Equipment for successful training
Choosing the right stakes
There are several types of stakes that can be used for training raspberry bushes.
- Bamboo stakes: quite sturdy, economical and easy to find online or in shops.
- Wooden stakes: hazel, willow, chestnut or acacia. They are strong, natural and durable.
- Spiral metal stakes: they don't require additional ties, but generally have less wind resistance (to be avoided in very exposed areas).
- Plastic stakes: less eco-friendly and with a limited lifespan, but inexpensive and easy to find.
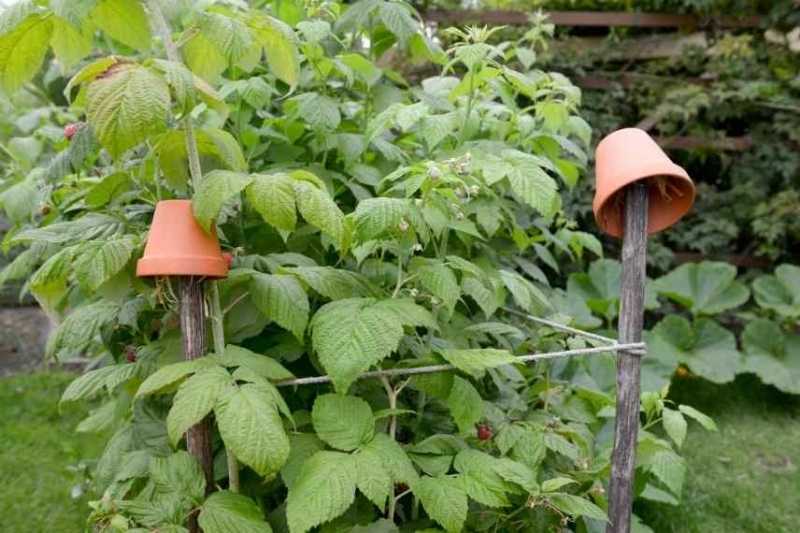
- Concrete reinforcing bars: often used as reclaimed materials, they are very sturdy and durable.
Concrete reinforcing bars are very useful for staking raspberry bushes
How to train a raspberry bush? Different staking methods
There are several training methods. The staking distances between raspberry plants and the way stakes are positioned will vary depending on the layout and space available in each garden.
In all cases, it's advisable to choose fairly tall stakes (at least 1.5m), so they can be driven at least 30 cm into the ground. Also, the ties shouldn't be too tight, to allow the branches to slide along the wire.
Fan training
- Fix posts at each end of the raspberry bush or raspberry hedge; if you've planned a long row, don't hesitate to add additional intermediate posts.
- Attach taut wires at several heights from the ground: 40 cm, 80 cm, 120 cm and 150 cm.
- Position the raspberry bush; if there are several, space them 1m to 1.5m apart.
- Tie the raspberry canes to the wires with ties, in a fan shape.
This training technique can also be used to create an espalier against a wall (using hooks fixed directly into the wall instead of posts), training against a fence or along a path edge, to create a beautiful fruiting hedge.
This training ensures good ventilation, preventing diseases.
Dutch training
This method frames the raspberry plants.
- Place 2 rows of posts facing each other, spaced 60 cm to 1m apart, depending on the raspberry bush's spread; if you want to create a raspberry hedge, add more rows of stakes to cover the entire length.
- On both lengths, attach taut wires at a height of 50 cm from the ground.
- Position the raspberry bushes, always spacing them 1m to 1.5m apart.
- Gently arch and tie the raspberry canes, distributing them on either side of these 2 structures. This system can be used to separate last year's canes from new canes, making end-of-season pruning easier for perpetual varieties (which produce several times a year).
Dutch training ensures excellent ventilation at the heart of the shrub, but requires access from both sides of the structure, thus needing plenty of space in the garden.
Free-standing clump training
This method also frames the raspberry bush, to limit its spread and encourage vertical growth.
- Plant the raspberry bush.
- Place stakes or posts at the 4 corners to create a square about 1 metre wide (adjust according to the variety's mature spread if necessary).
- Connect them with strings at different heights from the ground: 40 cm, 80 cm, 120 cm and 150 cm.
A simple technique, as it doesn't require tying the branches to the wires, for a wilder effect, but much less practical for harvesting and pruning.
Stake training
- In a raspberry hedge, plant the stakes (wooden posts) at least 1.2m tall between each plant.
- Secure the raspberry canes by distributing them on either side (half the stems are tied to the stake on the right, the other half to the one on the left).
You can also plant a stake in the middle of a raspberry clump (taking care not to damage the roots), then tie all the stems to it.
This technique is only possible for raspberry bushes with few canes (4 or 5), otherwise ventilation and light penetration will be too limited.

Comments