


Repotting is an essential step if you want to grow and maintain a beautiful, healthy bush. Indeed, after some time, perennials like potted bushes will have exhausted all the nutrients in their substrate. Sometimes the roots may also become cramped, preventing proper development. Discover our guide to successful repotting and keeping your potted plants in top condition.

Why repot a bush?
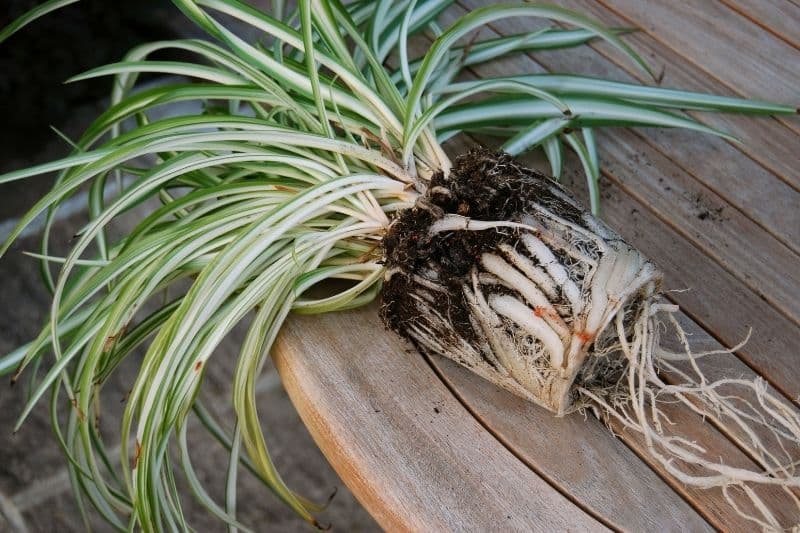
- Whether it's an indoor or outdoor bush, a potted bush has less space than one planted in the ground. Over time, its root system will become cramped. It will then stop growing. Your bush will therefore need more space to continue thriving.
- After a few months, your bush will have absorbed all the nutrients in its substrate. Some green and flowering bushes may start to pale, stop flowering, or cease growing, clearly showing signs of distress. They then need fresh substrate to regain strength, vigour, and to flourish with their most beautiful foliage.
- Repotting is also an easy way to divide young plants, particularly by separating suckers from the mother bush.
When to repot bushes?
The best time to repot is at the beginning of spring, when your bush is coming out of its dormant period. This is when it will be most vigorous and able to recover from the stress of this change.
Ideally, repotting should be done every two years.
For newly acquired bushes, repotting is usually done shortly after purchase.
What bucket diameter should you choose?
The bucket diameter should be slightly larger than the current one. For example, for an Azalea in a 30 cm bucket, choose a new container with a 40 cm diameter. Selecting a much larger and taller bucket could risk the bush's recovery. Indeed, the bigger the bucket, the more soil there will be without roots, increasing the risk of rot due to watering.
Always choose a container with drainage holes to allow excess water to escape.
How to repot a bush properly?
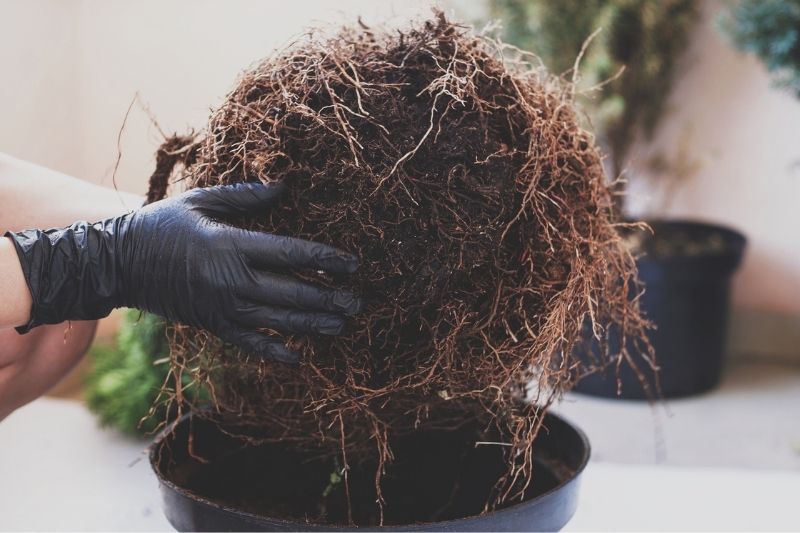
1- Remove your bush from its bucket:
- Lay your bush and its bucket on its side;
- Trim any roots sticking out of the drainage hole with secateurs;
- Hold the base of the foliage with one hand. With the other hand, tap firmly on the bucket to loosen the roots. Then gently pull the bucket away.
- Soak the root ball in a basin of non-calcareous water, such as rainwater, to moisten the soil. Ensure the water is at room temperature to avoid additional thermal stress to the roots.
Tips:
- A slightly moist or dry root ball takes up less space and is easier to remove than a waterlogged one. The soil will also be lighter, sparing your back, especially with large bushes or specimens.
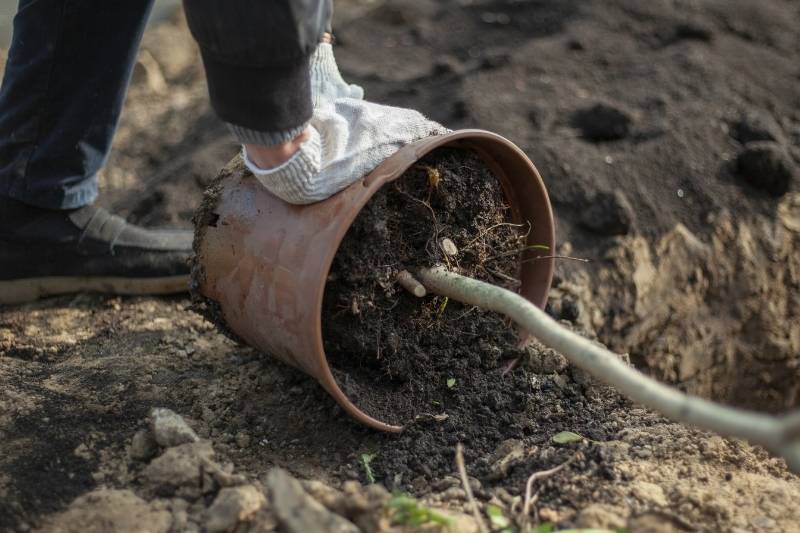
- If your young plant's root ball stubbornly refuses to leave its home, drastic measures are needed. Lay the container on its side. If the bucket is terracotta or ceramic: break it with a mallet (don't forget safety gear). If the bucket is plastic: some gardeners don't hesitate to hit it with a spade to break it (gardening really helps you relax and let off steam!). You can also cut it with a knife or secateurs, being careful not to damage the roots too much.
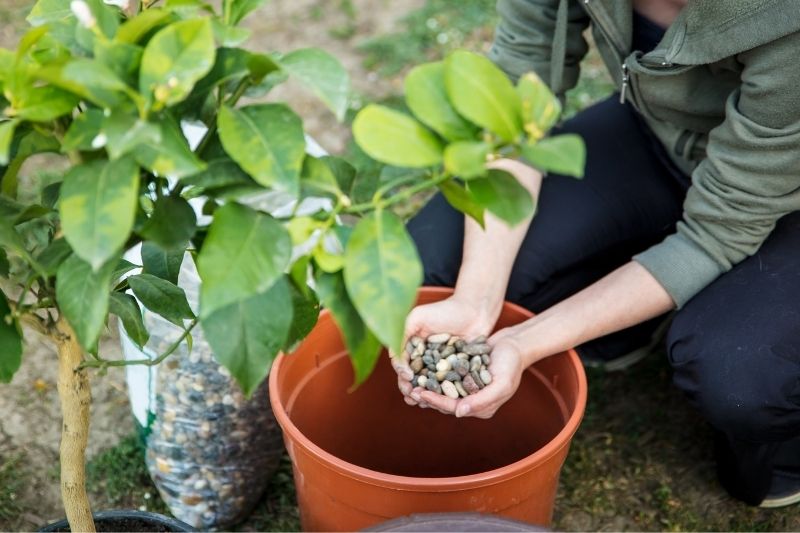
2- Prepare the new bucket:
- Place a layer of clay pebbles or gravel at the bottom of the bucket;
- Add some substrate suitable for your bush. Note that there are different types of compost, for succulents, cacti, or perennials. Choosing the right compost is crucial for your bush's recovery;
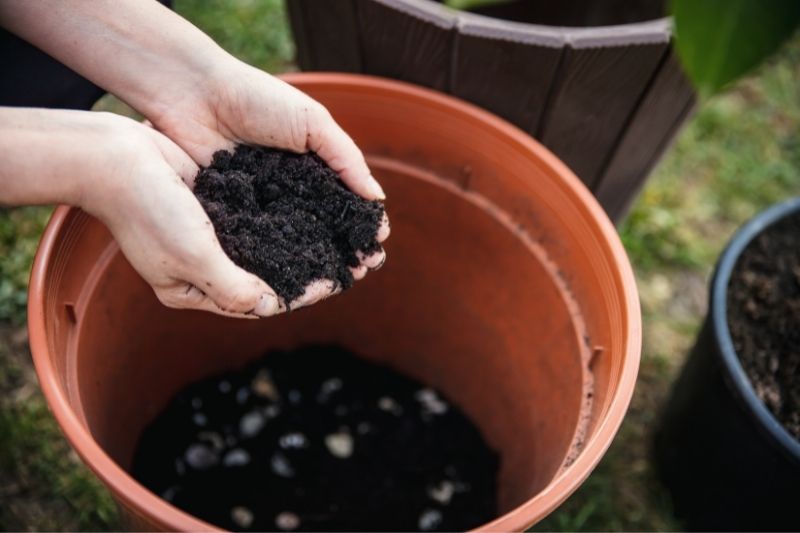
- Moisten it with rainwater using a spray bottle or watering can.
Tips: Some gardeners soak terracotta buckets in water for an hour before repotting during hot weather.
3- Prepare and repot your bush
- Gently untangle the roots of the root ball with your hands, especially if they have formed a tight mass;
- Use secateurs to trim dead or damaged roots;
- Remove as much of the old substrate as possible;
- Place your bush in the centre of the bucket. The top of the root ball should sit about two centimetres below the rim;
- Fill around the root ball with fresh substrate. Ensure the collar of the bush is level with the surface. It should not be buried.
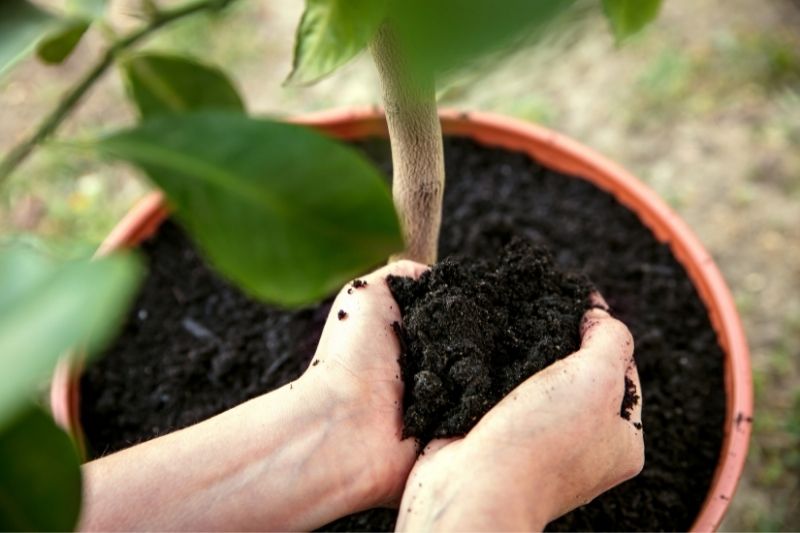
- Firm the compost with your hands;
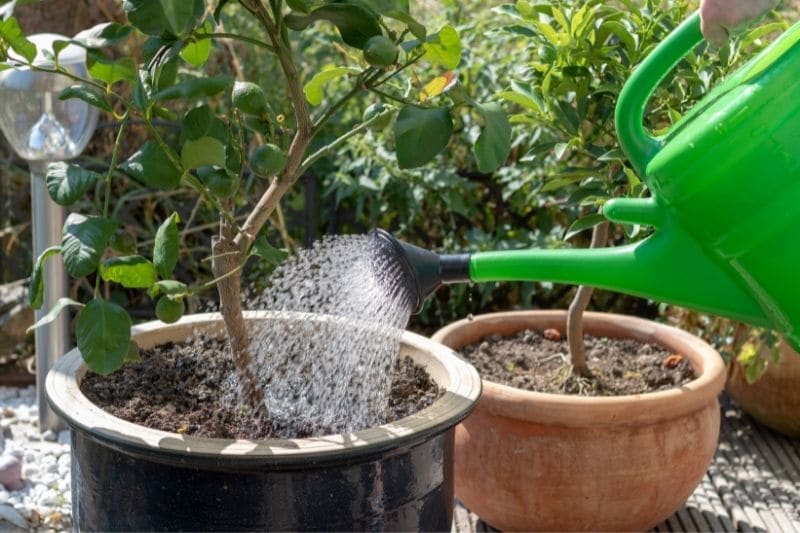
- Water thoroughly to remove air pockets;
- Depending on its needs, place a saucer under the bucket;
- Add mulch around the base of your bush.
4- Aftercare for repotted bushes
- Monitor watering during recovery, avoiding excess moisture. Water sparingly and according to your bush's needs;
- If your bush is a heavy feeder requiring regular fertiliser, such as roses, wait a month before feeding.
To go further:
- Discover an alternative to repotting: top-dressing – what is it? When, how and why top-dress a potted bush.
- Find our advice on transplanting trees, bushes, roses and perennials: when and how?


Comments