


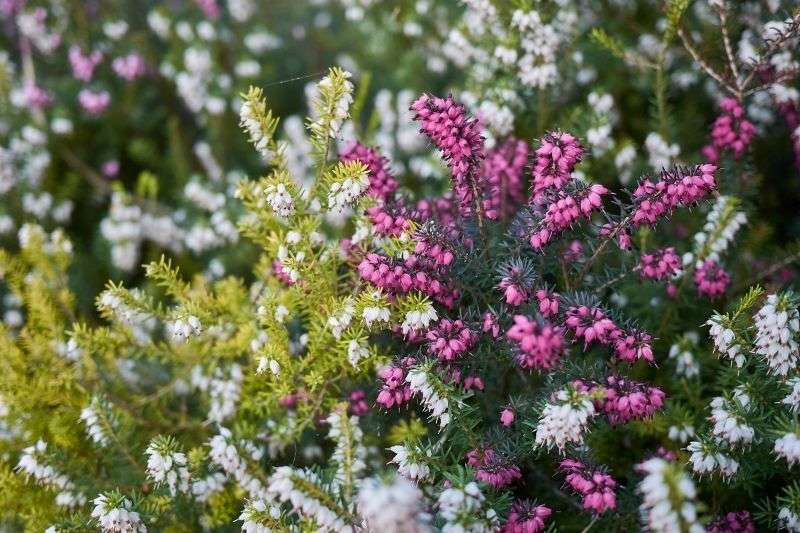
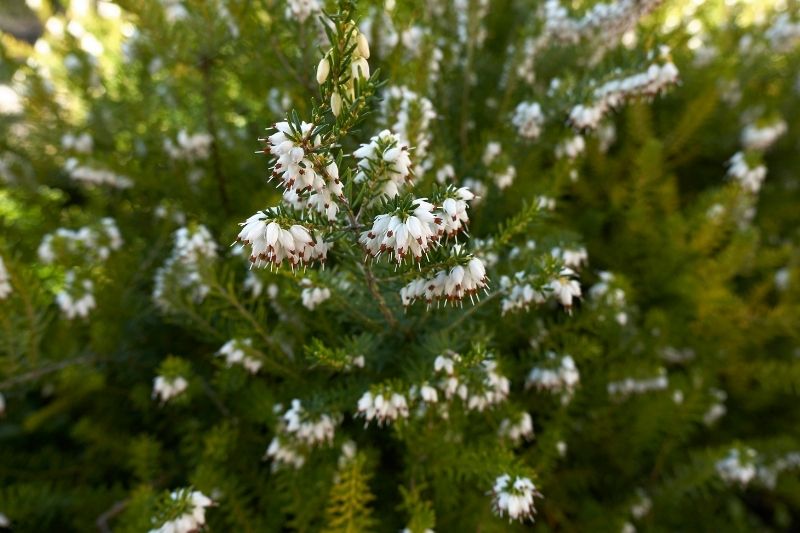
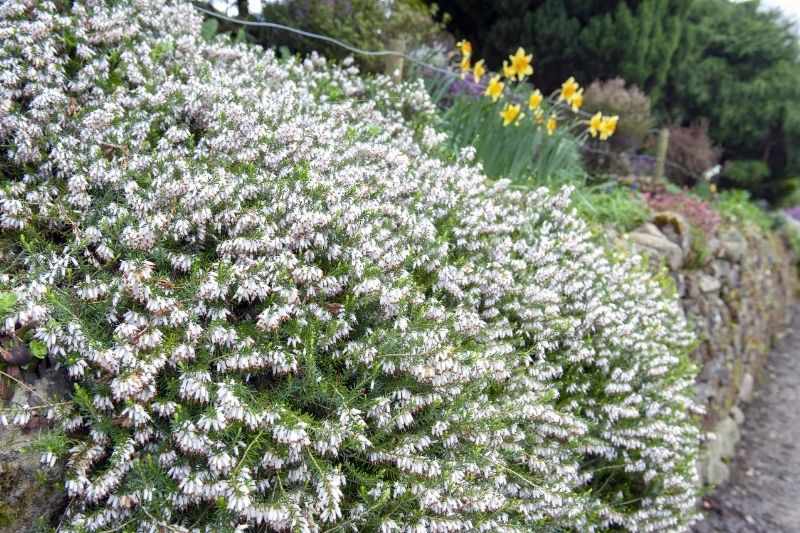
Heathers are adorable perennial shrubs, very decorative in the garden thanks to their evergreen foliage and bell-shaped flowers.
Whether summer-, winter- or shrub-heathers, heathers can be grown in ground or in a pot. They are also very easy to multiply. Propagation by cuttings, layering or division: let’s see how to rejuvenate a heather or obtain new young plants easily and for free.
For full details on growing heather, consult our article: Heathers: planting, pruning and maintaining
Layering heather
Layering is one of the most effective techniques to multiply heather. It consists of burying part of the plant so it can develop new roots. Layering can even occur naturally in garden or in nature, when a prostrate stem of heather remains in prolonged contact with soil. You thus obtain a new young plant with the same characteristics as the original parent plant.
Heather layers in spring, once all risk of frost has passed and temperatures have warmed, ideally before growth resumes.
Required equipment
- A small trowel or a large spoon
- Clips or flexible metal rods
- A small stake or wooden stick
- String
- A pruning shear
- A light substrate mix: soil or potting compost with a handful of sand
How to layer heather
- Select a stem located at edge of the stump of the heather
- Dig a small trench about 3 to 5 cm just below that stem
- Gently bend the stem into the trench, without detaching it from the parent plant
- Hold the stem in the trench using the clips
- Place the stake in the trench and tie with string the stem tip out of the soil, positioned vertically
- Cover the trench with the substrate mix
- Water thoroughly
Keep soil consistently moist until layering succeeds. After a few months, the buried section will have formed its own roots and new shoots will appear on the stem. At that point you can separate the stem from the parent plant using a disinfected pruning shear, then transplant the young plant into a pot or another part of the garden.
Propagating heather by cuttings
Propagation by cuttings is a simple and economical way to obtain a new young plant of heather. It allows obtaining, from part of the plant, a new specimen identical to the parent plant.
Propagation by cuttings is carried out in spring or late summer, around August. This is also the most effective method to multiply larger shrub heathers.
Required equipment
- A bucket with a perforated base, plastic or turf
- A mister
- A pencil or small stick
- A pruning shear
- A light substrate mix: seed compost, heather soil and sand
How to take cuttings of heather
- Fill the bucket with the substrate mix
- Using the mister, moisten the entire substrate
- Choose on the parent heather a semi-woody shoot, i.e. grown last year, about 5 to 10 cm long
- Cut it with a sharp, disinfected pruning shear, just below an eye (point where a leaf originates)
- Remove leaves from the lower half of the stem and any flowers. This helps the cutting concentrate on forming roots and reduces evaporation
- Using the pencil, make a hole in centre of the bucket and insert the heather stem
- Firm gently with fingers to hold the stem in substrate and remove air pockets
- Place the bucket in a warm, bright spot, sheltered from direct sunlight
To improve success rates, you can apply the cuttings under a cloche. Place the base of a cut plastic bottle or a small transparent bag around the plant to recreate warm, humid conditions favourable to rooting, like a mini greenhouse.
Keep substrate moist until first signs of growth. After a few weeks you will see new leaves and roots. When the young plant becomes root-bound or roots begin to appear through the bucket holes, repot into a larger container or plant out directly in ground. This is best done in spring or autumn.
Dividing heather
Division consists of separating a plant’s rootball into several parts, each with its own roots. For summer-heathers, divide in autumn between September and November, avoiding frosty periods. Winter-heathers are divided in spring, after flowering.
Dividing heather renews an ageing plant that has started to thin out or to spread too much. Division is done on well-established rootballs, typically 3 or 4 years old.
Required equipment
- A spade
- A sharp knife
- A light substrate mix: heather soil and sand
How to divide heather
- Prepare planting areas by weeding
- Drive the spade around the heather to be divided, levering gently to lift soil and free the entire rootball
- Remove the stump taking care to damage as few roots as possible
- Remove excess soil and weeds if needed to expose the rootball
- Using the knife, divide the rootball into two or three parts
- Replant the original clump immediately and plant the new ones in the prepared areas
- Add the substrate mix and water generously all plants
The divided rootballs can also be potted, using a mix of potting compost, heather soil and sand.
Continue regular watering for first few months to encourage root development of new clumps.


Comments