


Pachira is an aesthetically pleasing and easy-to-care-for houseplant. But did you know that its bohemian-chic look can become even trendier with the braiding of its trunk? Yes, you heard that right: braiding is no longer just for hair and friendship bracelets! Discover how this ancient technique can transform your green plant and add a unique touch to your interior decor.
The Pachira or French peanut
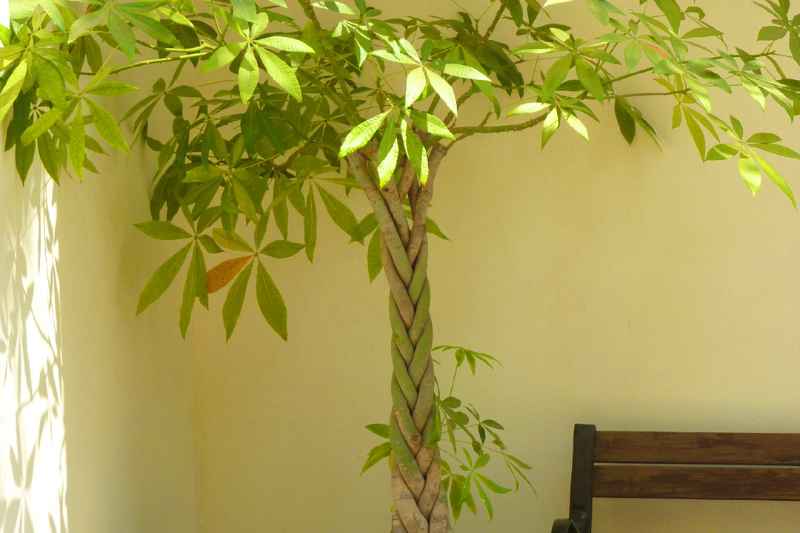
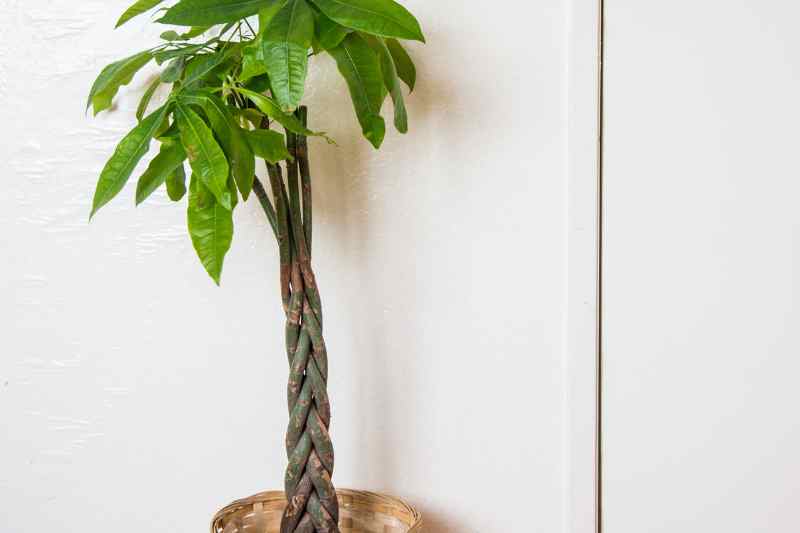
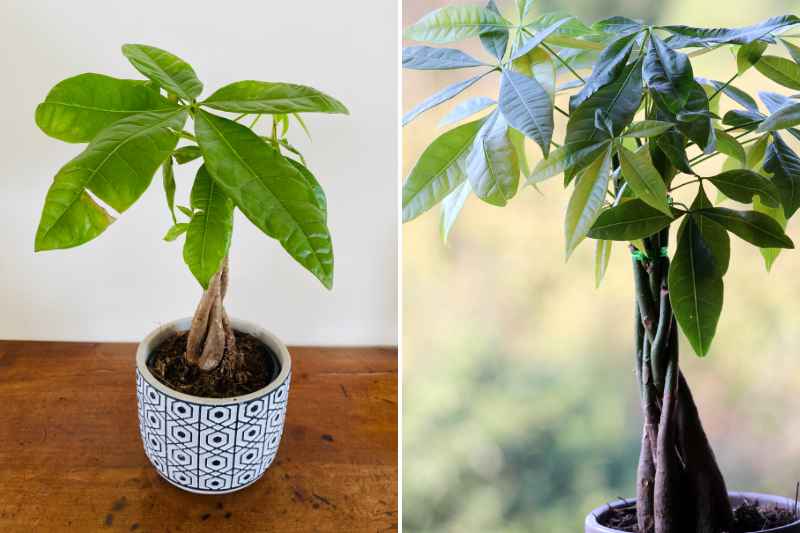
The Pachira aquatica, also known as the Money Tree or French peanut, is a highly sought-after houseplant for its ease of care and decorative qualities. Native to the humid areas of Central and South America, this tree (up to 20 m tall in its natural habitat!) adapts perfectly to our interiors and is ideal for beginner gardeners. Its trunk can be braided, giving it a unique charm.
Pachira love bright environments without direct sunlight. They also prefer moderate watering and well-drained soil, but can tolerate both overwatering and periods of drought. Their large, evergreen green leaves capture light and contribute to a calming environment, while adding a "jungle" vibe to our interiors. You can even consider it as an air-purifying plant, as it helps to purify the air in your home. The ideal growing temperature should be around 20°C, but the pachira can withstand light and very brief frosts, which is relatively rare in our interiors, as you will agree.
A little word from Oli: more than for our garden plants, houseplants often have a number of different names to refer to the same plant. Thus, the Pachira aquatica can be called: "Money Tree" (especially in Asia where it is a highly prized houseplant), "Guaranda", "Five-leaf Tree", "Guiana Chestnut", "Guiana Hazelnut", "Malabar Nut", "River Cacao", "Money Tree", "Marce", and of course "Water Chestnut Tree" or simply "Pachira". And I'm sure I've forgotten some... Anyway, you’ve been warned!
How to braid a Pachira?
Braiding a Pachira aquatica is a creative and aesthetic way to personalise this already fascinating houseplant. So, grab your stems, get ready, and braid!
First, ensure that your Pachira aquatica is healthy and has several stems that can be braided. Ideally, choose a plant with three stems or more for a more complex braid.
- Preparation: gently remove the leaves close to the base of the stems to have a clear workspace.
- Alignment: align the stems so that they are parallel and evenly spaced.
- Start Braiding: take the left stem and pass it over the middle stem. Then, take the right stem and pass it over the new middle stem. Repeat this operation, alternating sides.
- Tightening: make sure to braid the stems tightly enough to maintain the structure, but not too tightly to avoid damaging the plant.
- Securing: once you reach the end of the braiding, use a soft tie, such as jute twine, to secure the ends of the stems together.
- Maintenance: continue to water and feed your Pachira as usual, and monitor the braiding to ensure it stays in place.
Little "decor" tip: for an even more sophisticated look, you can add decorative accessories like beads or shells by threading them onto the stems during braiding.
Materials needed for braiding
- Scissors or pruning shears: to cut the twine or possibly trim any small branches or leaves that obstruct the braiding.
- Jute or hemp twine: used to tie the stems together at the end of the braiding. Choose a material that will not damage the plant.
- Water spray: to lightly moisten the stems if they seem stiff, making them more flexible and easier to braid.

Comments